
Pegboard How-To

This is the fourth pegboard Ben has mounted to one of our kitchen walls, and while he is by no means an authority — seriously, he advises you to search around for other how-to guides — he’s got his method down, and I think it’s a good one.
The first step to adding a panel of pegboard to your wall is to figure out what your walls are made of. (If you are renting, too, it might be a good idea to check with your landlord.) Once you know what your walls are made of, head to a Lowe’s or a Home Depot or some place similar to buy materials. No matter what your walls are made of, you’ll need a few furring strips, and depending on what your walls are made of, you’ll need a variety of screws — talk to someone at the hardware store to get advice.
Materials:
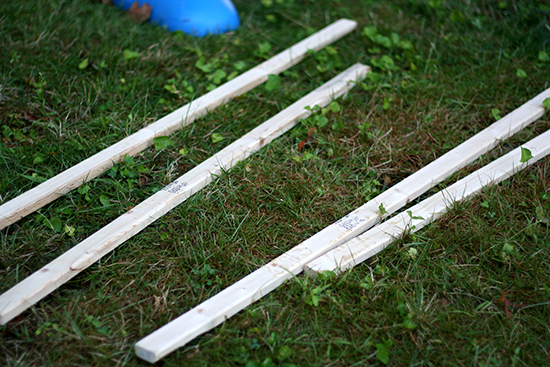
furring strips: (8-feet x 2-inch x 1-inch) we used 2 — they cost about $1 each
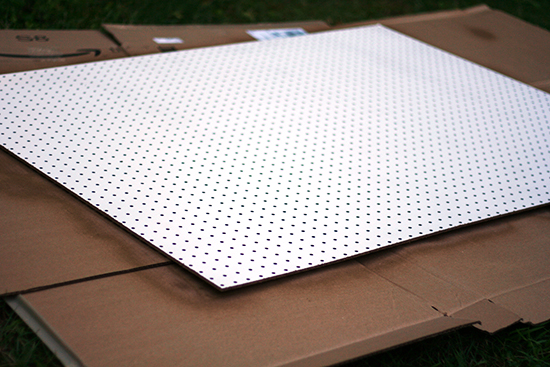
pegboard: cut to the size you wish (this panel is 53 inches by 39 inches)
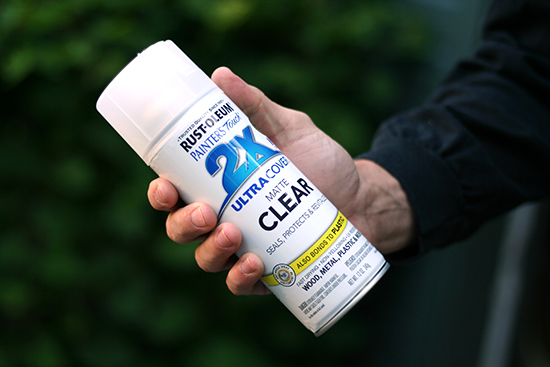
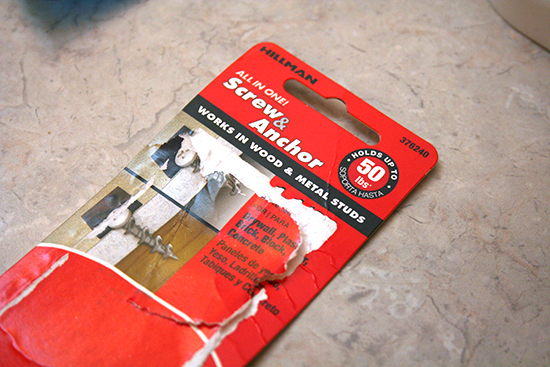
a clear, protective spray: I can’t find a direct link to the can Ben bought, but the brand was Rust-Oleum, and it was a matte finish (refer to the picture below or ask someone at your hardware store)
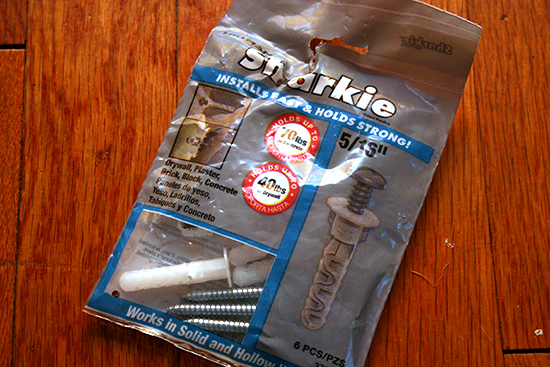
screws: Again, depending on the material of your wall, you might need different screws — talk to someone at your store. Ben used 4 sharkie screws (two in each of the outermost furring strips), a number of 2 1/2-inch long wood screws, and a number of 3-inch long wood screws
washers: about 16 — these are used when mounting the pegboard to the furring strips
electric drill, drill bits
a bag of peghooks
Step 1: Coat panel of pegboard with protective spray. Do this outside. Do this in two layers. Use the whole can. Let board dry before mounting.
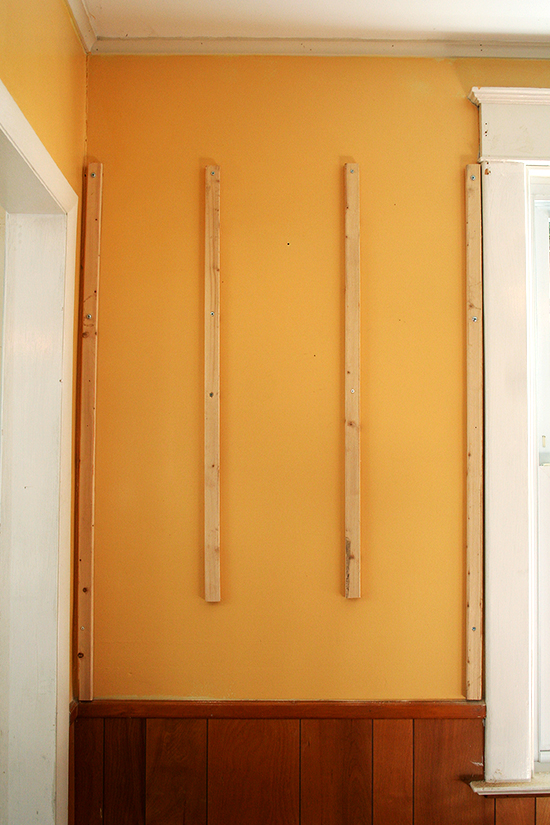
Step 2: Decide how many furring strips you want to use to secure your pegboard to your wall. Ben admits that four of these strips might be overkill, but if you plan on hanging a lot of pots and pans, it’s probably best to err on the side of caution. In each of the two outermost furring strips, Ben used two sharkie screws as well as a wood screw to secure the strip to the wall. In the middle two furring strips, he used wood screws.

Sharkie screw:
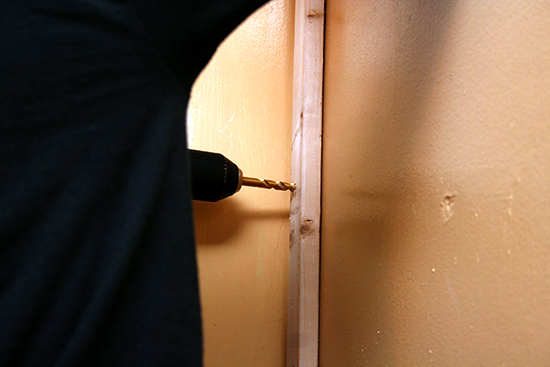
Preparing strip/wall for sharkie screw:
Sharkie screw:
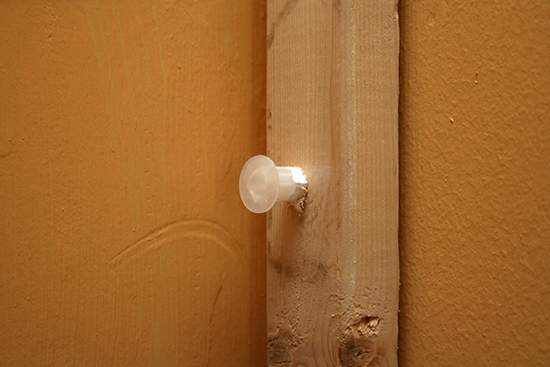
Sharkie screw:
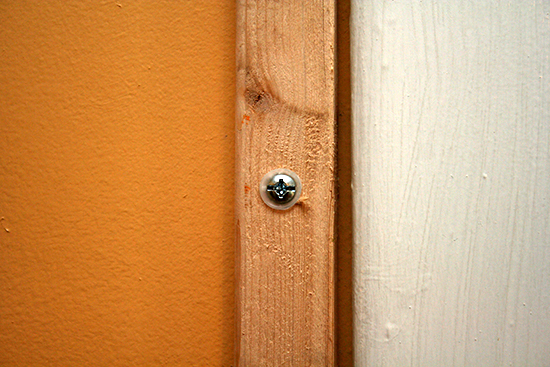
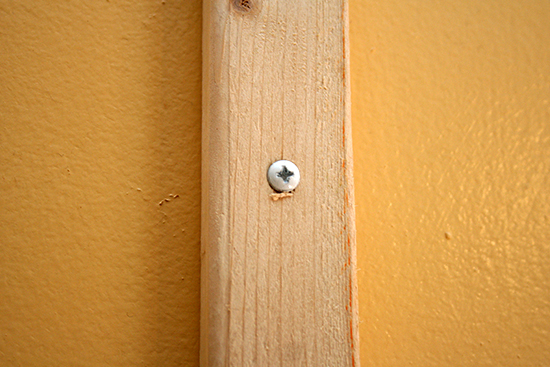
Wood screw:
Wood screw:
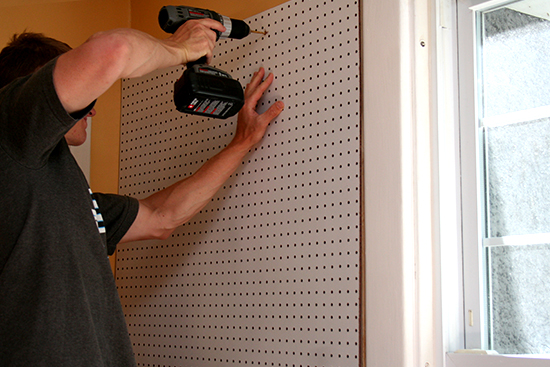
Step 3: Mount your pegboard to your furring strips. It’s helpful to have one person hold the board in place when drilling the first screw through the pegboard to the furring strip. This is when it’s a good idea to use a nice strong washer with whatever screw you use to attach the pegboard to the furring strips. Ben used 4 washer-screw combos per furring strip, so 16 total.
Mounting the board to the furring strips:
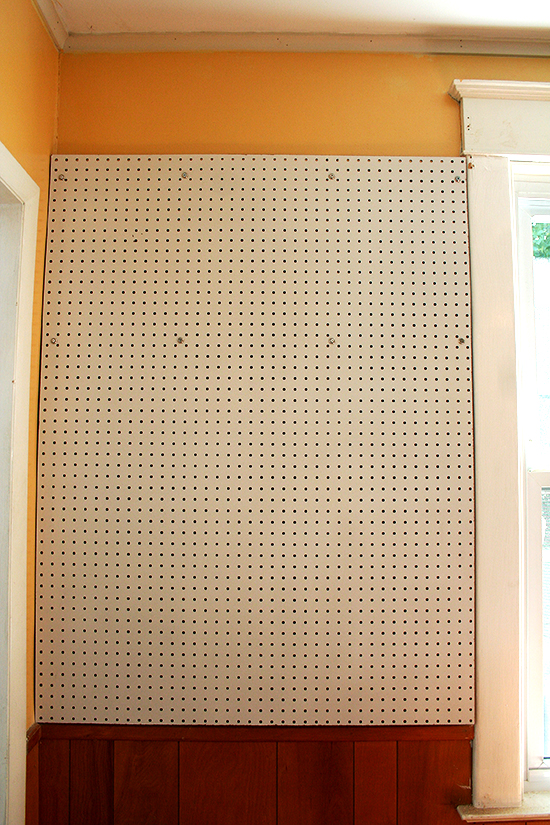
Step 4: Start hanging up your pots and pans. Feel free to email or comment with questions.


