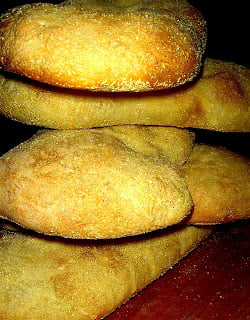
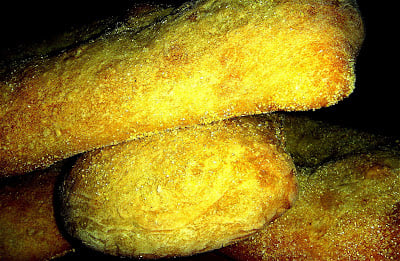
Ciabatta
This post may contain affiliate links. Please read my disclosure policy.


Ciabatta
- Total Time: 12 hours 10 minutes
- Yield: 6 4.5-oz Rolls
Ingredients
Starter:
- 1/2 cup (4 oz) water
- a scant cup (4 oz) bread flour
- 8 oz starter (see recipe below)
- 3/4 cup + 1 T. (6.5 oz) water
- a scant 3 cups (13 oz) bread flour
- 1 Tablespoon honey
- 1/2 tsp. instant yeast
- 1 teaspoon table salt
- cornmeal for dusting
Instructions
- To make the starter, combine the water and flour in a small bowl. Let bubble slightly, stir and let sit at room temperature overnight.
- To make the bread, combine the starter, water, bread flour, honey and yeast in the bowl of a stand mixer fitted with the dough hook. Mix at low speed for 1-2 minutes until combined. Add the salt and increase the speed to medium-low and mix for 6-7 minutes longer adding a little flour if necessary. (If the dough isn’t wrapping around the hook or leaving the sides of the bowl at all, add flour. Be careful not to add too much additional flour, however, because the dough should be slightly sticky and moist.) Transfer dough to a slightly oiled bowl, roll around to coat, cover bowl with plastic wrap and let rise until doubled in bulk, about 1½ – 2 hours.
- When dough has doubled, punch down and turn out onto a lightly floured work surface. Portion the dough into 4.5-oz balls, or divide the dough into approximately 6 equal portions. Gently knead and roll each portion into a ball, and let sit on the work surface covered with plastic wrap for 30 minutes. After the 30 minutes, grab each side of one ball with each hand and gently pull outward to stretch into a rectangle. Repeat with remaining balls. Let rest covered with plastic wrap for another 30 minutes.
- Preheat the oven to 450° F. Line 2 sheet trays with parchment paper or Silpats. (I used one regular sized sheet pan and one slightly smaller pan. I still wasn’t able to fit the pans side by side on one rack, so I baked them on separate racks and rotated them after 10 minutes of baking.) Lightly dust pans with cornmeal. After the 30 minutes, grab the sides of the rectangular shaped-dough forms, gently pull outward again and transfer to the prepared sheets. Let the dough rest again until the oven has preheated, about another 30 minutes.
- When the rolls have slightly puffed again, bake until golden brown, about 10 minutes. Rotate the pans and bake for 3-5 minutes longer until nicely golden. Remove from the oven and transfer to a cooling rack immediately. Let cool completely before using.
- Prep Time: 25 minutes
- Cook Time: 15 minutes
This post may contain affiliate links. Please read my disclosure policy.


7 Comments on “Ciabatta”
comment at kingjabzter.blogspot.com please i’m desperate
Great recipe, soft inside-crunchy outside totally delish rolls, just popped a batch into the freezer for the week and will definitely be making again soon 🙂
Lisa — So happy to hear this! This was one of my very first recipes on the blog. I haven’t made it in ages.
I thought you had a recipe for focaccia bread using the peasant bread recipe…was I imagining this? I love your peasant bread recipe…so easy and fast and sssssssoooooo good. I come from a baker’s family so loving this recipe is a great complement to you!!!!
I do! It is pictured here: https://alexandracooks.com/2013/01/30/a-card-and-3-simple-ways-to-begin-your-valentines-day-dinner/ but I offer instructions at the bottom of the peasant bread post: https://alexandracooks.com/2012/11/07/my-mothers-peasant-bread-the-best-easiest-bread-you-will-ever-make/
Good luck with it! Let me know if there is anything else.
Thankyou so much for focaccia bread recipe….love it! It is so wonderful to get all these beautiful back to basics..home cooking recipes! My grandboys love Nana’s cooking and baking!!!
Hello
My wife and I love ciabatta and would love to try this recipe. But, we have just moved and are living at 2300 elevation and have been having problems baking bread. I have read that we have to reduce yeast in most bread recipes. Do I have to make any adjustments to the yeast or starter for this recipe
Thank You
Al