Description
Adapted From Artisan Bread in Five Minutes A Day by Jeff Hertzberg and Zoë François
Ingredients
- 3 cups lukewarm water
- 1½ T. granulated yeasts (1½ packets)
- 1½ T. kosher or other coarse salt
- 6½ cups (29.25 oz.) unsifted, unbleached, all-purpose white flour, measured with the scoop-and-sweep method
Instructions
1. Warm the water slightly: It should feel just a little warmer than body temperature, about 100ºF.
2. Add yeast and salt to the water in a five-quart bowl, or preferably, in a resealable, lidded (not airtight) plastic food container or food-grade bucket. Don’t worry about getting it all to dissolve.
3. Mix in the flour: Add all of the flour at once, measuring it with dry-ingredient measuring cups, by gently scooping the flour, then sweeping the top level with a knife or spatula; don’t press down into the flour as you scoop or you’ll throw off the measurement by compressing. Mix with a wooden spoon. If necessary, reach into your mixing vessel with very wet hands and press the mixture together. Don’t knead! It isn’t necessary. You’re finished when everything is uniformly moist, without dry patches. Dough should be wet and loose enough to conform to the shape of the container.

4. Allow to rise: Cover with a lid (not airtight) that fits well to the container you’re using. Allow the mixture to rise at room temperature until it begins to collapse (or at least flattens on the top), approximately two hours. You can use a portion of the dough any time after this period, but fully refrigerated dough is less sticky and is easier to work with. So, the first time you try this method, it’s best to refrigerate the dough overnight before shaping a loaf.

On Baking Day:
5. Sprinkle the surface of your refrigerated dough with flour. Pull up and cut off a 1-pound (grapefruit-size), using a serrated knife. Hold the mass of dough in your hands and add a little more flour as needed so it won’t stick to your hands. Gently stretch the surface of the dough around to the bottom on all four sides, rotating the ball a quarter-turn as you go. The correctly shaped final product will be smooth and cohesive. The entire process should take no more than 30 to 60 seconds.

6. Place the shaped ball on a cornmeal-covered pizza peel. (If you aren’t planning on baking the bread on a pizza stone, just let the dough rest on a cornmeal-covered cutting board. Allow the loaf (uncovered) to rest on the peel for about 40 minutes.

7. Twenty minutes before baking, preheat the oven to 450ºF, with a baking stone placed on the lowest rack. (If you don’t have a stone, don’t worry.) Place an empty broiler tray for holding water on any other shelf that won’t interfere with the rising bread. (This helps to make the crust crispy, but your bread will still be delicious if you omit this step.)
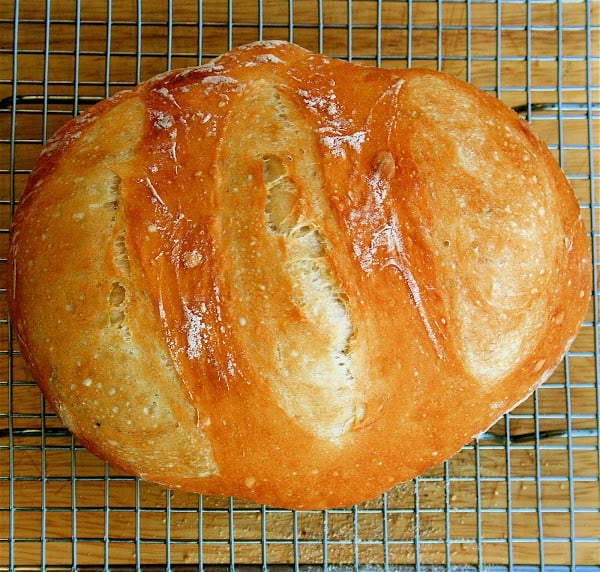
8. Dust the top of the loaf liberally with flour, which will allow the slashing knife to pass without sticking. Make several ¼-inch-deep slashes across the bread. (Again, if you omit this step, your bread will taste the same.)
9. With a quick forward jerking motion of the wrist, slide the loaf off the pizza peel and onto the preheated stone. (Alternatively, butter a Pyrex dish or baking pan and place the bread in the pan.) Quickly but carefully pour about one cup of hot tap water into the broiler tray and close the oven door to trap the steam. Bake for about 30 minutes, or until the crust is nicely browned and firm to the touch. Allow to cool completely, preferably on a wire rack.