Basic Apple Pie
This post may contain affiliate links. Please read my disclosure policy.
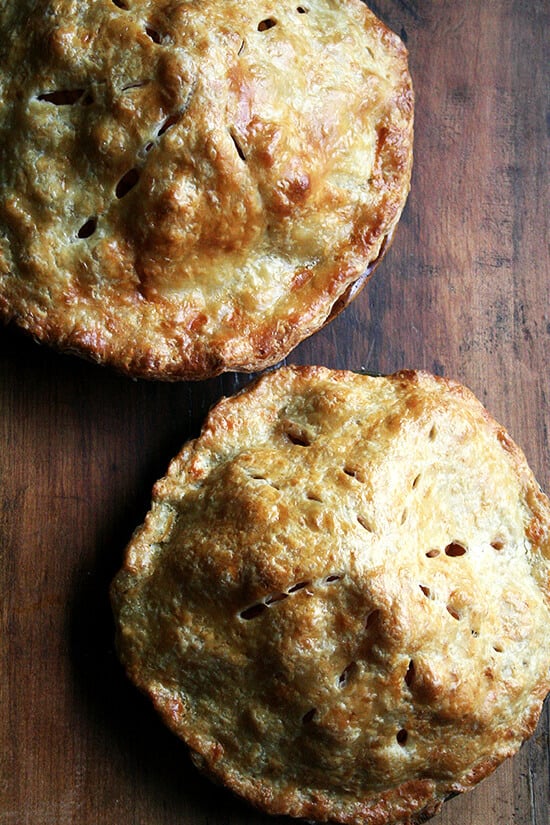
When my friend Anne announced she was getting married in my neck of the woods and asked if I might be interested in making some apple pies in place of a wedding cake, I immediately called my aunt Marcy to consult. I hadn’t made a pie in a long time — years! — and I not only needed a refresher on the basics — how many apples? what spices? tapioca or flour? how much sugar? — I also needed help with the logistics: would I realistically be able to make, bake and store enough pies to feed an entire (albeit small) wedding? Could I face this challenge with grace and dignity?
The conclusion we came to pretty quickly was no. Absolutely not. In my wise old age I have learned that sometimes it just makes sense to accept my limitations. Deep thoughts by Ali.
After explaining to Anne that for the wellbeing of everyone in my house I would have to decline, we came up with a saner solution: I would make two ceremonial pies for the pie-cutting ritual. Two pies I could handle. Nobody in my house would be harmed.
In the past few weeks, I’ve done a few test runs, seeking guidance from my aunt, the pie master in our family, the entire way. When it comes to making pies, Marcy cuts no corners, uses refrigerated bowls, a chilled marble rolling pin, and cold cold flour and butter. She follows the fraisage technique, using the heel — not the palm! — of her hand to cut the butter into the flour. She seasons the apples with both cinnamon and cloves, lemon juice and zest, and prefers tapioca to flour as a thickener. She never uses fewer than 10 apples per pie.
Over the years Marcy’s pies have developed such a reputation that other members of my family are afraid to weigh in on the subject of pie. During these past few weeks, I’ve called both my mother and sister to seek their advice on various pie-making matters, but from both of them each time I faced the same response: Ask Marcy.
I have done my best to relay my aunt’s pie-making wisdom here, with the exception, however, of the fraisage method, a technique I have not yet attempted, one that, once conquered, elevates the pie maker to the pie master: Marcy’s pie crusts boast an unparalleled level of flakiness. And so, I’m afraid, I leave you today with a quandary: To fraisage or not to fraisage? Perhaps something to ponder while apple picking this weekend? Happy Friday, Everyone.
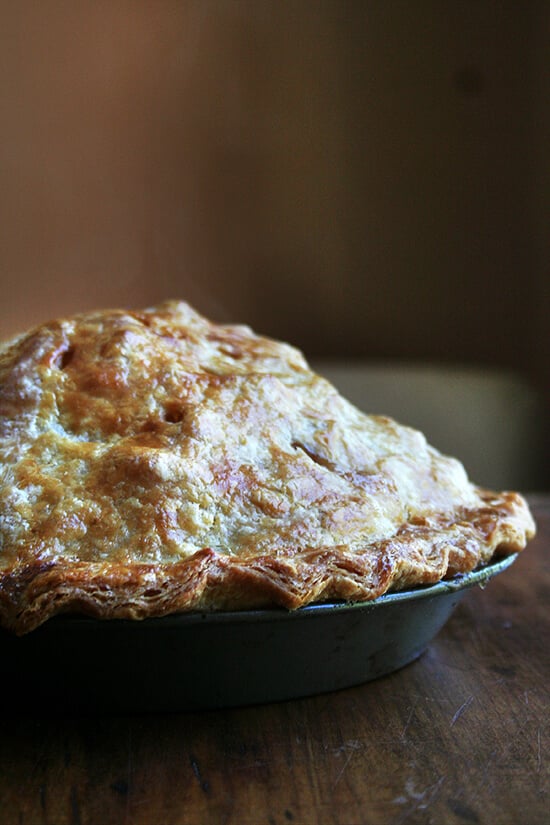
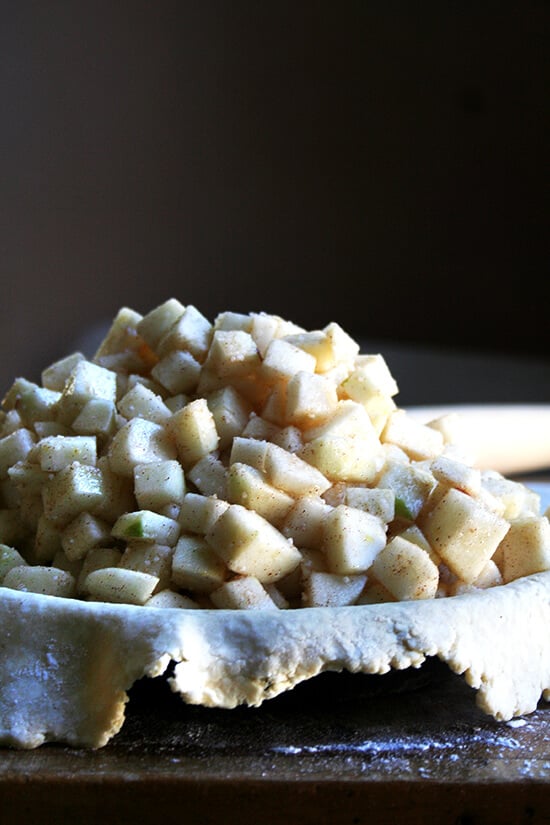
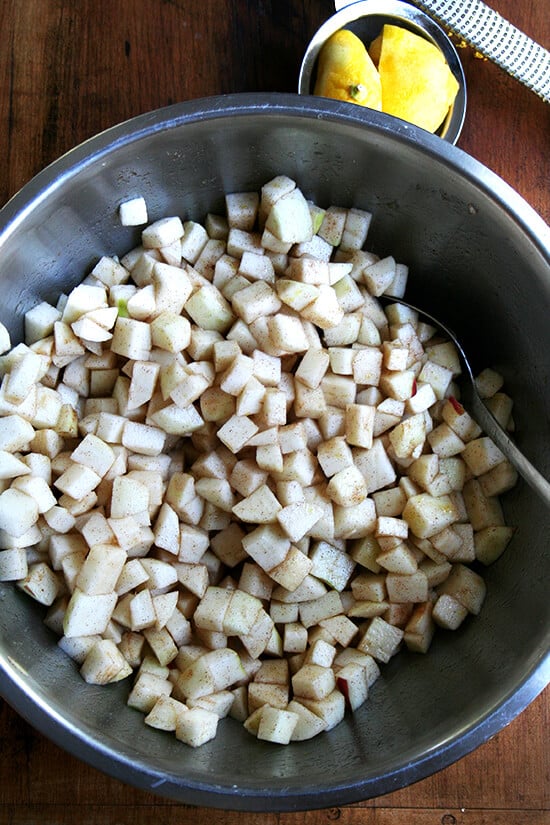
I actually prefer my apples cut into bigger chunks than pictured below. Will update photo as soon as I can:
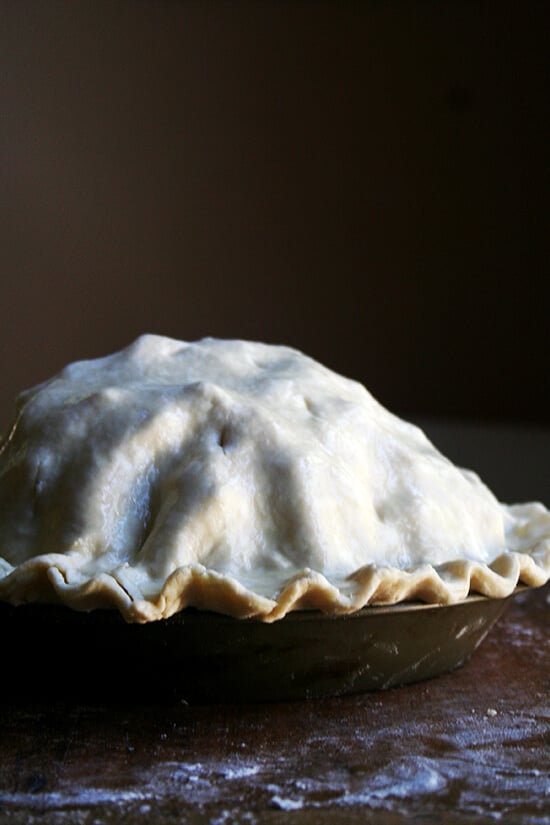
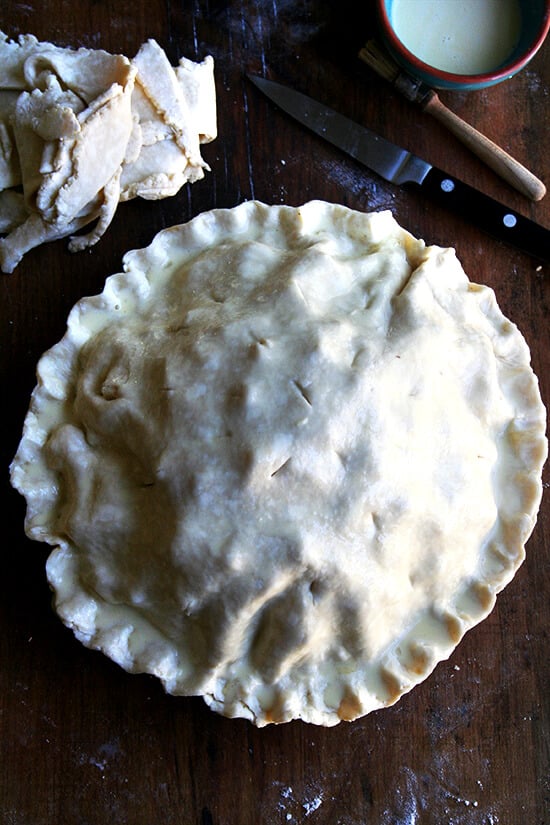
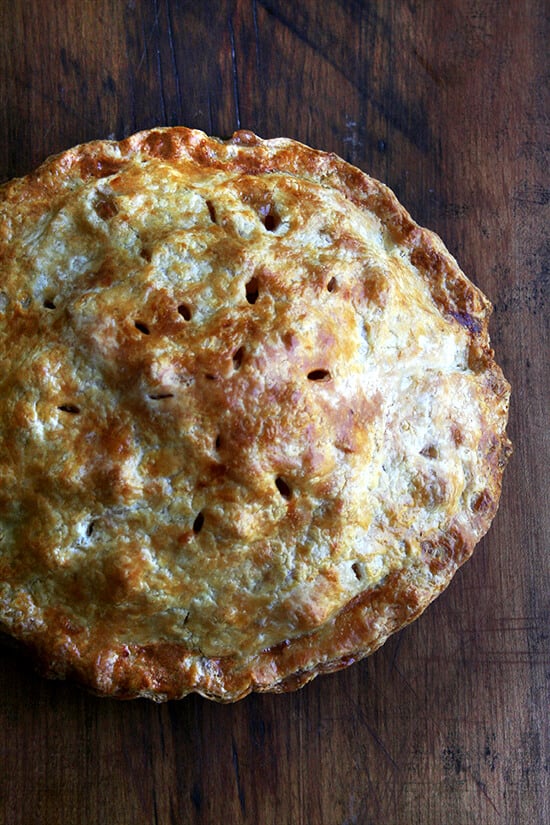
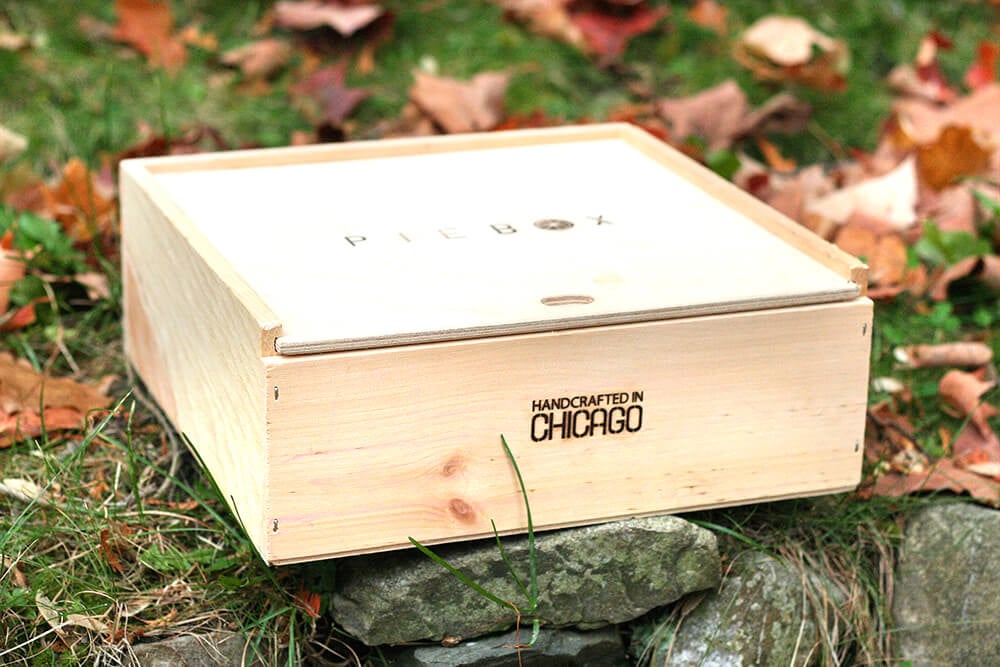
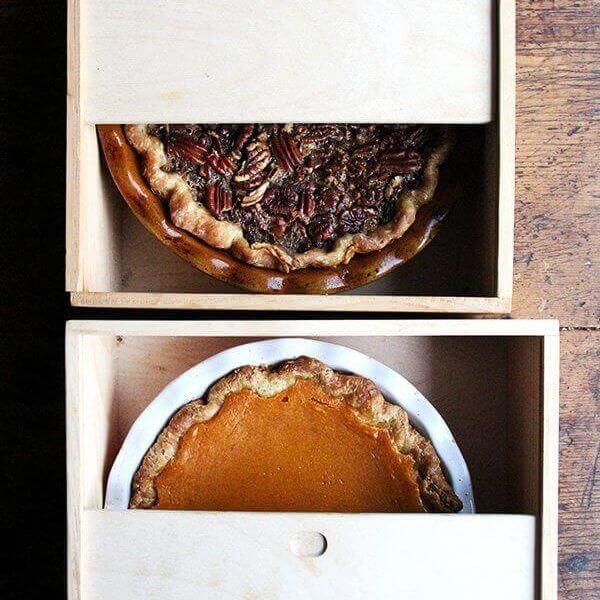
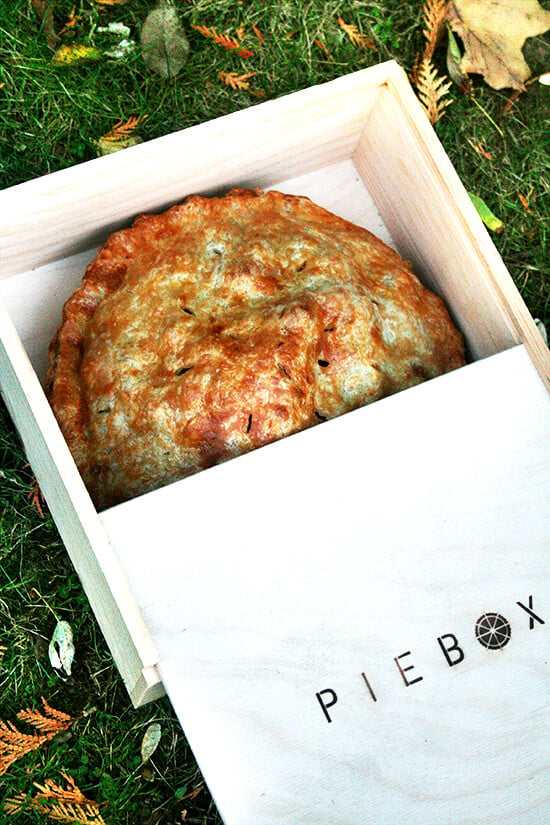
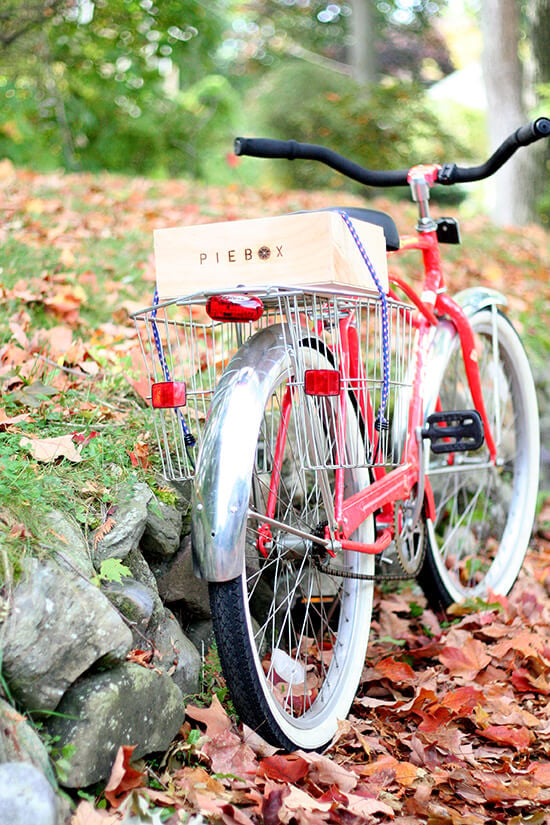
A dear friend living in Chicago gave me this piebox this past summer. Isn’t it fun?
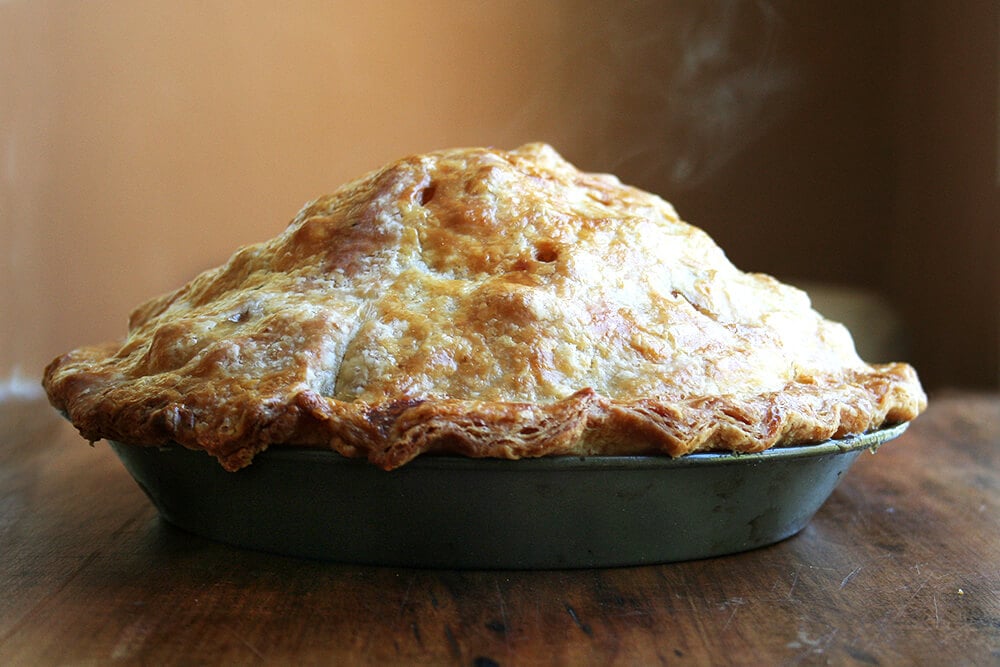
PS: The next Baking Steel post is up: an Apple Galette made with the trimmings of this pie as well as a few leftover apples that couldn’t quite fit into the mound.
Pie Dough 101:
No matter what pie dough recipe you use, the principles of making it will always be the same: keep the ingredients cold, cold, cold. Purists will say that making a pie dough in the food processor is a no-no, but I find it works very well, and if you are making a lot of dough, using a processor will save you a lot of time. Here are a few things to keep in mind:
•If you don’t store your flour in the freezer, consider placing it in the freezer the day before you plan on making the dough (though I never do this).
• To start the pie-dough making process, cut your butter into smallish slices or cubes, place them on a plate (or some other vessel) and stick them in the freezer. Fill a large liquid measuring cup with ice and water. Set aside.
• If you want to make several batches of dough, rather than multiply the recipe and shove all of the ingredients in the processor at once, make separate batches consecutively. For example, I recently tripled the pie dough recipe below. To start, I cut up the butter and placed each portion on a separate plate in the freezer. Then I filled a four-cup liquid measuring cup with ice and water. Then I lined up three big mixing bowls and filled each with 320g flour, 2 T. sugar, and 1/2 tsp salt. Then I made one batch at a time using the food processor, wrapping each batch in plastic wrap before proceeding with the next batch. I know I am stating the obvious for many of you, but sometimes these tips are helpful for others.
• On my local PBS station, I recently watched a Martha Stewart pastry episode during which she reminded viewers to: “Make it cold; bake it hot.” A good rule of thumb is to bake your pie on the lowest rack of the oven at a high temperature to start (around 425ºF for 20 minutes or so), and then to reduce the heat to a lower temperature (350ºF or so) for the remaining baking time, anywhere from 30 to 60 minutes longer. Every oven is different, of course, so this rule might not apply to you. I have been baking my pies directly on my Baking Steel, which helps produce a beautifully crisp bottom crust.
• When you are rolling out your dough, again, try to keep tools and ingredients cold — my aunt uses a marble rolling pin that she keeps in the freezer.
Update: October 12th, 2013, Anne & Matt’s Wedding:
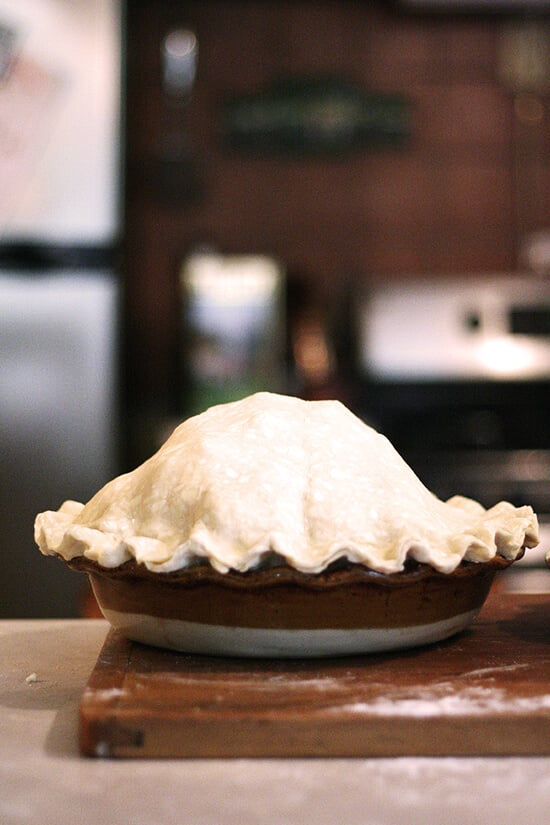
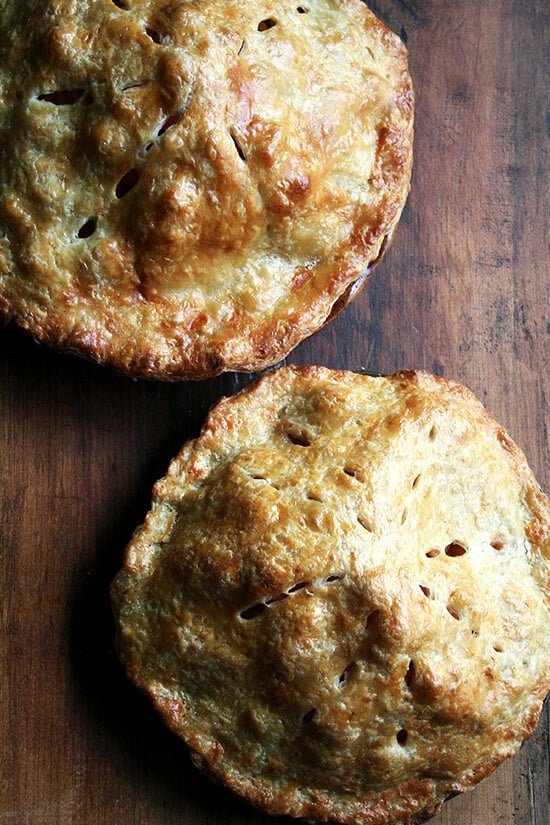
The beautiful couple, Anne and Matt:
Basic Apple Pie
- Total Time: 1 hours 15 minutes
- Yield: 1 pie
Ingredients
- 2 rounds pie dough (recipe below)
- 10 apples, whatever you like, I like Cortland and Honey Crisp
- 3/4 cup to 1 cup sugar
- 1 teaspoon cinnamon
- a grating of fresh cloves (optional)
- zest of one lemon (optional)
- juice of one lemon
- 2 tablespoons tapioca (the minute kind) or flour
- 2 tablespoons butter (cold or room temperature)
- 1 egg mixed with 1 tablespoon cream for the egg wash (use whatever egg wash you like)
Instructions
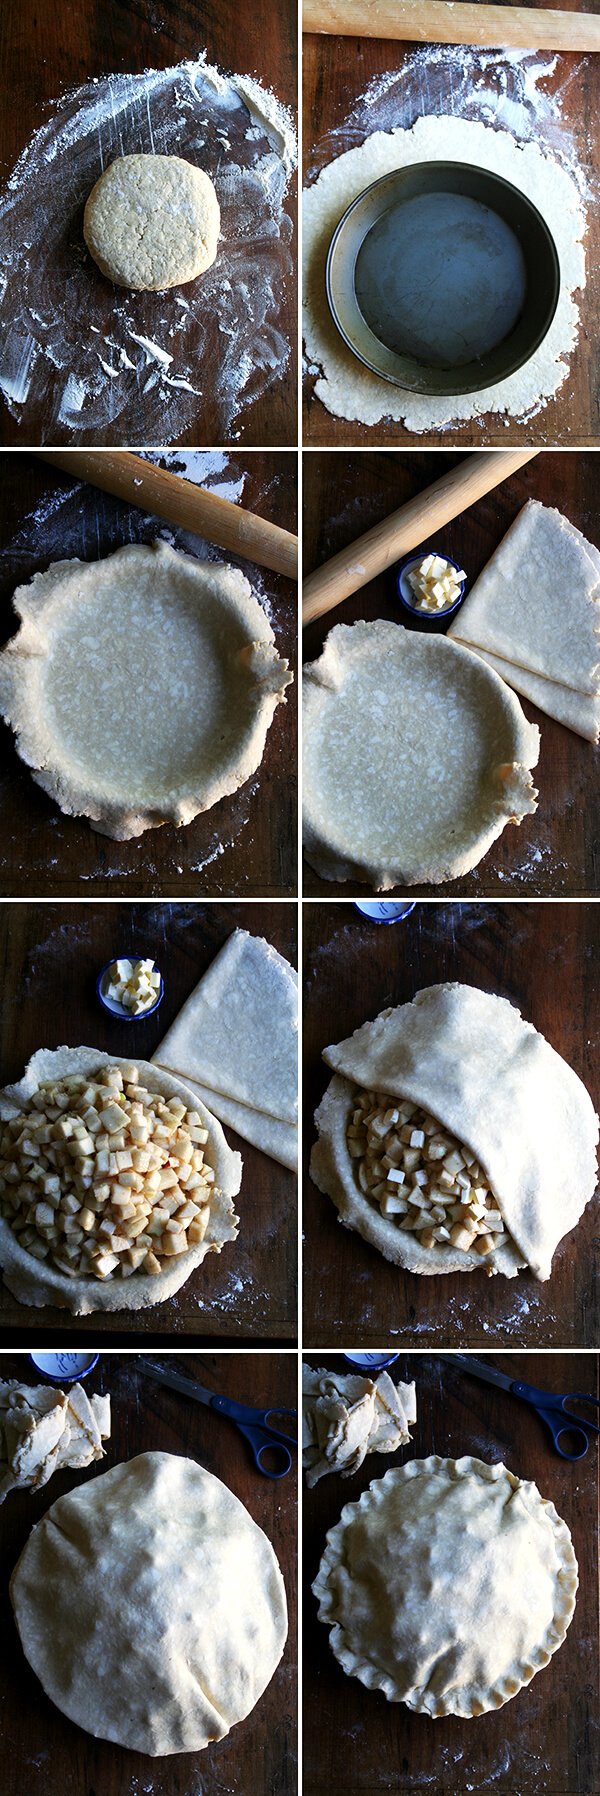
- Preheat the oven to 425ºF with racks in the lowest part of the oven. If you have a pizza stone or Steel, place it in the oven. Peel the apples and cut into large chunks. Place in a large bowl and toss with the 3/4 cup of sugar, the cinnamon, the cloves (if using), the zest (if using), the juice of one lemon and the tapioca. Set aside.
- On a lightly floured work surface, place one pie dough round in the center. Roll it out into a circle two inches larger in diameter than your pie plate. Fold the circle in half and in half again. Place in your pie plate and unfold. Press down gently so that the dough fits into the corners. Place pie plate in the fridge while you roll out the second round. Roll the second round out in the same fashion, making it a touch larger in diameter than the first round if possible.
- Taste an apple. If it doesn’t taste sweet enough, add the remaining 1/4 cup sugar and toss. Dump the apples into the center of your pie plate, using your hands to keep as many apples from tumbling out as possible. Cut the butter into small cubes and scatter them over the apples. Lay the second round of pie dough over top. Using scissors, trim the overhanging dough and set aside. (Wrap these scraps into a ball to make cinnamon snails or an apple galette.)
- To crimp the edges together, lay two fingers a finger’s-width apart from your right hand below the edge of the dough. Gently press down with your left finger in between the two fingers. Move two fingers’ width to the right and repeat — your left-most finger on your right hand will reinforce the impression made by the right-most finger from the first crimp. Or just crimp the edges together however you wish. It all tastes the same in the end.
- Brush the entire surface of the dough with the egg wash. Make slits using a sharp paring knife all over the surface. Place the pie on a parchment-lined baking sheet.
- Bake for 20 minutes at 425ºF. Reduce the temperature to 350ºF and continue baking until golden all over, anywhere from 30 minutes to an hour longer depending on your oven. I have been baking them closer to 30 minutes at 350ºF, but aunt Marcy, the expert, bakes them longer, so use your judgment.
- Prep Time: 25 minutes
- Cook Time: 50 minutes
- Category: Dessert
- Method: bake
- Cuisine: American
Foolproof Pie Dough Recipe
- Total Time: 20 minutes
- Yield: 2 nine-inch rounds
Description
This is the pie dough I use for everything: galettes, tarts, etc.
Dough can be made up to three days in advance and stored in the fridge or made weeks in advance and stored in the freezer. To thaw, place dough in the fridge overnight before baking.
To make a double batch: do not load your food processor with double quantities. Make the dough in separate batches — no need to wash the food processor in between batches.
Ingredients
- 2½ cups (320g) all-purpose flour
- 2 tablespoons sugar
- ½ teaspoon kosher salt
- 16 tablespoons (227g) unsalted butter, cut into small pieces and chilled
- ½ cup + 2 tablespoons (142g) ice water
Instructions
- In the bowl of a food processor, pulse the flour, sugar and salt together. Add the chilled, cubed butter. Pulse at 1-second intervals until butter is the size of peas — should be about 10 quick pulses. Add the ice water and pulse again about 10 times until the mixture is crumbly but holds together when pinched. (To make without a food processor: In a large bowl, whisk flour, sugar and salt together. Add the butter to the flour mixture, and using the back of a fork or a pastry cutter, incorporate it until it is in small pieces. Add ice water and continue to stir with fork until mixture it crumbly but holds together when pinched.)
- Lay two clean tea towels on a work surface. Dump half of the crumbly dough mixture into the center of each. Grab the four corners of the towel together and twist to create a beggar’s purse, pressing the dough into a round. Use your hands to pack and flatten the round. Wrap in plastic wrap or parchment paper, place in ziplock or other airtight bag/vessel, and stash in the fridge for 3 days or in the freezer for months.
- Prep Time: 20 minutes
- Category: Dessert
- Method: Food Processor
- Cuisine: American
This post may contain affiliate links. Please read my disclosure policy.



56 Comments on “Basic Apple Pie”
Alexandra – First off, you’re awesome. Thank you thank you thank you for this wonderful blog. The pie looks delish and I will most definitely be making it. I love apple pie and trying new pie recipes. Secondly, can you really freeze pie dough like that? I would love to premake my Thanksgiving pie dough. It’s probably the most labor intensive part of my Thanksgiving. (We eat a lot of pie.) I love the holiday season! Thanks a bunch!
Oh, Dana, thank you. You are too kind! And yes, absolutely in regard to freezing pie dough. I would just thaw it in the fridge the day before you plan on baking the pie — overnight would be plenty of time. We LOVE pie in my family too. I’m enlisted to make apple pie for Thanksgiving. I can’t wait. Let me know if there is anything else!
LOVED your tutorial and of course your pie looks A m a z I n g. Your aunt sure knows her stuff. Am anxious to try all your suggestions. Pie crust can be daunting. Thanks for doing it.
Soooo beautiful….sigh….and what a nice surprise to see a new post this soon….That is the prettiest pie I’ve ever seen and as always, the photos make me want to rush to the store for apples! Don’t you just love, love, love Fall?!
I know, I couldn’t have been more excited when I opened it. Now I just need to find a reason to make a pie delivery 🙂
OK, seriously, I have never seen a pie so tall! Impressive!
Alexandra – more stunning beauties. And perfect timing for the fall, have to go grab some apples and get to work this weekend! And i love all these pie techniques.
Oh, thanks, Andris!
That looks like a beautiful pie! I am delighted to accept Aunt Marcy’s guidance because she obviously knows what she is doing!
She is a master!
This pie is epic!! I have always said that I want a mess of pies at my wedding, instead of cake. So I love this!
I couldn’t agree more. As soon as Anne asked me, I wished I had thought of the same thing. Alas.
Yes, I have spent a whole afternoon making pie dough. Last year I even gave my Mother 12 rounds of pie dough, which brought a smile to her face. It is well worth the effort. I have been slacking this year (still recovering from shoulder surgery done last Oct. 31) but I will definitely be making pie dough this week. Thanksgiving Day will be here before you know it. ❤️ P.S. My Mother loved the Mullet Muffins! ❤️
Wow, what a generous and beautiful gift! I don’t know what I would do if someone gave me 12 rounds of pie dough?! Amazing. Hope your shoulder feels better soon. So happy to hear about the millet muffins.
Looks awesome! I so have to make this, it will be a great “answer” to my husband’s French apple tart!
Thumbs up on cloth diapers, I do the same and could not agree with you more, particularly on the “wash at night, dry the next morning” thing!
Let me know how your mom liked the cheese!
Mama Poule, I think we need to hang out 🙂 So glad you approve of the cloth diapers. I cannot wait for my mom to try the cheese…wish I had some right now to give her. I sent one to my aunt Marcy (also here for the weekend to watch the kids), too. They are going to be in heaven.
You know, I thought the same thing! Hope the weekend was fun–both for you and your husband at the wedding and for the kids with those fun babysitters!
It was fun…still recovering. I’m not cut out for these wild occasions anymore 🙂
I love apple pies in the fall. What does Marcy think about apple slices versus apple chunks? You are right. I should have pie crust in the freezer!
So, Marcy happens to be visiting right now, and she is partical to chunks vs. slices. She finds that slices tend to get to mushy. That said, she understands using those turning slicers especially if you need to peel and cut a lot of apples. Hope that helps!
G’day! Loved your step by step photos, very inspiring, true!
I could almost smell your pie through the computer screen and thank you for allowing me to learn something new! Cheers! Joanne
of course, Joanne!
you didn’t want to put Ella and Graham to work on a pie assembly line? I can imagine with their help you’d have some *lovely* and quite *creative* pies. This pie of yours is absolutely stunning. So gorgeous in fact that I worry it might upstage the bride and groom. That rippling ridge! the golden crust! those darling slits! Sigh, heaven. I think every family needs an aunt Marcy, perhaps you can lend her out? Or better yet, keep posting her tips here on your blog, especially as the holidays approach.
Oh, Talley, it’s always so nice to hear from you. Aunt Marcy would jump at the chance to come lend a hand, especially with Alice around. Seriously. You would have so much fun together.
PS: Please post more pics of Alice immediately!
You’re so lucky to have so many pie-makers in your family! Great resources! This pie is gorgeous! I’m saving the tips for later.
Thanks, Tracy 🙂
Hi Ali. That is one good looking pie! I have made a lot of pies, but pie dough has always given me trouble. I admire your aunt for being a pie genius. Few are. I have turned to pat-in-the-pan crusts. I like the shortbread-ness of them and you don’t have to roll them out and they don’t tear and they don’t give you any trouble. They are not flaky, true, but they are tasty. A freezer full of pie dough? That could be really fun.
You know, my mother-in-law always makes pat in the pan crusts for Thanksgiving pies, and they are always SO good. I need to explore that option a little more 🙂
yay! So happy to hear this. I know, the height makes for a dramatic presentation, right? And YES re pie dough in the freezer 🙂
On your recommendation I bought a PieBox. There was an issue and their customer service is top-notch!
Did you know they make a CakeBox too? It can hold 18 cupcakes or a 9 inch cake. Love it!
No way?! Awesome! I think I might have to buy the CakeBox…early Christmas present? I will rationalize this purchase one way or another 🙂
I’m gonna make pie dough tomorrow….have you ever heard of butternut squash pie? It’s my fav this time of year….I got the recipe out of one of my favorite books, The Dirty Life by Kristin Kimball….the pie is called “Ronnie Hollingsworth’s Most Excellent Squash Pie” and it is AWESOME!
OMG, totally looking up the recipe. That sounds amazing right now! Might have to bring that to Thanksgiving at my sister’s!
That pie box is amazing! Makes me want to make a bunch of pies and leave them on unsuspecting people’s doorsteps. Though I probably wouldn’t eat a surprise pie I found on my porch….
Haha, I love it. I suppose I wouldn’t either. At least not the whole thing 🙂 I am dying to buy the cake box now. I so don’t need it, but I have to have it.
Ali, do you have any suggestions for a way/s to keep pie dough from shrinking when you blind bake the crust? I’ve always had that problem and as of yesterday I still do! lol!
Laurie, hi! Do you blind bake with pie beads or dried beans? I have instructions on this post: https://alexandracooks.com/2012/11/20/maple-cream-tart/
First I “dock” the bottom of the crust with a fork; then I line it with parchment and fill it with dried beans. You can see that the crust shrinks a little bit, but the technique works pretty well. Hope that helps! xo!
Hi Alexandra!! This looks absolutely DELISH!!! I have a VERY dumb question but is the sugar normal or confectioners sugar? Because the pies I’ve previously made all had normal.
Going to make this one for my cousins fiancés family visiting tomorrow for the first time!!!! Hope it’s a hit *fingers crossed*
Fun! I hope it turns out well. Let me know if you have any other questions along the way — I’ll try to check my email during the day. It is normal sugar, not confectioners. Good luck!
Your wedding pie looks delicious and I want your Aunt Marcy to be my aunt too!!
She would love to be your auntie!
What a gorgeous Apple Pie! I love having pie dough in the freezer. The only thing better is having it already rolled out, set into a pie pan, all ready to go in the freezer! That makes pie making a snap. This is an inspiring and beautiful post.
Thank you, Adri!
Okay so first off, you have an amazing blog and I’m so glad I found it!!
Tried the pie today and it turned out deliciously tart with just the right amount of sweet, everyone loved it! ( I added the lemon zest and 3/4 cup sugar ) …I have a few questions… Even though the pie was incredible, I did have some oozyness issues, the apples ( I’m guessing ) let out a fair amount of water and the melting of the sugar definitely added to form a sort of ‘syrup’, I let the apple, sugar + spice mix sit for about 20mins while the dough chilled. I winged it and just added the ‘syrup’ to the pie along with the apples. Should i not have done that? But i did like the caramely taste of the baked syrup, I just drizzled it on top of a piece of pie just before serving it, was delicious and worked out for the best 🙂 as for the crust, i used your foolproof all butter pie dough since i did not have a processor. my crust didn’t really set well, was sort of crumbly and cracked a lot when I tried to roll it, but eventually came together a bit chunkier than yours and I managed to fold and place in the dish. Should I have added more water you think? But all said and done the texture was great! It did ‘shatter’ yumm!! When I get my processed back I’m going to try your lovely aunt’s version! Thanks to her and to you for all the insightful tips!! Your pie looks amazing, by the way!!!
And also, I’m just going to jam this in here, I made your banana bread the other day, and when I added the milk, mixed with a spoon on yogurt (instead ofnthe buttermilk) the whole batter curdled! Do you know why this happened? I baked it off anyway and it tasted good but maybe a little dense… Would love to hear your thoughts on this..
Keep up the great work on the blog! Will be checking in for more soon!
Best wishes
Ali, you are my sourdough guru! I’ve learned to bake bread because of you! Thank you! I was excited to try this apple pie recipe for Thanksgiving. I made it & it looked delicious! Sadly, I had to throw it in the garbage because it was infused with the taste of aluminum foil. I realized that the foil had melted into the bottom of the oven. We are working on removing it but so far, it will not come off completely. The oven is brand new & I’m hoping it’s not permanently ruined. After searching for solutions online, I discovered this is a big issue with new ovens. Great recipe, but I beg you to remove the part about the tin foil! Save others from this fate!
Oh my goodness, Deirdre! I am so sorry to hear this 😩 😩 😩 😩 I feel terrible. I have edited the instructions. What’s sad about this is that I don’t remember the last time I lined my oven with foil — I always bake pies or tarts on foil-lined or parchment-lined baking sheets to catch the drips. This recipe is old, and I haven’t revisited it in so long …. I am so, so sorry about your oven. I hope you are able to get the foil off soon.
Your are sooo good at what you do. I have made your spaghetti and zucchini, millet muffins, oatmill muffins to day I made your apple pie. I can’t say enough about how good each one was. The pie crust was off the chain but so was all the other recipes. I’ve also made the peasant bread and the gluten free. There is not one recipe that I’ve made of yours that was not the very best. I’ve not got your cookbook just yet. I hope too get it next month for my birthday in August.
You have inspire me in so many ways. The next venture I have plans to make your sour dough starter in hopes of making the sourmdough bread. Thank You from the bottom of my heart,.
Sherrie! You are too sweet to write all of this. Thank you so much for taking the time. I am so happy to read about all of your successes. Nothing makes me happier, truly. Hope you do get my book one day, and I hope you love it when you do. Thanks again for writing!
Thank you for this most beautiful pie! So the dough does not need to rest in the fridge before rolling it out?
Hi Pam! Good question, and this is something I don’t exactly know how to answer, because when I make galettes, I never let the dough rest — I make the dough, roll it out, fill and proceed. Sometimes I’ll chill the assembled galette before baking, but otherwise, I do not let the dough rest before rolling unless it is convenient for my schedule. That said, the reason pastry chefs encourage the chilling before rolling is that it allows the flour to fully hydrate, and it also allows the gluten to relax a bit, which helps making rolling out easier as well.
Truthfully, with the food processor method and tea towel method I use now exclusively for all of my pies, tarts, galettes, and the like, I don’t think a rest in the fridge makes a difference.
Alexandra, do you use CONVECTION bake or just conventional old-school bake setting?
I’m never sure which to use and when.
Thanks
I use the old-school bake setting for baked goods. I never really use convection bake as I’m not sure when to use it… I use convection roast on vegetables, meat, fish, etc.
I have made your apple/frangipane tart (it was insanely good) and am so excited to try this recipe for Thanksgiving! I have a question about the quantity of apples though. Do you happen to know about how many pounds/grams the “10 honeycrisp apples” would equate to? 10 apples seems like a LOT, even with it mounding up quite high like the pictures show. The apples at my grocery store are quite large, so I wanted to ask before I go shopping.
Hi Anna! That is a great question, and I, too, have seen those massive Honey Crisps — I think you’d probably only need 4-5 of those large apples. I unfortunately don’t know a weight offhand. Hope you love it 🙂 🙂 🙂
Hello! Your recipes are amazing. I’ve made so many different savory and sweet ones, all with success. If there is a way to add cups or grams of apples needed on this recipe instead of quantities, that would be most appreciated. There is such a huge variety of apple sizes.
Thank you!
Peg.
You are so right, Peg! The next time I make it I will weigh the apple slices and update the recipe. I hear you – apples can range from massive to tiny in size.