Easy, No-Knead Dinner Rolls
This post may contain affiliate links. Please read my disclosure policy.
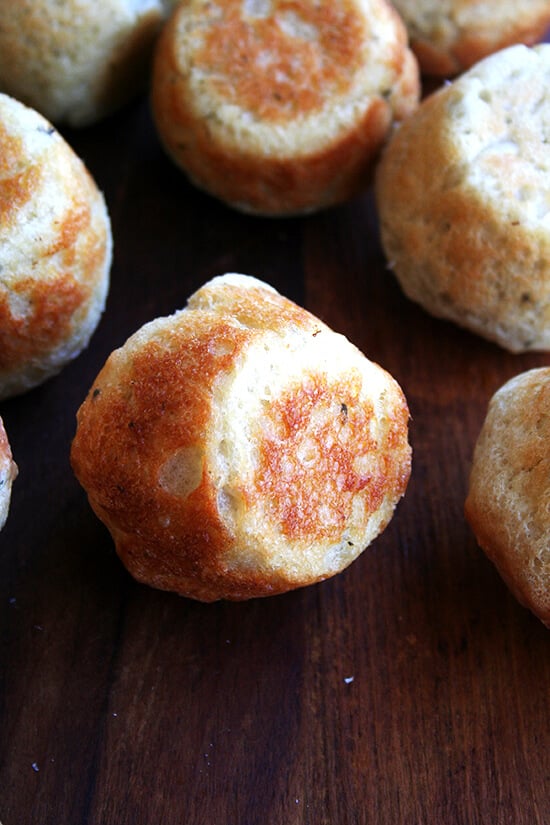
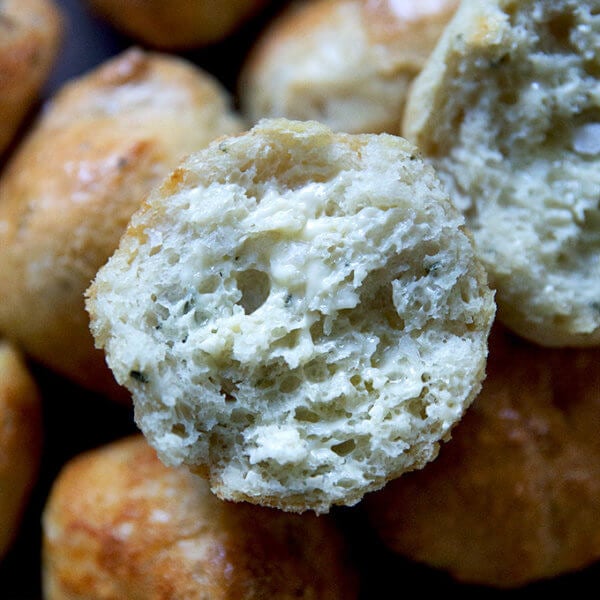
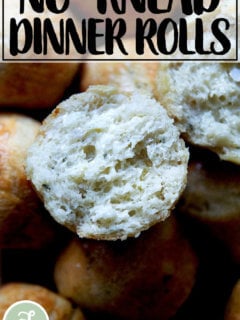
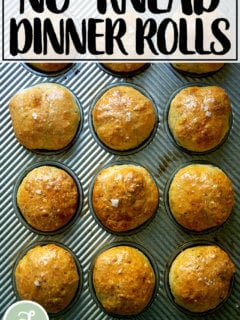
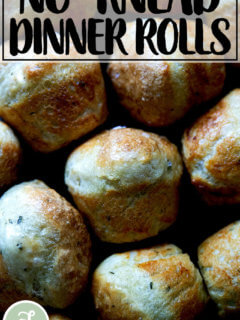
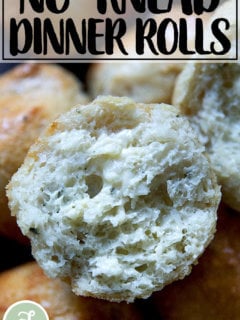
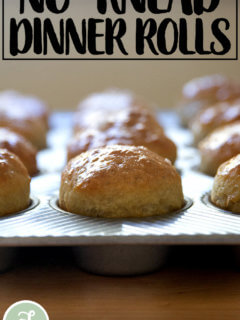
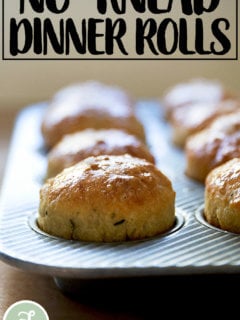
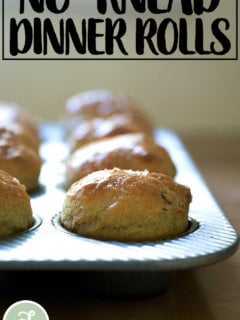
These no-knead dinner rolls are a snap to throw together. Thanks to the help of a muffin tin, you don’t have to do any tricky shaping. Buttery and crisp on the exterior and soft and tender on the interior, these rolls are perfect for the holiday table! 🍞🍞🍞🍞🍞🍞
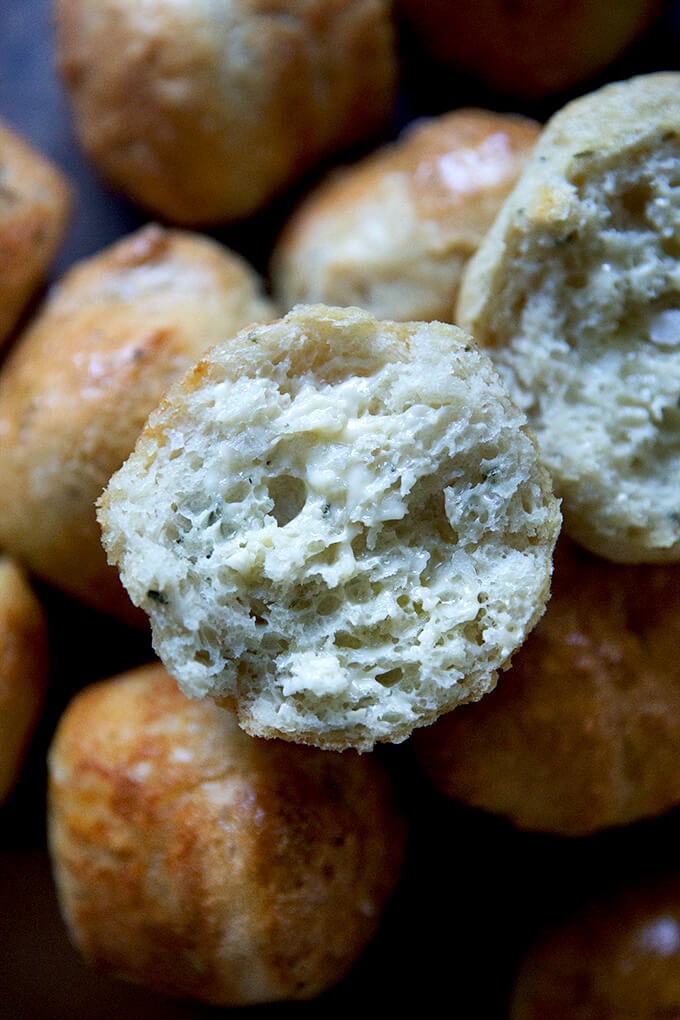
I know you may think there is no possible way you have time to add one more item, let alone homemade dinner rolls, to your Thanksgiving Day timetable, but I’m here on this snowy November morning to encourage — to insist! — that you do. You absolutely have time.
Homemade Dinner Rolls? Yes. You. Can.
- Because this is a no-knead dough, it takes five minutes to mix together, especially if you use instant yeast, If you are using active dry yeast, the process takes just a few minutes longer. (See recipe for detailed instructions on how to use active dry yeast.)
- Because the dough is such high-hydration — meaning the ratio of water to flour is high — you can mix it by hand — no need to haul out the stand mixer.
- Because these rolls bake in a 12-cup muffin tin, there is no need to flour up a workspace or to get your hands dirty shaping individual rolls. Handling this dough requires no skill.
- This dough can rise in the corner of your kitchen all morning long. While that turkey roasts away, you can punch the dough down as many times as you need, and when at last you find the oven free of birds and stuffings and gratins, in will go your rolls.
- These rolls bake in 25 minutes. If you plan on letting your turkey rest for a good 30 minutes before carving, you’ll have plenty of time to let these rolls make their second rise (15 to 20 minutes) and to bake them before your guests are seated around the table, at which point you will pass around a basket of steaming hot, thyme-flecked rolls.
How to Make Dinner Rolls Ahead of Time
If you’d like to cross one to-do off your list, know this: you can mix this dough the day before you plan on baking it and stash it in the fridge. (You can do this with any bread recipe in fact.) In the morning remove the bowl, and let the dough continue to rise at room temperature until it has doubled. If it already has doubled, punch it down, and let it rise again.
About an hour before you plan on serving the rolls, butter your muffin tin, portion the dough among the muffin cups, and let the dough rise for 15-20 minutes; then bake the dinner rolls as directed.
How to Freeze Dinner Rolls
There are two ways to freeze dinner rolls:
- After you bake them: Simply transfer to an airtight bag or container and freeze for up to 3 months.
- Before you bake them: I like to freeze dough after it makes one rise. For this recipe you could freeze the punched-down dough in an airtight container. Thaw the dough at room temperature for 5 to 6 hours; then proceed with the recipe.
More Recipes for Homemade Dinner Rolls
- Buttermilk Pull-Apart Rolls (another holiday favorite…tastes like Parker House Rolls)
- No-Knead Brioche Buns (you can bake these brioche buns as instructed below in a muffin tin)
- Hot Cross Buns (a sweet, pull-apart roll)
- Rosemary-Olive Dinner Rolls (you could also simply add rosemary and olives to the recipe below)
- Honey-Buttermilk Dinner Rolls
I know that from getting the turkey cooked to keeping the stuffing and the vegetables and the plates warm to keeping your guests entertained Thanksgiving can be a logistical nightmare challenge. And when there truly are so many wonderful take-and-bake options in your supermarket freezer, why not cross one thing off your to-do list?
Well, because if there ever was an occasion to push your domestic stamina to its limits, to display your culinary prowess, it’s Thanksgiving. I mean, where is the fun in effortless entertaining?
Pony up, Friends!
Nothing says you care like freshly baked bread (and turkey and stuffing and gravy and pumpkin (squash!) pie and punch). Happy Thanksgiving!
How to Make No-Knead Dinner Rolls
Whisk together flour, salt, sugar, SAF instant yeast, and thyme:
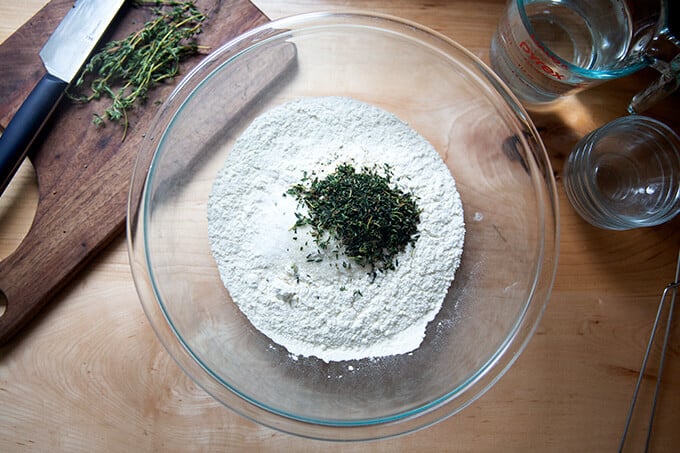
Add water.
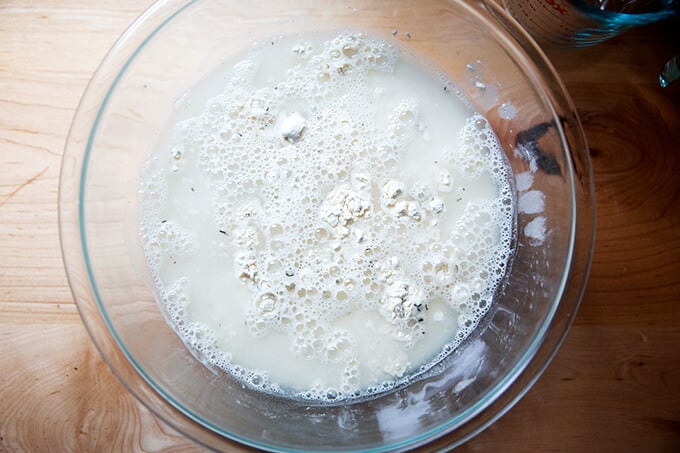
Stir to form a sticky dough ball:
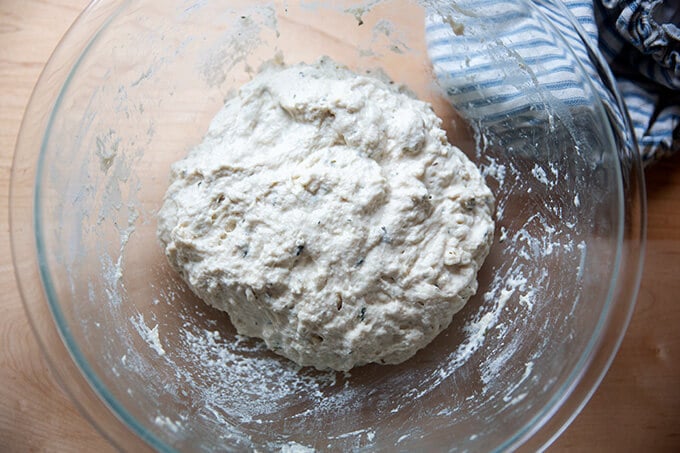
Let rise in a warm spot for 1.5-2 hours or until doubled in volume:
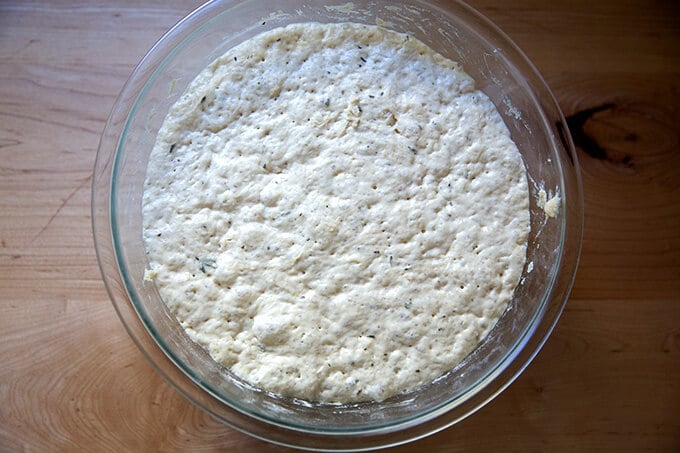
Deflate the dough using two forks. (See video for guidance.)
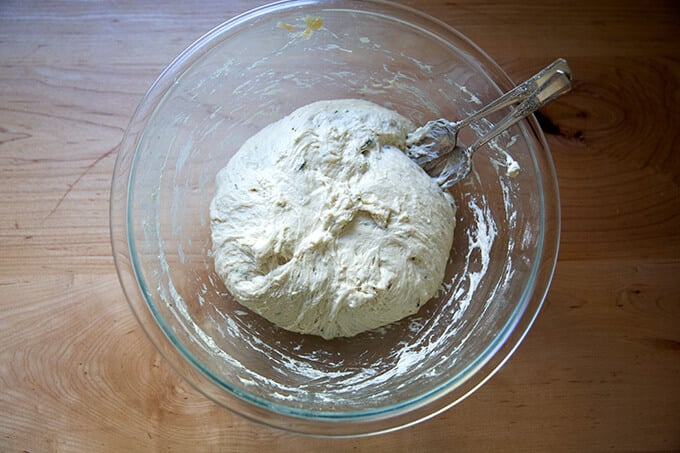
Divide the dough evenly among a 12-cup muffin tin:
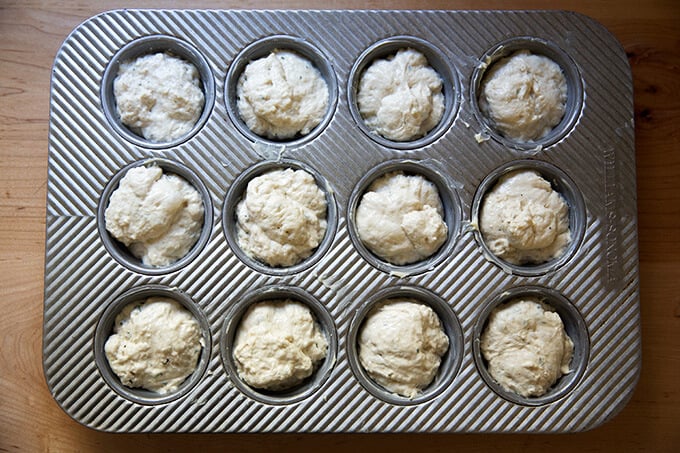
Let rise again for 15-20 minutes or…
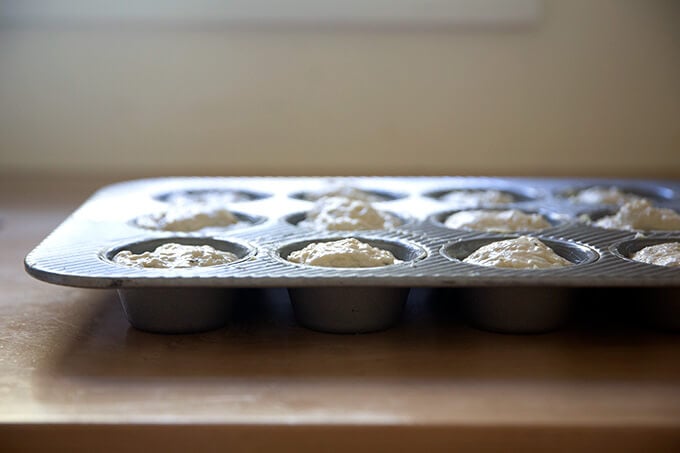
… until dough has puffed above the rim of the pan. Transfer to the oven, and bake until …
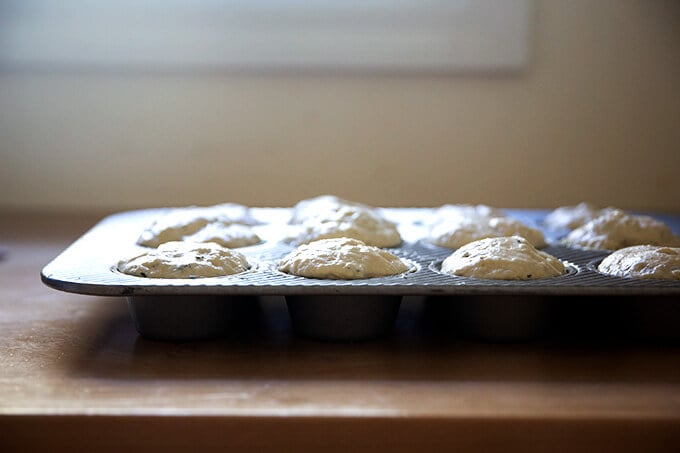
… evenly golden, about 25 minutes.
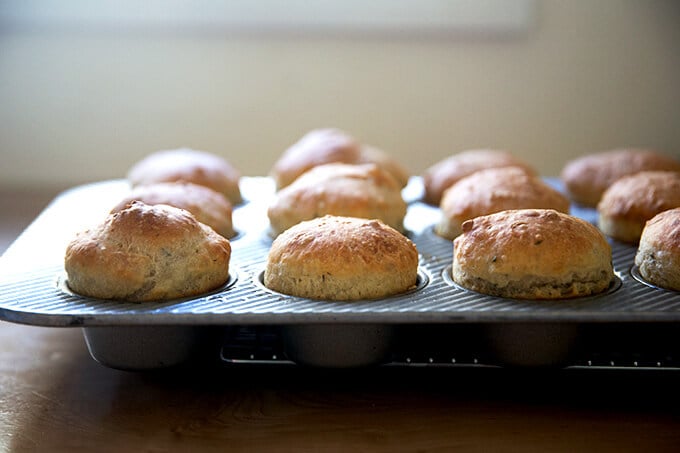
Optional: butter the tops and sprinkle with sea salt.
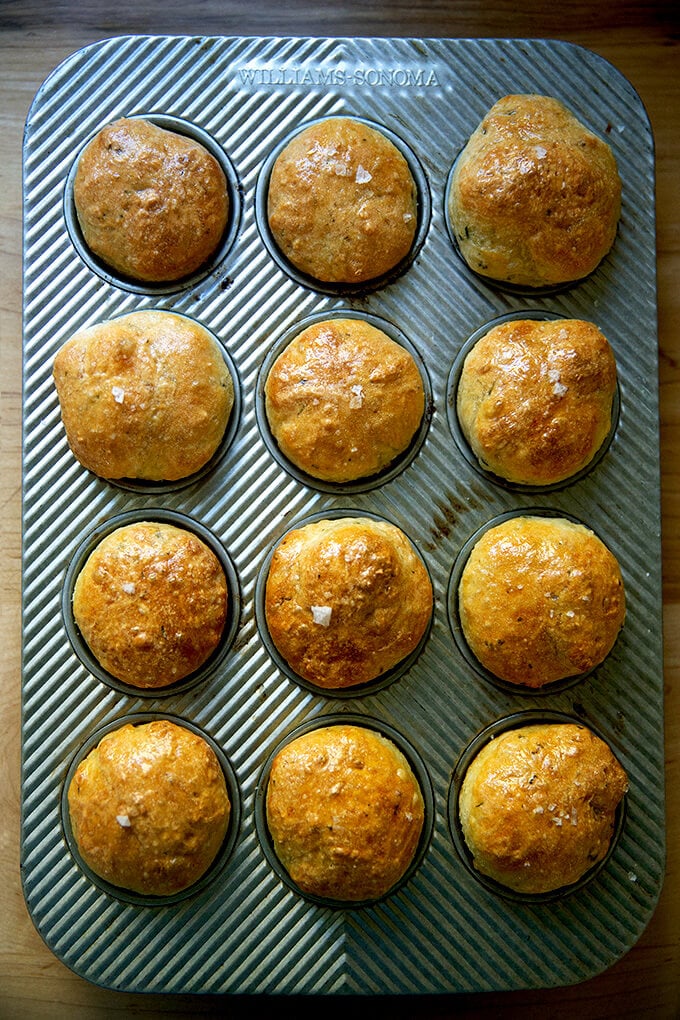
Maybe not optional … the buttery, sea salt crust is irresistible.
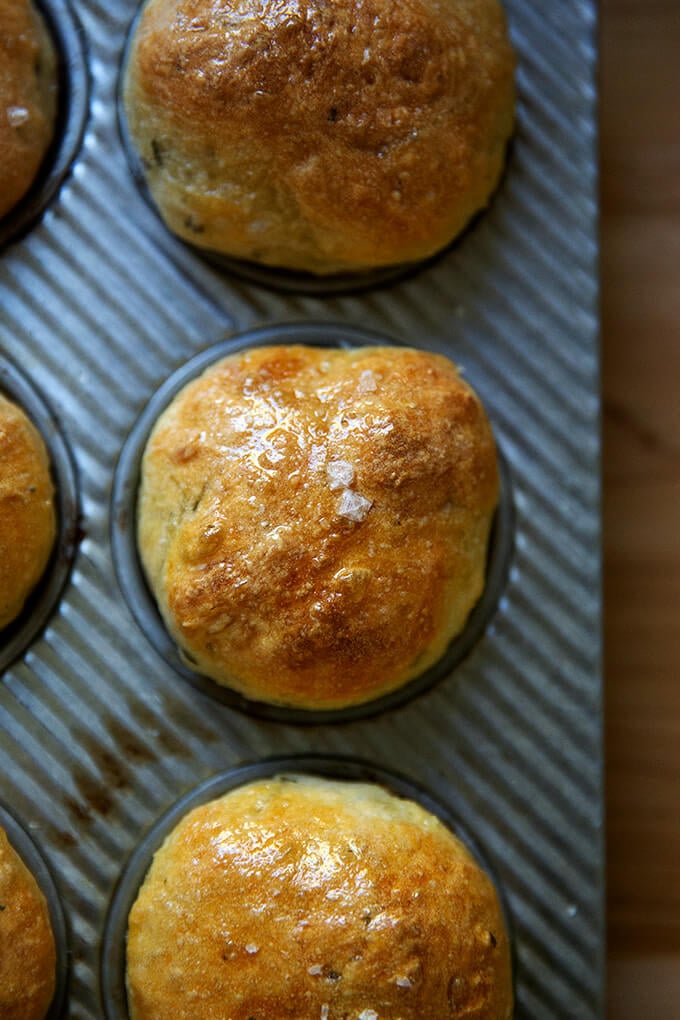
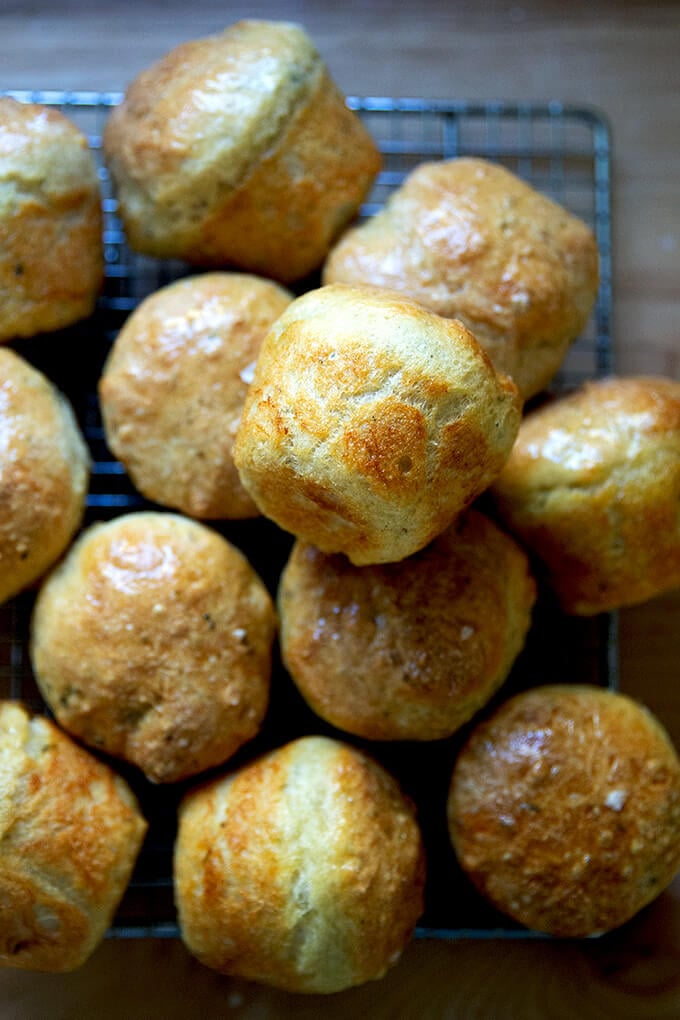
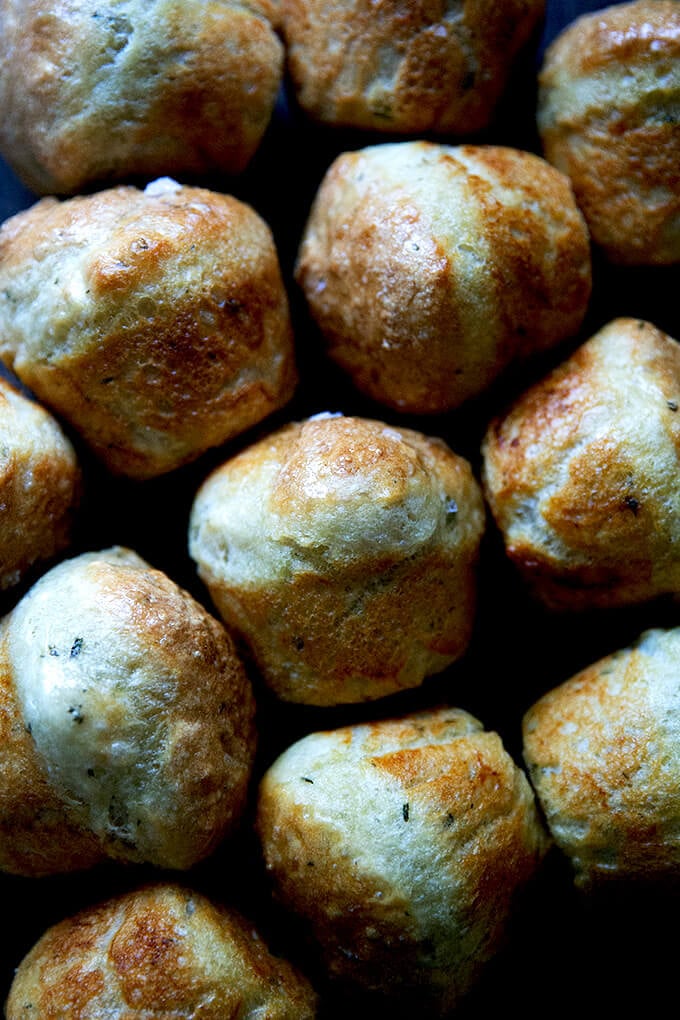
Transfer the rolls to a bread basket, and pass the butter!
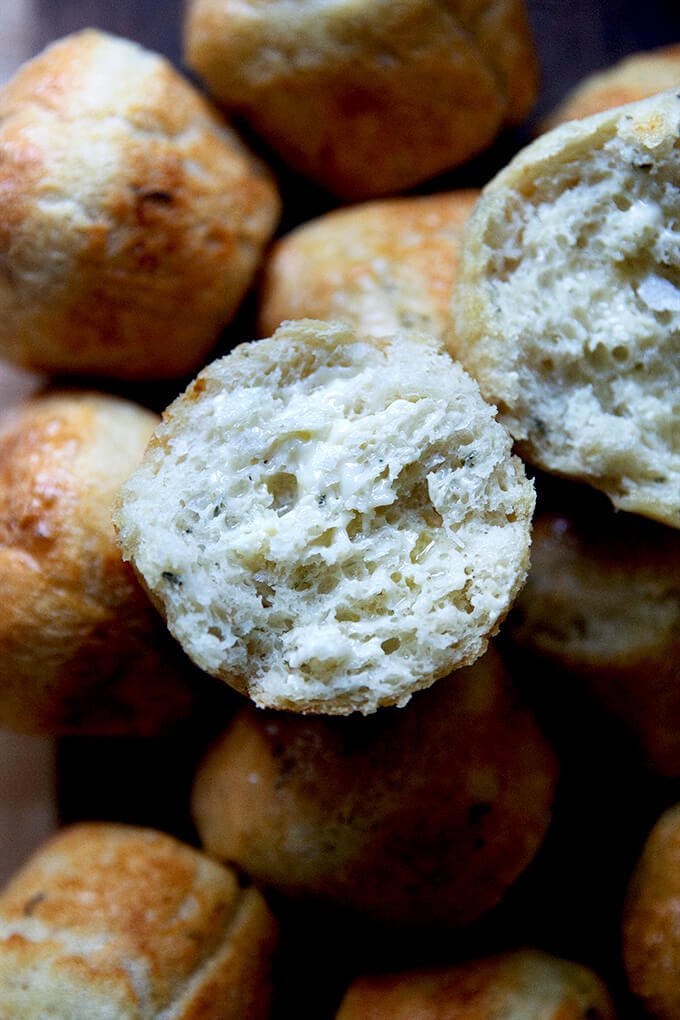
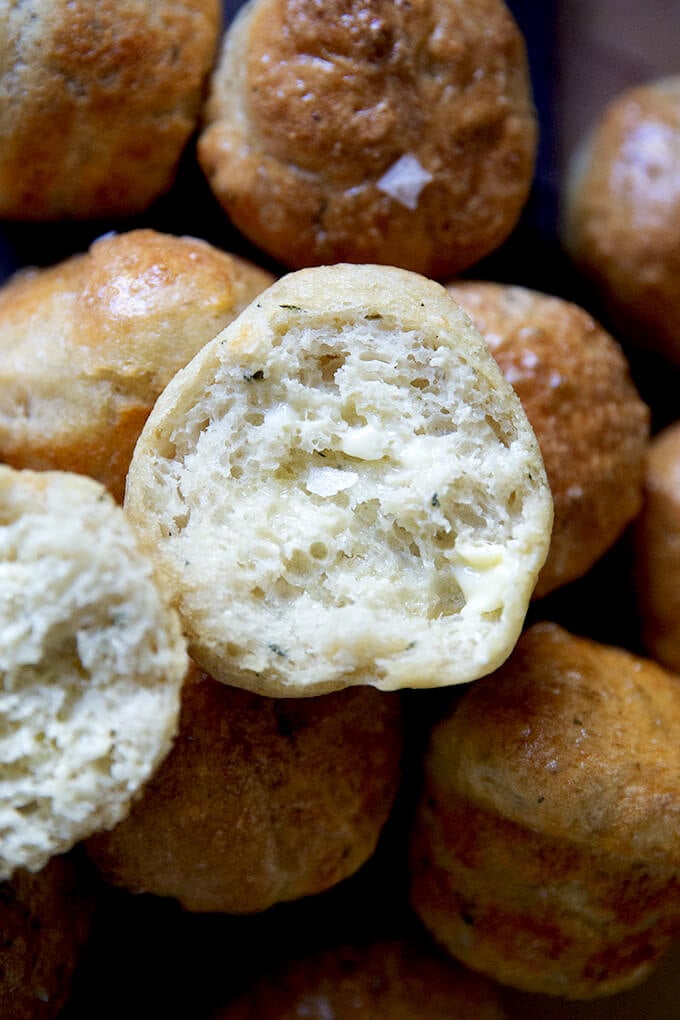
I mean it, I could totally skip the turkey.
Easy, No-Knead Dinner Rolls
- Total Time: 3 hours 30 minutes
- Yield: 12 to 14
Description
Notes:
- This is yet another variation of my mother’s peasant bread. I love using my muffin tin to make rolls especially around the holidays — there’s something truly festive about passing a basket of rolls around the table.
- If you love this recipe, you might love my cookbook, Bread Toast Crumbs, which is all about easy bread baking and how to use every last crumb from the many loaves you bake.
- Yeast: You can buy both SAF instant yeast and Red Star active dry yeast in bulk from Amazon. After you open the pouches, transfer the yeast to an airtight container and store in the fridge or freezer, where they will last forever. If you are using the individual packets of yeast, go ahead and use the whole packet — each is 2.25 teaspoons, which is fine for this recipe.
- To make foolproof lukewarm water, boil some water — I use my teapot. Then, mix 1 1/2 cups cold water with 1/2 cup boiling water. This ratio of hot to cold water will be the perfect temperature for the yeast.
- To can create a warm spot for your bread to rise: Turn your oven on; then turn it off after 1 minute — this will create just a slightly warm environment to get the bread rising nicely.
- Butter: If you wish, you can melt a few tablespoons of butter and brush the tops of the just-baked rolls; then sprinkle with sea salt.
Ingredients
- 4 cups (512 g) unbleached all-purpose flour
- 2 teaspoons (10 g) kosher salt
- 2 teaspoons (8 g) sugar
- 2 teaspoons (8 g) instant yeast or active dry yeast, see notes above
- 1 to 2 tablespoons minced fresh thyme leaves or other herbs (a mix of rosemary, sage, and thyme is nice)
- 2 cups (454 g) lukewarm water, see notes above
- room temperature butter, about 2 tablespoons, plus more for brushing, if you wish, see notes above
Instructions
- If you are using instant yeast: In a large mixing bowl, whisk together the flour, salt, sugar, instant yeast, and fresh thyme leaves. Add the water. Mix until the flour is absorbed. Cover with plastic wrap or a tea towel or cloth bowl cover. Place in a warm spot to rise (see notes above) for 1.5 to 2 hours.
- If you are using active dry yeast: In a small mixing bowl, dissolve the sugar into the water. Sprinkle the yeast over top. There is no need to stir it up. Let it stand for about 10 to 15 minutes or until the mixture is foamy and/or bubbling just a bit — this step will ensure that the yeast is active. Meanwhile, in a large bowl, whisk together the flour, salt, and thyme. When the yeast-water-sugar mixture is foamy, stir it up, and add it to the flour bowl. Mix until the flour is absorbed. Cover with plastic wrap or a tea towel or cloth bowl cover. (At this point, you can cover the bowl and place it in the fridge for 1 to 3 days.)
- Place in a warm spot to rise (see notes above) for 1.5 to 2 hours. Meanwhile, generously butter a 12-cup muffin pan, plus a few ramekins (2 to 4) if you wish… recently, for simplicity, I have just been baking 12 large dinner rolls in my muffin tin and not bothering with the ramekins.
- Preheat the oven to 425ºF. Using two forks, punch down your dough, by pulling it from the sides — see video for guidance — and to the center. You want to loosen the dough entirely from the sides of the bowl. Take your two forks and divide the dough roughly into 6 portions. Then, using the two forks, scoop up half of each of these portions and plop each into a buttered muffin cup. Repeat with remaining dough. This won’t be pretty, but it doesn’t matter. Try your best to divide the dough equally, and if you have extra dough, bake it off in the buttered ramekins. Let the dough rise for about 17 to 20 minutes or until it has risen to just above the top of the muffin cups.
- Bake for 15 minutes. Reduce the heat to 375º and make for 10 to 15 minutes longer. Remove from the oven and turn the rolls onto a cooling rack or directly into a bread basket. Pass the butter. (Note: If you wish to butter the tops of the rolls, do so in the muffin tin or on the cooling rack. A sprinkling of sea salt over top is a nice touch.)
- Prep Time: 3 hours
- Cook Time: 30 minutes
- Category: Bread
- Method: Baked
- Cuisine: American
This post may contain affiliate links. Please read my disclosure policy.




271 Comments on “Easy, No-Knead Dinner Rolls”
I love the peasant bread. I’ve made it twice already, each time substitutin some water for olive oil, and adding herbs de provence. After the 1st time, I bought your book. It’s great!
I made the coconut bread, but let it rise a lot longer than the 2 hours. Is it why the bread was sour?
Hi Katrina! Thank you so much for buying Bread Toast Crumbs! It means the world. Your herbs de provence variation sounds delicious. In regard to the coconut variation, it’s possible that the longer rise made it taste sour, but I can’t say for sure. Was it rising much more slowly than the other breads you’ve made? The sugar and coconut milk definitely slow down the rising, but I’m curious about your experience.
I’ve made these several times, they are delicious and so easy to make! Thanks for the recipe.
Woohoo!
Looking forwards to making these for Thanksgiving! I’ve become a big bread baker since getting your book over the summer – so much so that my family asked me to make the rolls this year instead of buying them! The only question I have is on how to reheat them. With the bread I make, generally the crispy crust is gone by the next day and comes back easily with a reheat. As I will probably have to make these the night before or very early on Thanksgiving (no chance I can win a fight for an oven during prime cooking time), what is your suggestion for reheating these or any other rolls I could make from your recipes so they are crispy and delicious again?
Hi! First, I’m so happy to hear about your bread baking, Rebecca! Second, very good questions. I typically bake them when the oven is free and the turkey is resting, but I do have this portable oven that I break out for holidays, so I understand if this is an impossibility if you are working with only one oven. You are absolutely right re the crust going soft after a day. The rolls will revive with a brief heating in the oven. If you can bake them on Thanksgiving morning, that is ideal — then, I would give them 15 minutes at 350 to warm up. Pop them in a tea-towel lined basket, and pass them around! Let me know if that answers your questions. Oh! If you have to bake them the day before. I would store them in ziplock bags, once they cool. Then reheat the same way. Happy Thanksgiving, Rebecca!
Hi Alexandra,
Thanks for posting such a simple, delicious and unforgettable recipe. It has quickly become our favourite home made bread. I’ve only made the bread (not the rolls) and have found storing it in a brown paper bag lets the crust stay crispy. You can keep the bread in the paper bag for ~4 days without it becoming too hard. After 6 days (how did it not get eaten sooner?) the crust is quite hard but the inside is still soft and moist. The crust of the toast made from 6 day old bread is awesomely CRUNCHY and pairs very well with scrambled eggs.
Thanks again for this great recipe.
Cheers from Australia.
Rob
Wonderful to hear this, Rob! Thanks for taking the time to write. I’ve actually started storing my bread in paper bags as well. A friend gave me a Uashmama bag — washable paper bag — for my birthday a few weeks ago, and I absolutely love it. Incidentally, Uashmama is an Australian company. Do you know them? Love my Uashmama bags.
Help! Followed the instructions for instant yeast (not expired). and after 2 hours the dough hasn’t risen.☹️
Please Help! I followed the instructions for instant yeast and after 2 hours the dough still hasn’t risen. I then used the oven warming instructions and let it sit the oven for an hour and all that happened is the dough developed a cooked crispy crust.
Hi! So, your yeast isn’t expired, so that’s a good step. Question: how long did you preheat your oven for? It sounds as though it may have been too hot. You only want to preheat your oven for a minute total — it shouldn’t be hotter than 110ºF or so. Also, did you use lukewarm water: 1.5 cups cold water mixed with .5 cups boiling? Are you using a scale to measure your flour or measuring cups?
I microwaved water to 105 degrees. I normally let bread dough sit on top of a 250 degree oven. I was cooking on stove top this time and so let the bowl sit next to a large pot full of boiling water. Thought your instructions said heat oven to 350 and after a minute turn it off. That is what I did. I was going to o try to bake them anyway but it was late so I put the dough in the refrigerator and started reading about the possibility that adding yeast and trying to rise again might save the dough. I haven’t had time to add yeast yet, but took the dough out of the refrigerator and put it on top of an oven heated to 350 and then turned off. Any way to save this dough?
I think the issue is that your oven is too hot — you’re just trying to create a warm spot for your dough to rise. So, all you need to do is turn your oven on for a minute, then shut it off — it doesn’t matter what temp you set it to, the important thing is that it’s not hotter than 110 degrees or so. I think your dough has been cooking partially during the first “rise.” I would toss the dough and start over. I know it’s a bummer to waste ingredients, but I think you’re going to be more frustrated by putting more effort into this same batch of dough and not seeing any positive results in the end. Wish I were there to help!
I’ve found tht just using the light in my oven bring the temp up to 96 degrees, and have not had a rise failure since.
Great tip Phil!
have you ever tried hand forming the rolls and baking on a sheet pan?
That won’t work with this dough. It is a very wet dough.
I made this recipe Saturday night to serve on Sunday afternoon lunch after church meeting. I was feeling tired and rushed, so I made two loaves instead of rolls. Turned out delicious and this bread makes wonderful toast! I did not have fresh thyme on hand, so used dried thyme instead. I think that fresh thyme would have imparted more flavor and so next time I will use it.
Hi Alexandra, I’ve been making your awesome peasant bread since your book came out and my entire family always devours it. I made these thyme rolls for the first time and they are amazing!! The buttery crust is the best part of your bread. So with the rolls, you get a lot more crust. I added a teaspoon of garlic powder also and the combination is perfect. I’ve got to go walk 5K more steps now!
Hi Alexandra, I made these rolls and the flavor is amazing. Unfortuanately they were very tough and chewy. Do you have any ideas as to what could have happened? I’m a novice bread baker, so any advice is appreciated! I’m hoping to improve the texture so I can make them for Thanksgiving.
Thanks!
Leah
Hi Leah! Sorry for the delay here. Questions: how long did you let the first rise go? Did it look OK? as in doubled? One thing that might help the texture is to increase the length of the first rise. Try for 2 hours. And then make sure the dough is creeping above the rim of the pan before putting the pan in the oven. Hope that helps!
I love your regular peseant bread recipe, and have made it multiple times, it’s always a hit! I looked at this recipe because I wanted to make rolls instead of loaves. Can you double the recipe (for your peasant bread in general), and leave some dough resting while some is baking? Or is it better to do it one batch at a time. Also how long should you leave it in the oven for rolls
Yes, you can double the recipe! And yes, you can leave some dough resting, while half of it bakes off in bowls or muffin cups or whatever. Rolls bake for about 25 minutes. See the recipe for times and temperatures. So happy you like this one.
Made this today for a Thanksgiving practice run. I am totally ashamed to say that my husband and I each had four rolls straight out of the oven. They were sooooo good and so easy. We skipped lunch, so whatever, it all evens out.
So happy to hear this, Taylor! And it totally evens out … you’re good 🙂 🙂 🙂
Should either the dough or the baked rolls freeze well? I just harvested a bounty of fresh thyme, but it likely won’t last through the holidays.
Oh yes! The bread freezes beautifully. Wait for it to cool completely; then freeze it in an airtight container. Love these!
How best to reheat after they have been frozen? Also, will they be as good after a stint in the freezer?
Hi! I would thaw at room temperature. Then heat on a sheet pan or heat-safe bowl for 15 minutes at 350ºF or so.
If you freeze the rolls when they are freshly baked (once they have cooled completely, of course), they will reheat beautifully!
Made these today for Thanksgiving and everyone loved them! I used rosemary instead of thyme cuz that’s what was growing in the yard. They were wonderful and as forgiving as advertised. It got punched down three times and haphazardly divided into 13 rolls and I still had to hide some to kepp guests from taking them all home. Thanks again, Alexandra!
Oh I love it! Thanks so much for writing in. So happy the process was easy and adaptable to your kitchen/baking schedule. Happy happy Thanksgiving!
So easy, so wonderful! New Thanksgiving tradition for my family. Had to leave out the thyme because young children/green stuff. Thankful for this recipe and such clear instructions.
So happy to hear this, Cathy!
Sure! I’ve never tried, so I can’t say for sure, but if you like dried marjoram, go for it. I would just say to go light — maybe start with a teaspoon and see how it goes? Fresh rosemary is also an option.
Is it possible to refrigerator proof this bread overnight?
Yes! After you mix the dough, stick the bowl in the fridge. The following morning, butter your muffin tins, plop the dough into each cup, let rise, then bake as directed.
Holy $%# these are so delicious. I did a full recipe, 12 cupcake sized rolls with fresh organic rosemary instead of thyme for Thanksgiving dinner, then a half recipe for plain rolls with extra butter on top. I was already a H U G E fan of peasant bread. Can’t believe it took me so long to try the rolls. Life changing!
SO happy to hear this, Kate!! Happy happy Thanksgiving to you!!
Can you use olive oil instead of butter to grease the bowls?
No! It doesn’t work … hope I’m getting to you in time. For whatever reason, olive oil does not create the requisite non-stick barrier.
Yes, in time. Thanks, I’ll use vegan butter … what an oxymoron that is … lol … making this for a vegan.
Great! and I know, right?! 🙂
Have made the peasant bread many times and it is absolutely WONDERFUL! Thank you so much for sharing this recipe. I want to make the rolls…however not everyone in my family likes thyme nor rosemary…. what would you suggest as other milder options to add in? Looking forward to your reply.
So nice to hear this, Lisa! I wonder if some dried oregano (maybe 3/4 teaspoon?) might be a nice, milder option? Do you like oregano?
I love this recipe and I love the Book and I love the bowls! I have made the bread!
I would like a little more texture, mine was a bit dense with no nooks and crannies where the butter drips into your hands if you toast itand butter it!
Hi Sally! So nice to hear this! To get more texture, you may have to increase the rise times a bit. How long was each of the rises?
These were great and so easy to make! I could not taste the thyme though but my bad. I just looked back at the recipe. I used two tsps instead of two tbspns. Can’t wait to make again! I actually turned the dough out onto a lightly floured board after rising and cut into pieces and put into the muffin tin. Worked liked a charm.
Wonderful to hear this, Robin!
genius ideas here! Thanks, and thanks for including weight measurements for the ingredients. The refrigerator option is also great; increases the timing flexibility.
One little suggestion: SAF yeast is available from sources other than Amazon. I won’t mention them here because I’m not sure what arrangements you have with Amazon or other vendors, but many of your readers might be among those who will not use Amazon, objecting to their treatment of workers, vendors, the communities they are located in and more. Search for the yeast and other sources will pop up. This doesn’t limit anyone’s choices; it just expands them.Thanks for your stories and your recipes.
Hi RSP! Thank you for all of this. Baker’s Authority is a great source for buying flour (in large quantities) as well as SAF instant yeast. Thank you for bringing this to my attention.
These are just the absolute best dinner rolls. So easy to make, lovely crispy exterior and soft interior, great all around flavor.
Your book is now at the top of my Christmas wish list!
Oh yay! So nice to hear this, Janet 🙂 🙂 🙂 I hope Santa is listening.
Hi RSP! Thank you for all of this. Baker’s Authority is a great source for buying flour (in large quantities) as well as SAF instant yeast. Thank you for bringing this to my attention.
I made these rolls last night to go with some ham and bean soup – my family went wild for them! I’ve made the original peasant bread recipe in the pyrex bowls many times, which my family loves, but the bread in this individual form is 10x more popular over here! Thank you, Alex 🙂
Oh yay! So nice to hear this, Julie! I find the rolls to be a big hit with the fam as well 🙂 I think the ratio of the buttery crust to crumb has something to do with it. Thanks for writing!
I am making these for the first time. I make your Peasant Bread about once a week. I didn’t realize until I looked at the ingredients that these buns are the same.
I can’t count how many of your recipes I’ve made. The first one was chicken thighs cooked in rice without a lid on. We have those all the time as well. My sister wouldn’t believe me that rice cooked like that is really good. But she did make Peasant Bread.
Oh Liz, yay! I’m so happy to hear all of this. So glad you like that chicken-and-rice method … it was a revelation for me as well. And yay for inspiring your sister to make the peasant bread. Thanks for writing!
Came out great! I like that I can make up my mind that I want to make these without planning the day before. Bravo!
Yay! So nice to hear this, Peggy. And I hear you… I have been doing so much sourdough recently that making a few loaves of yeasted bread has been such a pleasure thanks to its ease/unfussiness. Thanks for writing!
I made this a few days ago, my first time with rolls and was very happy with the results. Pretty easy to make and came out looking like yours. Didn’t have fresh tyme so used a bit of dried. Ok, but next time I’ll try fresh rosemary which we have in our herb garden. Only wish I could divide the dough so neatly as you do in the video. Mine were of different sizes but still excellent. Maybe more practice will help. Thanks for your great recipes.
So nice to hear this, Don! Yes, portioning the very wet dough takes a little practice, but different sized rolls are fine, too 🙂 Fresh rosemary will be delicious!
Made these for the first time today – the best dinner rolls ever. I used dried thyme instead of fresh; the texture and taste are very close to artisan bread. I baked them in silicone muffin cups which the rolls basically fall out of after baking. This is a fabulous, incredibly simple recipe which yields (good) restaurant quality rolls. The basic recipe seems uber friendly to the addition of accessories – and I’ll make these again in a few days with chopped rosemary and Kalamata olives. But I do want to experiment with how well they freeze. Any suggestions? Thanks so much, Ali!
So nice to hear this, Robert! Rosemary + olives will be delicious. They freeze beautifully. I like to freeze bread when it is fresh — cooled completely, but definitely the same day it was baked. I use a ziplock bag. If you think the rolls will be frozen for quite a long time, you can double up that bag for more protection. Alternatively, you can use an airtight vessel. Thaw at room temperature for a few hours. I always re-heat day old bread or bread that I’ve frozen: 350ºF for 15 to 20 minutes.
How much olives and do you have to adjust the salt?
Hi Melissa! I do not adjust the salt, but if you are sensitive, you could cut it back by 1/4 to 1/2 teaspoon. I would start with 1 cup of olives. You may want more, but 1 cup is a good starting amount.
I made this last year for Thanksgiving and they were a hit! I want to make them again this year; do you think adding sage would be good, or do you think they would be a sort of unpleasant texture?
Hi Taylor! I think sage would be delicious!