Easy, No-Knead Dinner Rolls
This post may contain affiliate links. Please read my disclosure policy.
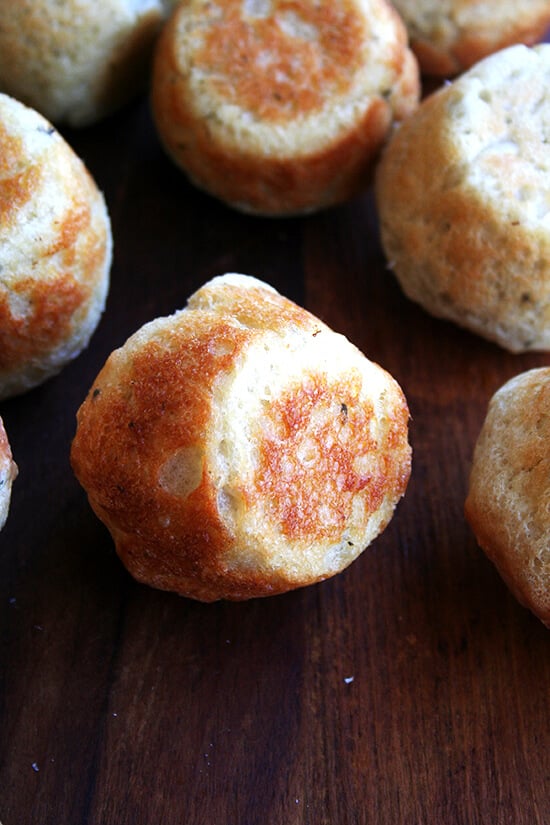
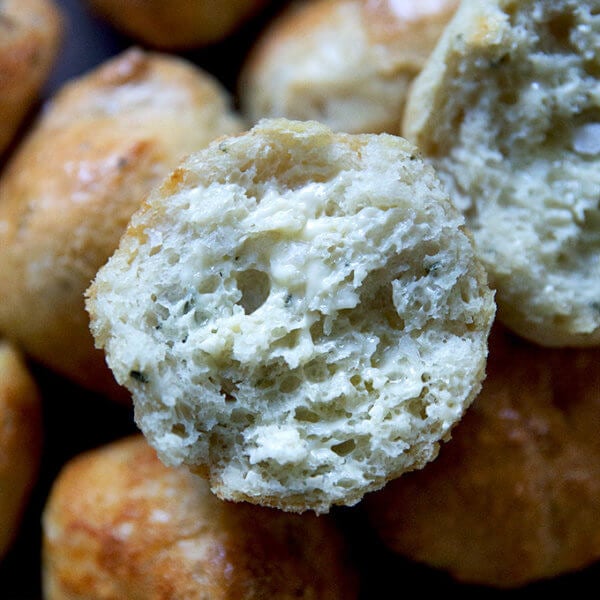
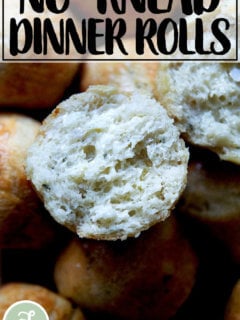
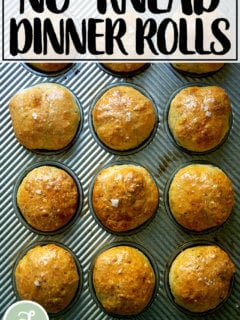
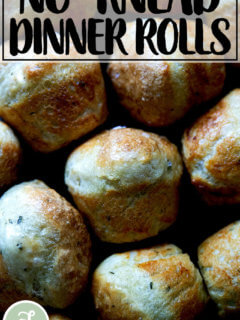
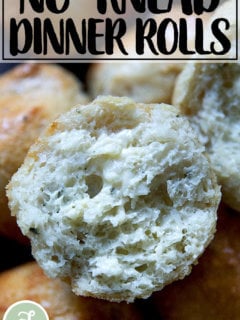
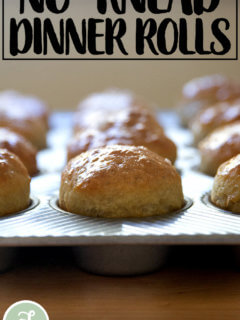
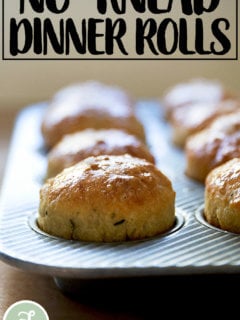
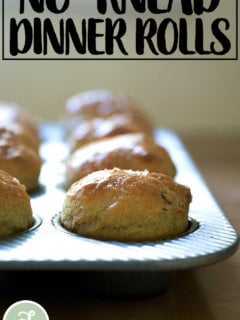
These no-knead dinner rolls are a snap to throw together. Thanks to the help of a muffin tin, you don’t have to do any tricky shaping. Buttery and crisp on the exterior and soft and tender on the interior, these rolls are perfect for the holiday table! 🍞🍞🍞🍞🍞🍞
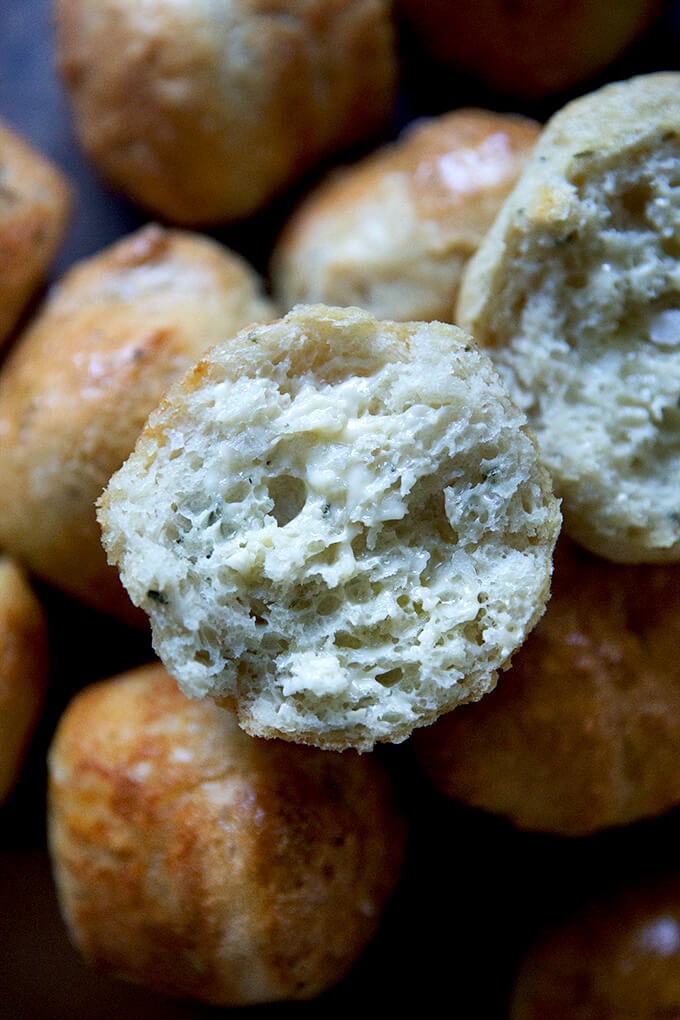
I know you may think there is no possible way you have time to add one more item, let alone homemade dinner rolls, to your Thanksgiving Day timetable, but I’m here on this snowy November morning to encourage — to insist! — that you do. You absolutely have time.
Homemade Dinner Rolls? Yes. You. Can.
- Because this is a no-knead dough, it takes five minutes to mix together, especially if you use instant yeast, If you are using active dry yeast, the process takes just a few minutes longer. (See recipe for detailed instructions on how to use active dry yeast.)
- Because the dough is such high-hydration — meaning the ratio of water to flour is high — you can mix it by hand — no need to haul out the stand mixer.
- Because these rolls bake in a 12-cup muffin tin, there is no need to flour up a workspace or to get your hands dirty shaping individual rolls. Handling this dough requires no skill.
- This dough can rise in the corner of your kitchen all morning long. While that turkey roasts away, you can punch the dough down as many times as you need, and when at last you find the oven free of birds and stuffings and gratins, in will go your rolls.
- These rolls bake in 25 minutes. If you plan on letting your turkey rest for a good 30 minutes before carving, you’ll have plenty of time to let these rolls make their second rise (15 to 20 minutes) and to bake them before your guests are seated around the table, at which point you will pass around a basket of steaming hot, thyme-flecked rolls.
How to Make Dinner Rolls Ahead of Time
If you’d like to cross one to-do off your list, know this: you can mix this dough the day before you plan on baking it and stash it in the fridge. (You can do this with any bread recipe in fact.) In the morning remove the bowl, and let the dough continue to rise at room temperature until it has doubled. If it already has doubled, punch it down, and let it rise again.
About an hour before you plan on serving the rolls, butter your muffin tin, portion the dough among the muffin cups, and let the dough rise for 15-20 minutes; then bake the dinner rolls as directed.
How to Freeze Dinner Rolls
There are two ways to freeze dinner rolls:
- After you bake them: Simply transfer to an airtight bag or container and freeze for up to 3 months.
- Before you bake them: I like to freeze dough after it makes one rise. For this recipe you could freeze the punched-down dough in an airtight container. Thaw the dough at room temperature for 5 to 6 hours; then proceed with the recipe.
More Recipes for Homemade Dinner Rolls
- Buttermilk Pull-Apart Rolls (another holiday favorite…tastes like Parker House Rolls)
- No-Knead Brioche Buns (you can bake these brioche buns as instructed below in a muffin tin)
- Hot Cross Buns (a sweet, pull-apart roll)
- Rosemary-Olive Dinner Rolls (you could also simply add rosemary and olives to the recipe below)
- Honey-Buttermilk Dinner Rolls
I know that from getting the turkey cooked to keeping the stuffing and the vegetables and the plates warm to keeping your guests entertained Thanksgiving can be a logistical nightmare challenge. And when there truly are so many wonderful take-and-bake options in your supermarket freezer, why not cross one thing off your to-do list?
Well, because if there ever was an occasion to push your domestic stamina to its limits, to display your culinary prowess, it’s Thanksgiving. I mean, where is the fun in effortless entertaining?
Pony up, Friends!
Nothing says you care like freshly baked bread (and turkey and stuffing and gravy and pumpkin (squash!) pie and punch). Happy Thanksgiving!
How to Make No-Knead Dinner Rolls
Whisk together flour, salt, sugar, SAF instant yeast, and thyme:
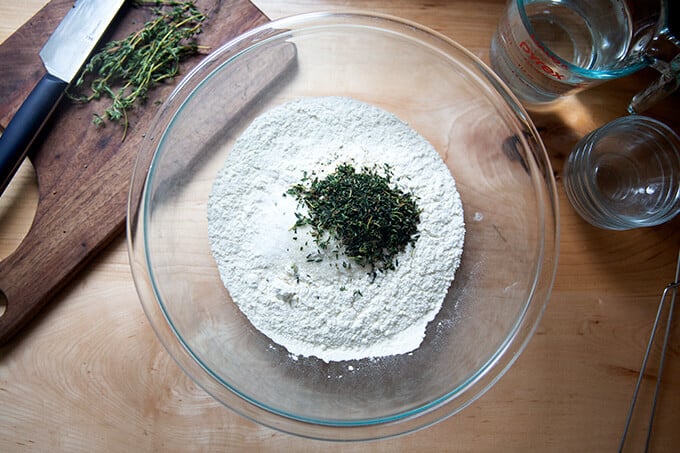
Add water.
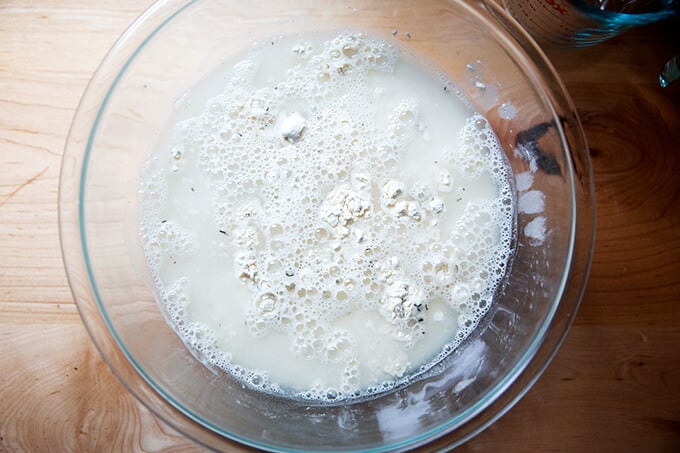
Stir to form a sticky dough ball:
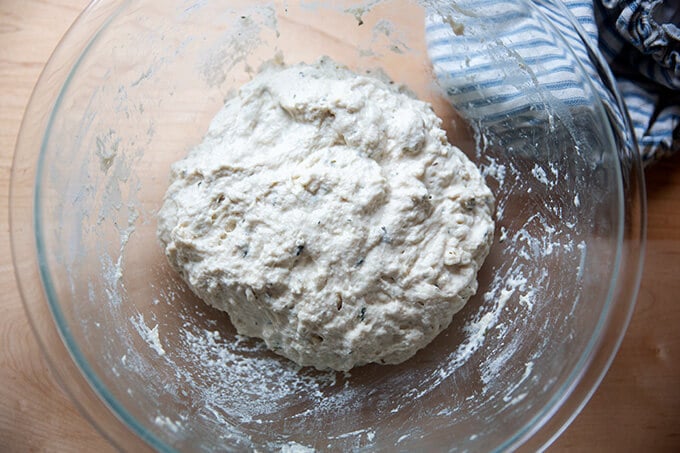
Let rise in a warm spot for 1.5-2 hours or until doubled in volume:
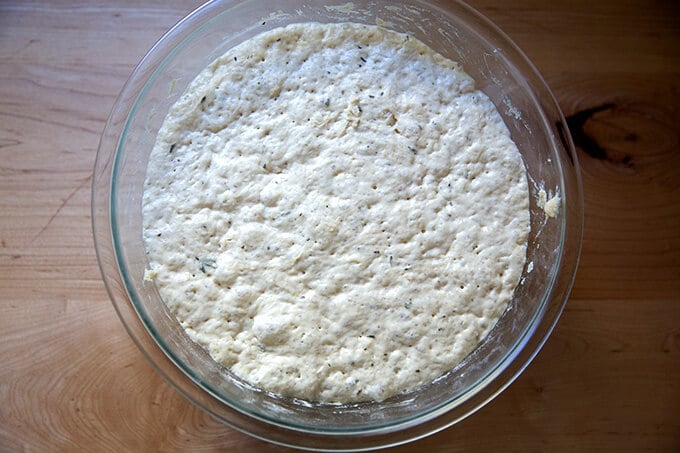
Deflate the dough using two forks. (See video for guidance.)
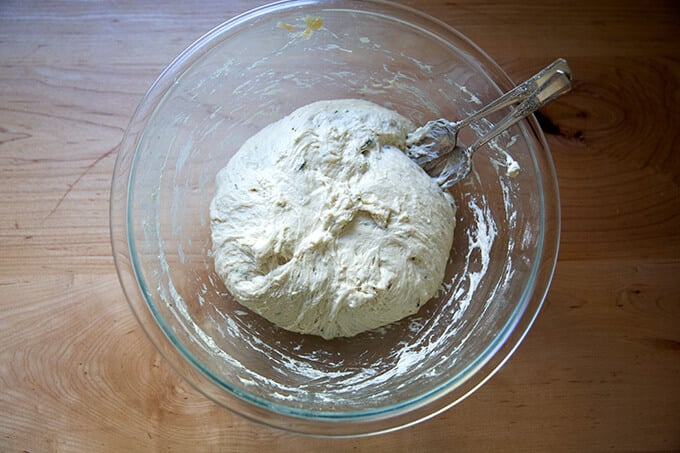
Divide the dough evenly among a 12-cup muffin tin:
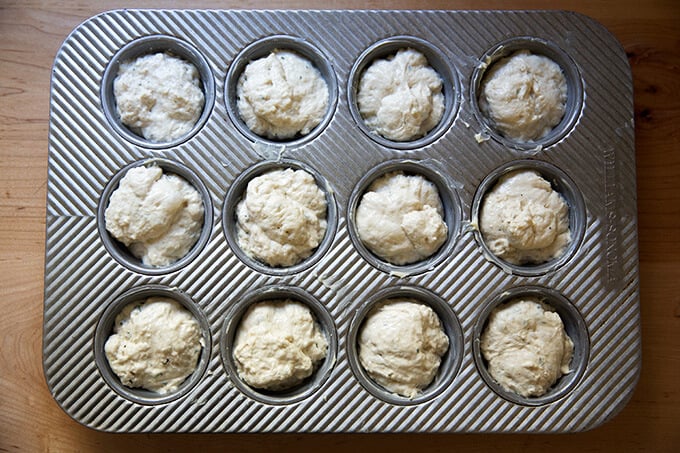
Let rise again for 15-20 minutes or…
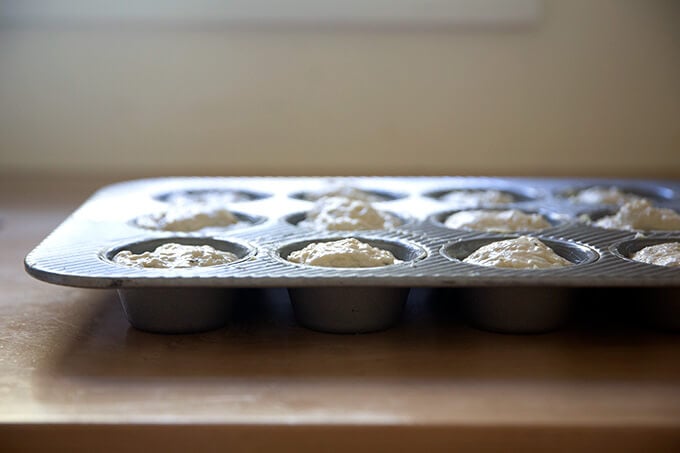
… until dough has puffed above the rim of the pan. Transfer to the oven, and bake until …
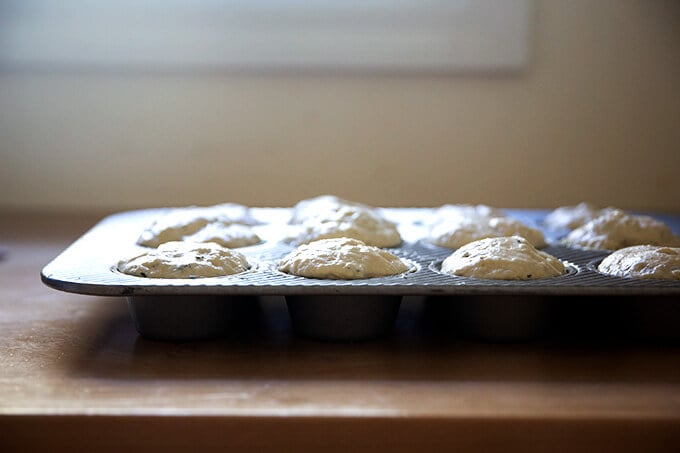
… evenly golden, about 25 minutes.
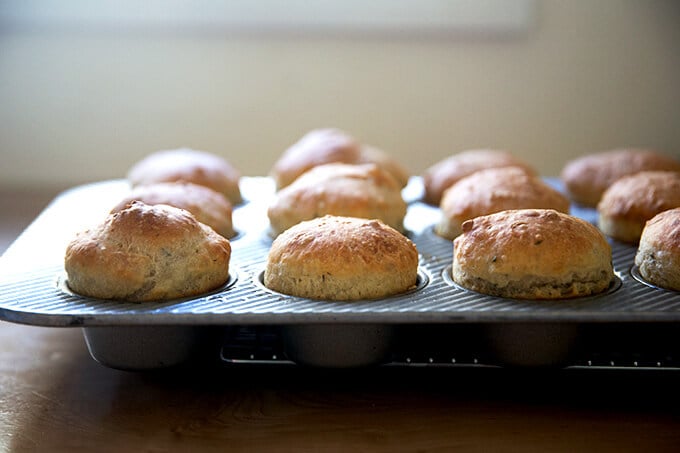
Optional: butter the tops and sprinkle with sea salt.
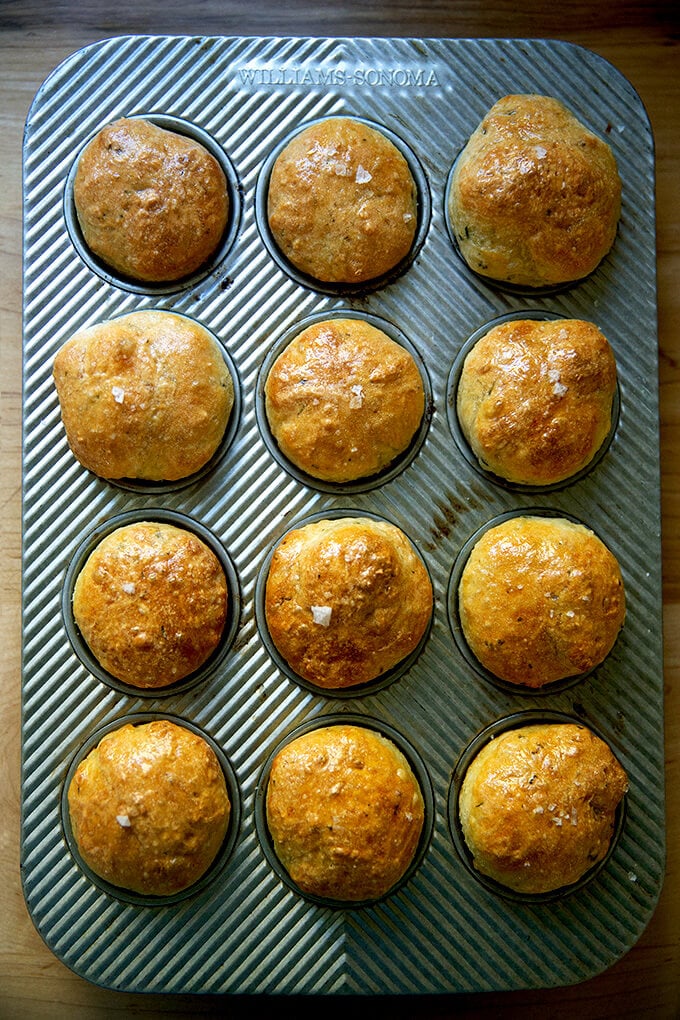
Maybe not optional … the buttery, sea salt crust is irresistible.
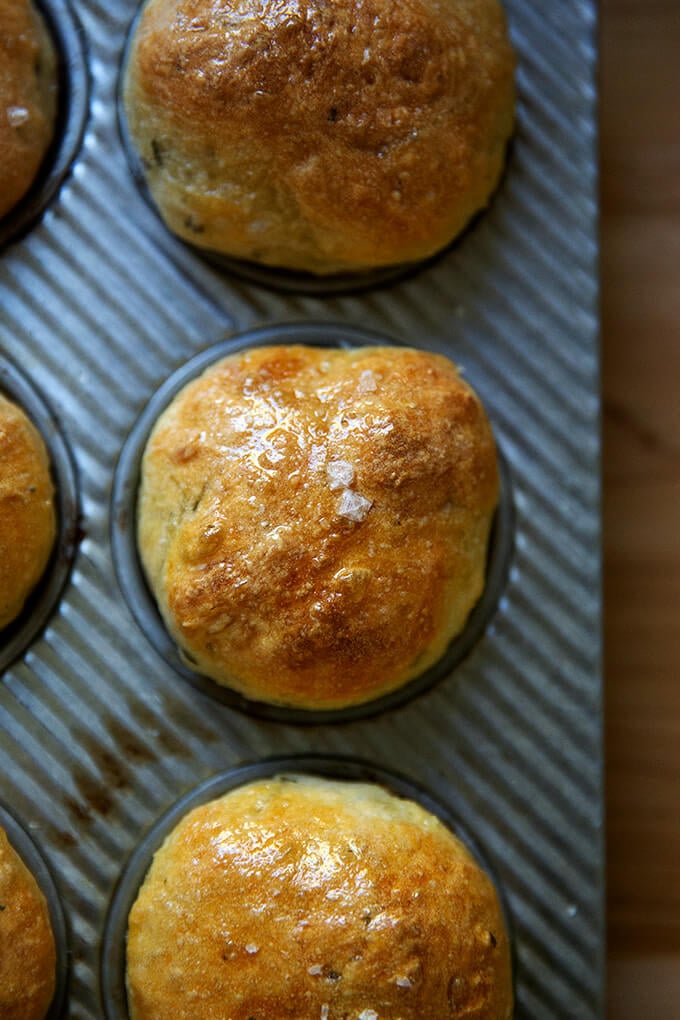
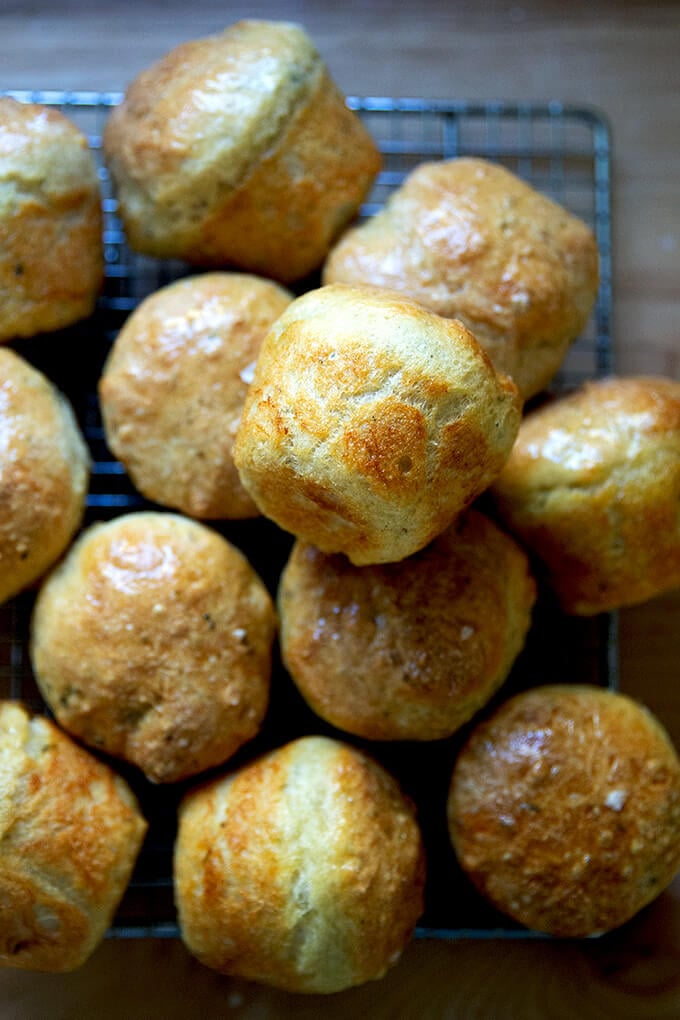
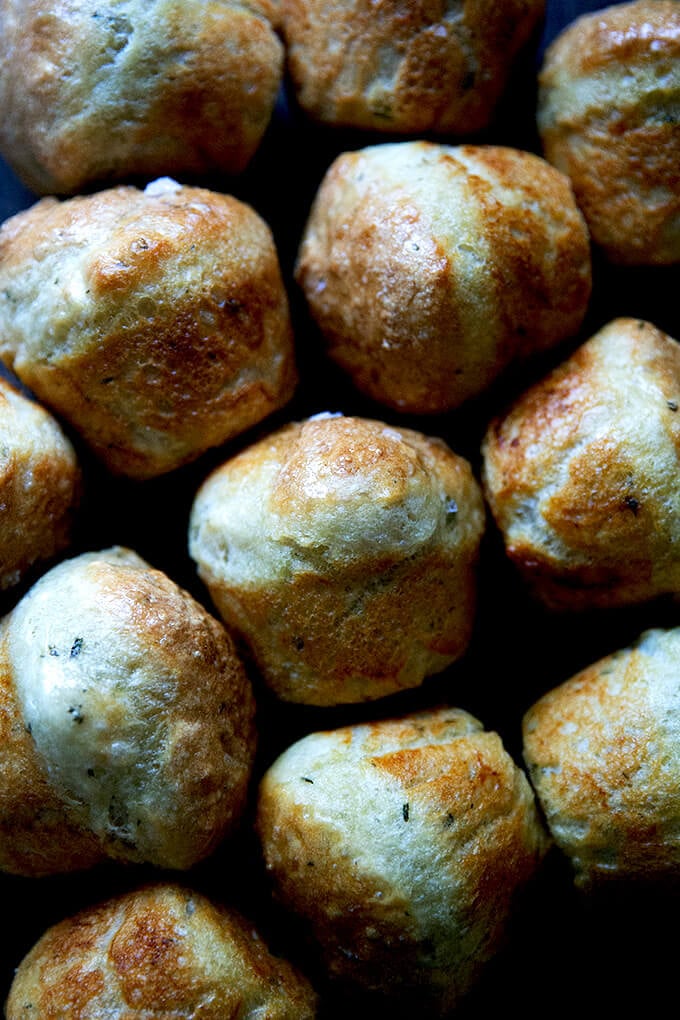
Transfer the rolls to a bread basket, and pass the butter!
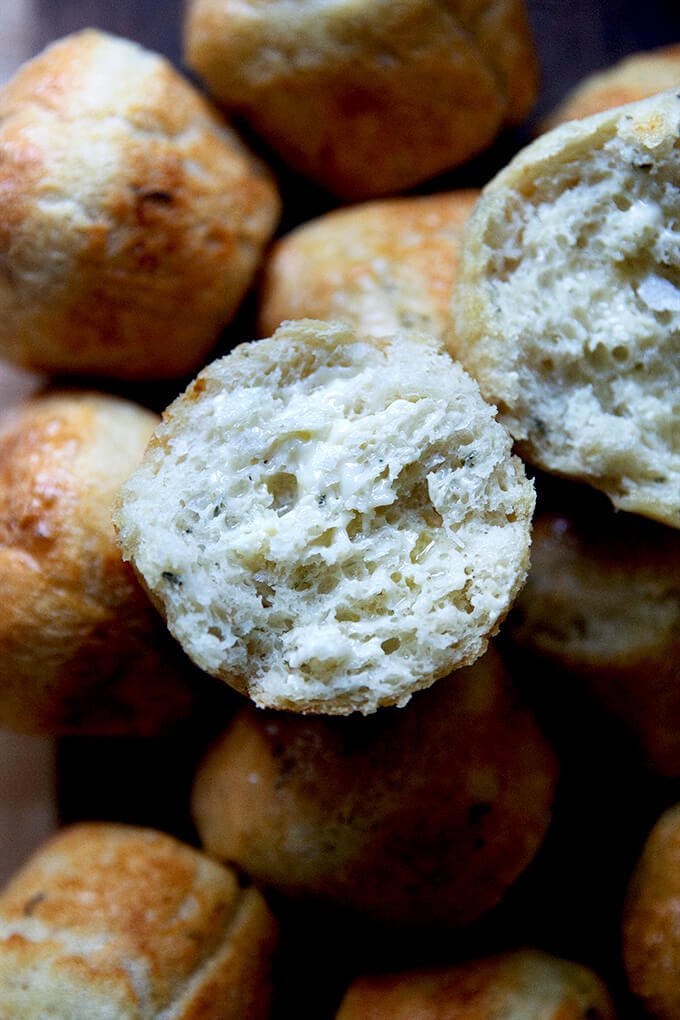
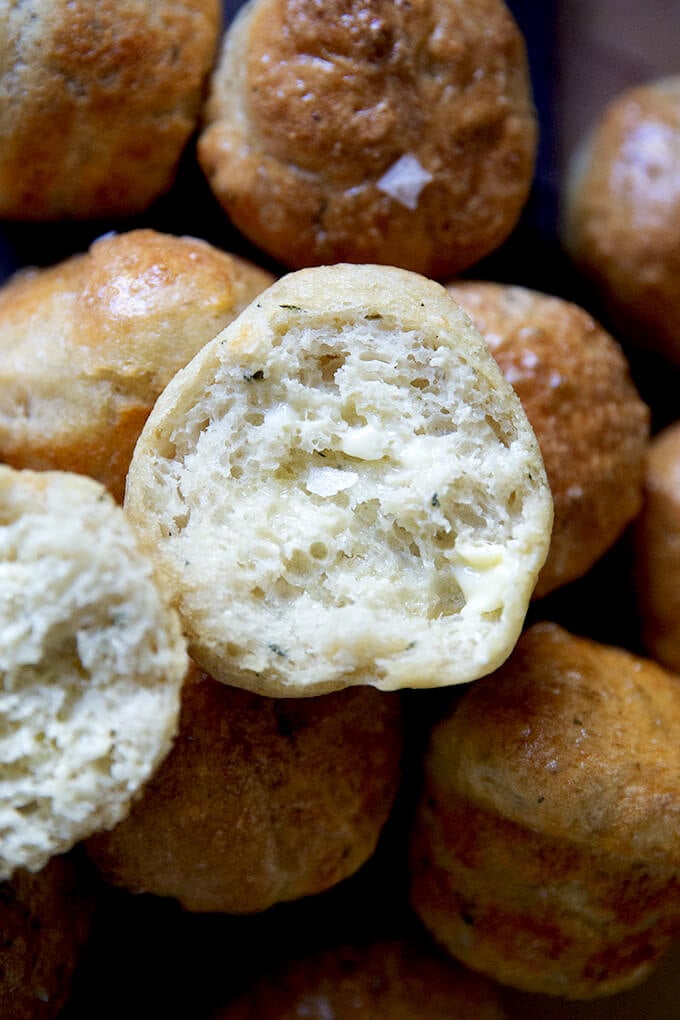
I mean it, I could totally skip the turkey.
Easy, No-Knead Dinner Rolls
- Total Time: 3 hours 30 minutes
- Yield: 12 to 14
Description
Notes:
- This is yet another variation of my mother’s peasant bread. I love using my muffin tin to make rolls especially around the holidays — there’s something truly festive about passing a basket of rolls around the table.
- If you love this recipe, you might love my cookbook, Bread Toast Crumbs, which is all about easy bread baking and how to use every last crumb from the many loaves you bake.
- Yeast: You can buy both SAF instant yeast and Red Star active dry yeast in bulk from Amazon. After you open the pouches, transfer the yeast to an airtight container and store in the fridge or freezer, where they will last forever. If you are using the individual packets of yeast, go ahead and use the whole packet — each is 2.25 teaspoons, which is fine for this recipe.
- To make foolproof lukewarm water, boil some water — I use my teapot. Then, mix 1 1/2 cups cold water with 1/2 cup boiling water. This ratio of hot to cold water will be the perfect temperature for the yeast.
- To can create a warm spot for your bread to rise: Turn your oven on; then turn it off after 1 minute — this will create just a slightly warm environment to get the bread rising nicely.
- Butter: If you wish, you can melt a few tablespoons of butter and brush the tops of the just-baked rolls; then sprinkle with sea salt.
Ingredients
- 4 cups (512 g) unbleached all-purpose flour
- 2 teaspoons (10 g) kosher salt
- 2 teaspoons (8 g) sugar
- 2 teaspoons (8 g) instant yeast or active dry yeast, see notes above
- 1 to 2 tablespoons minced fresh thyme leaves or other herbs (a mix of rosemary, sage, and thyme is nice)
- 2 cups (454 g) lukewarm water, see notes above
- room temperature butter, about 2 tablespoons, plus more for brushing, if you wish, see notes above
Instructions
- If you are using instant yeast: In a large mixing bowl, whisk together the flour, salt, sugar, instant yeast, and fresh thyme leaves. Add the water. Mix until the flour is absorbed. Cover with plastic wrap or a tea towel or cloth bowl cover. Place in a warm spot to rise (see notes above) for 1.5 to 2 hours.
- If you are using active dry yeast: In a small mixing bowl, dissolve the sugar into the water. Sprinkle the yeast over top. There is no need to stir it up. Let it stand for about 10 to 15 minutes or until the mixture is foamy and/or bubbling just a bit — this step will ensure that the yeast is active. Meanwhile, in a large bowl, whisk together the flour, salt, and thyme. When the yeast-water-sugar mixture is foamy, stir it up, and add it to the flour bowl. Mix until the flour is absorbed. Cover with plastic wrap or a tea towel or cloth bowl cover. (At this point, you can cover the bowl and place it in the fridge for 1 to 3 days.)
- Place in a warm spot to rise (see notes above) for 1.5 to 2 hours. Meanwhile, generously butter a 12-cup muffin pan, plus a few ramekins (2 to 4) if you wish… recently, for simplicity, I have just been baking 12 large dinner rolls in my muffin tin and not bothering with the ramekins.
- Preheat the oven to 425ºF. Using two forks, punch down your dough, by pulling it from the sides — see video for guidance — and to the center. You want to loosen the dough entirely from the sides of the bowl. Take your two forks and divide the dough roughly into 6 portions. Then, using the two forks, scoop up half of each of these portions and plop each into a buttered muffin cup. Repeat with remaining dough. This won’t be pretty, but it doesn’t matter. Try your best to divide the dough equally, and if you have extra dough, bake it off in the buttered ramekins. Let the dough rise for about 17 to 20 minutes or until it has risen to just above the top of the muffin cups.
- Bake for 15 minutes. Reduce the heat to 375º and make for 10 to 15 minutes longer. Remove from the oven and turn the rolls onto a cooling rack or directly into a bread basket. Pass the butter. (Note: If you wish to butter the tops of the rolls, do so in the muffin tin or on the cooling rack. A sprinkling of sea salt over top is a nice touch.)
- Prep Time: 3 hours
- Cook Time: 30 minutes
- Category: Bread
- Method: Baked
- Cuisine: American
This post may contain affiliate links. Please read my disclosure policy.




271 Comments on “Easy, No-Knead Dinner Rolls”
I made these today to go with a butternut-squash-chicken-tomato and spinach stew — they were devine! The thyme flavor was a bit mild, but everything about them was exactly the same as your Mother’s Peasant Bread which we love totally.
I would like to share how I successfully “tackled” the portioning of the dough.
1) Once the dough was halved in the bowl, I took one half out of the bowl and placed it on a Silpat. 2) I divided that portion in half. 3) Now there were two pieces on the mat. Set one aside. 4) Take the other portion and shape into a log with the forks. 5) Use forks to divide the log into 3 pieces. 6) Place each piece into pan.
7) Repeat with other half that was set aside on mat.
8) Start over with remaining 1/2 left in the bowl.
………….I found this really easy. The silpat made a stable, non-stick surface and was easy to “score” with the forks and move the portions into the waiting pan.
The portions were uniform in size doing it this way…….with NO leftovers ! Cheers and thank you from by Yosemite — rose
So nice to hear this, Rose! And thanks so much for sharing your portioning tips. A Silpat is a great idea. I love my Silpat but have never used it for this … so smart. Hooray for no leftovers! Yay!
I used the Silpat this morning for the first time and it worked terrific. Nothing sticks to the Silpat and easy to separate the dough into roll sizes. Recommend to all.
Great to hear this, Don! Thanks so much for writing and sharing this.
If I made this the morning of thanksgiving or the day before would they still be good for thanksgiving dinner? Unfortunately baking right before dinner won’t work for our tiny kitchen.
Yes, absolutely! Either the morning of or the day before is great. If making the day before I would re-heat them before serving for 15 minutes or so.
Can these be prepared ahead an baked or frozen
Yes! Apologies for the delay here. You can bake them ahead of time and freeze them. OR you can make them up until you shape them and fit them into your pan; then freeze them. Thaw them at room temperature for 4 to 6 hours or in the fridge overnight before baking.
Hi Ali,
I love your bread recipes – they’ve taught me how to bake bread (a wonderful byproduct of 2020) – thank you! I plan to make these for Thanksgiving. I’ve made them before and they were a hit. Question – I have the yeast you suggest; does it travel/do you have any tips? I store it in my freezer, to keep it fresh, and I plan to bake the bread fresh where we are having a very small family gathering. I don’t want to buy yeast, so I’d love to bring this along on our road trip.
Thanks!
So great to hear this, Bridget and so sorry for the delay here!! To answer your questions:
You can absolutely bring your yeast along on your road trip. I store mine in a quart container, and I have done the same thing: packed it for a drive to be used at the destination. It is fine left unrefrigerated for several hours or even as long as a day.
Happy Thanksgiving!
Can I sub bread flour for these rolls? I’m looking for a more chewy result. Thx and Happy Thanksgiving!!
Yes! And Happy Thanksgiving to you!
This recipe is wonderfully easy and delicious. Next time I might try rosemary instead of thyme and maybe a bit of parmesan? Love, love these and yes, they freeze very well.
Parmesan would be a wonderful addition!
thank you for such an easy and delicious recipe! added it to our thanksgiving dinner this year. we had backup rolls from the store but didn’t need them at all. we have also been making the peasant bread in a dutch oven and love it. have a wonderful thanksgiving
So great to hear this, Michelle! Hope you had a wonderful Thanksgiving! Yay for peasant bread in the Dutch oven too 🙂 🙂 🙂
Is there an easy way to separate the dough into the 12 portions to transfer from the bowl to the muffin cups? The dough was sticky and stringy and it was a royal mess trying to get them into even portions.
Hi Benita! The transfer is a little tricky … I never worry about them being too even. I just kind of plop the dough in the cups until it’s all divvied up.
One thought: you could turn the dough out onto a well-floured (1/4 cup flour at least) work surface, then knead it briefly or shape it into a ball. Use a bench scraper to cut it into 6-even pieces, then cut each of those in half, then transfer each portion to a muffin cup.
This recipe is SO GOOD. And very forgiving. Apart from thyme I also added parmesan. But the highlight was the crumb, taste and texture of the roll. Even my bread hating family loved it. Thanks Ali!
I’m on a roll here. Last week tried her brioche burger recipe and frangipane galette. I am 100% confident in her recipes, all get 5* from me!!
So nice to hear all of this, Sheryl 🙂 🙂 🙂 Thanks so much for writing. Parmesan sounds awesome here!
I made these to go with some cauliflower soup because the braided garlic bread I usually make to go with it is fussier and would take longer to make. I used rosemary, garlic, and chopped olives. They’re so good! Another winning recipe 🍞🍞🍞 Great crumb and crust. Going to try making these with everything bagel seasoning sometime.
Wonderful to hear this, Vanessa! That combination sounds spectacular! I love olive bread so much.
These were so good and super quick! My husband said it was the best bread I have ever made. <3
So nice to hear this, Angela!
Another delicious hit! I baked them in a silicone muffin tin and did not need to use butter to grease the cups beforehand. I also subbed 2 of the cups of AP flour for a multigrain flour blend I picked up at OSJL. They came out beautifully. Truth be told, only 11 made it to the dinner table as I HAD to eat one with butter as soon as it was cool enough to handle. Served with carrot ginger coconut soup and, of course, butter. Thank you!
Oh Yay! So nice to hear this, Rebeca! Love that you used some multigrain flour here — I bet it added great flavor. Thanks for writing. Butter for President 🎉🎉🎉🎉🎉
Hi Ali, I’m going to make these this week for TG. Can I make these a day before and warm them up in the oven? Curious when you make them. This recipe seems like it would make 24 rolls. It only makes 12 with all this flour? Thank you so much and enjoy the holiday!
Hi Michelle! Absolutely, make them the day ahead of time, let them cool completely; then transfer to an airtight bag. On TG, while the turkey is being carved, pop them in the oven at 350ºF for 15-20 minutes … they’ll be perfect. This recipe only makes about 12-14 rolls.
Hi Ali,
Just a note to say how much enjoyment I’ve gleaned from following your lead through your fabulous website! I’m posting this below your No-Knead Dinner Rolls recipe. You might think this a bit weird, but I love listening to your kids in the background on the video tutorial and hearing (one? more than one?) them playing on the piano. When you increase to fast speed, they all sound like little mice…it just makes me smile picturing your family GATHERED and ENGAGED together! So many fond memories of my own piano-playing sons practicing away. My husband’s wish was that they’d be good enough to lead us in Christmas carols when they were older. And they now (ages 36 and 34) ARE (so much more than Christmas carols, they are quite gifted and delight us with amazing tunes all the time). Dinner rolls and pies are my contribution to our family gathering this year (sigh…isn’t it great to look forward to GATHERING though?!). You have been a wonderful gift to all–keep up the good work and Happy Thanksgiving!
Hi Robin! Thanks so much for all of this, and I don’t find your comment at all weird. It’s truly so nice to read. I have four kids (3 girls and 1 boy), and they all play piano, and truly nothing makes me happier than hearing them practice. I hope they stick with it, too. I also dream of one day sitting around the fire singing Christmas carols while one of them plays… your comment gives me hope! Thank you so much for writing and thank you for your kind words. Truly means so much. I hope you had a wonderful Thanksgiving with your sons!
Thank you so much for posting this recipe! I have really enjoyed the Buttermilk Pull-Apart Rolls from your book, and these thyme rolls are even easy (and a great alternative for times when there is no buttermilk on hand). I appreciated the suggestion from another commenter to use SilPat for dividing the dough – that worked beautifully. Easy peasy, and so delicious!
So nice to hear this, Carol! These definitely are the easiest rolls, and yes, such a good option when you don’t have buttermilk or don’t feel like going through the shaping process. So great to hear the Silpat worked. Thanks for writing!!
I loved this recipe, so easy and really nice rolls! I made these for thanksgiving and I was really impressed! I especially enjoy the application of the muffin pan. Would this work if you put this type of no-knead dough into a baguette pan? Would it rise up and form a nice long baguette-ish loaf for sandwiches? As well, what if i wanted a softer texture in these rolls? Could i use milk in this recipe for a softer interior? How would you go about that? Just substitute the water with milk, or perhaps a hybrid of milk and water? Perhaps you could add butter also to make it softer? Just looking for a few new ideas with this amazing recipe. Thanks again!
Hi! So nice to hear.
Unfortunately, I don’t think this dough will work so well for baguettes. If you try it, be sure to butter the pan well — I’d hate for you to have a sticking issue. Yes, you can definitely replace the water with milk, and you can add softened or melted butter, too. I might reduce the water slightly because butter will contribute moisture/liquid.
These are soooo good, just made them again today to use up some fresh thyme leftover from Thanksgiving. Used half bread flour and half AP flour. Going to make another batch to give away. I love adding minced garlic and black pepper to it too. I weighed my dough to get equal portions.
So great to hear this, Vanessa!! Thanks so much for writing and sharing your notes. Minced garlic + black pepper sounds amazing!
Alex, Please confirm my understanding of the option to make dough day before, refrigerate, then finish and bake day two. Are you saying to put the dough in refrig just after it’s mixed before any rise. Initially it was to rise about 2 hrs but from refrig do you have any baseline as to how long it might take or am I looking for double in bulk? Thank you.
Hi Denise!
And yes: Just as in this focaccia recipe, you can mix the dough and immediately transfer it to the fridge. The next day, remove the dough from the fridge and let it rise till it doubles — it’s hard to say how long this will take because the dough will rise a bit in the fridge. Once doubled or nearly doubled, you can transfer the dough to the buttered muffin tin.
Hope that helps!
Hello Ali, I made these and they are delicious! The insides looked exactly like your pictures and they were perfect, hot out of the oven with butter.
Later, when they cooled is when they became tough.
What would cause that and what should I do different next time?
Hi Debra! Great to hear this. Regarding the change of texture, I think that just has to do with time and perhaps the higher ratio of crust to crumb. That said, did you try re-heating one? I find reheating any day-old bread (either in the toaster or the oven) transforms it. You might find the rolls to be less tough after a brief re-heating: 15 minutes at 350F or so.
These were so easy to make and delicious. The tops were quite crusty. Is that how you expect them to bake up? I reread the recipe to be sure I hadn’t missed a directive to use olive oil. But, bottom line, they were awesome! Thank you for another “new favorite” recipe!
Great to hear, Luanne! Yes, these are definitely crusty rolls, but I love your idea of adding a little olive oil to the dough… that will definitely soften it up, especially the crumb. The crust might still be crusty, but it’s worth a shot trying. Thanks for writing!
Theses rolls are to die for. I brushed the tops with egg white and sprinkled them with Asiago cheese before baking. Big holes throughout and as good as the best in any bakery.❤️
So great to hear this 🙂 🙂 🙂 I love Asiago. That sounds delicious!
I made your no knead dinner rolls in a muffin tin. Wonderful. Can you use this recipe to make bread in a loaf pan?
Yes, absolutely! I would use a 10×5-inch pan or 9×5-inch pan but nothing smaller.
Can you make loaf bread with this recipe?
Yes! I would use a 10×5-inch loaf pan if you have one or something similar. A standard 8.5 x 4.5-inch pan will be too small.
These rolls are terrific. I am a fan of no knead bread recipes. I also like keeping the mixed dough in the refrigerator for 12-24 hours because dividing the process into manageable chunks of time works best for me. The side benefit is that the next day, the cold, punched down dough handles beautifully and portioning them off isn’t too messy. I went ahead and froze half the dough, and divided the other half into my 6 cup popover pan. I just waited for them to rise above the rim, baked as directed, and oh my goodness the resulting rolls were tall, crusty, and scrumptious inside! Reheated wonderfully the next day. I am now excited that I have frozen dough in my fridge, ready to be baked into such exquisite morsels.
So nice to read all of this, Nenette! Thanks so much for writing and sharing your notes. I too love no-knead (and refrigerated!) dough. Love your popover pan idea, and love that your froze some dough for a future day. Such a treat!
These are amazing! So quick, easy, and that buttery crust that develops in the muffin tin is superb. I baked mine for just 12min at 475 and 8-9min at 375 and they turned out perfect. Your tip about sprinkling sea salt was such a good suggestion. Thanks for sharing!
Wonderful to hear this, Han! Thanks so much for writing and sharing your baking time notes. And yay for salt 🎉
Hi Ali-I made these last year. So easy and delish. Have you ever used the King Arthur gluten free flour (it is the same measurements for regular flour)? I have a couple of GF ppl coming for dinner soon and wanted to use this recipe but with GF flour. Keep me posted if you have tried and, if you did, what flour you used. Thanks :))
Hi Michelle! I have not used gluten-free flour here unfortunately. I think it is, however, a promising recipe to experiment with because of the muffin tin baking vessel (as opposed to pull-apart rolls that you would have to shape). I would definitely do a test run before Thanksgiving if time permits.
Hello! Can these be baked in silicone muffin pans? Thanks in advance!
Hi Marilou! They can, but keep in mind that silicone does not brown as well as other materials, so the rolls might lack a crusty exterior.
How many ounces for each piece of dough. thank you
No idea! This is such a wet dough, I’ve never tried plopping it on a scale for fear of it being a sticky mess. It’s OK if the portions are not identical.
Sawasdee Ali, Im a fan from Thailand. Can I use bread flour instead of all purpose flour? I seem to fail many times when I work with all purpose flour so I have a bit of nerve breaking about all purpose flour. 😋 I dont have any muffin tin so I wonder if I can just do a round ball with the same size as using the tin and sit on a baking tin. Im trying to utilize what we have at home. Love all your work and thanks for sharing all the recipes to encourage the beginner like me to bake more. Thanks
My pleasure, Wandee! Definitely use bread flour. Regarding your question about shaping them into a round ball, I worry about about the dough being too wet and sticky to do this. If you want to give it a try, just use flour as needed and try to handle the dough minimally. It’s OK if the rolls are slightly misshapen.
Hi Ali – love these rolls, plan to make again this week. WWYD if you wanted to make a double batch, but only owned one muffin tin? I’ve made your buttermilk pull apart rolls too, but would like to avoid the rolling and shaping if possible. Thanks for everything! Most of our Thanksgiving dinner will be using your recipes and/or guidance!
So nice to read all of this, Shelley 🙂 🙂 🙂 Thank you.
Regarding the double batch, you can either bake off one batch, let the muffin pan cool, re-grease it, then proceed. This sounds a little tough on Thanksgiving though if you can swing it go for it. Alternatively, you can bake off one batch the day before, let them cool completely, store them in a ziplock; then reheat the next day: 350ºF for 15-20 minutes. They’ll taste nearly as good as freshly baked.