Description
Ingredients
- 4 cups good quality heavy cream
- 1/2 cup plain whole milk yogurt
- 1/4 teaspoon fine sea salt, or to taste
Instructions
- Combine cream and yogurt in a large jar or bowl. Seal jar well and shake aggressively until combined, or whisk well if using a bowl. Cover jar or bowl with a clean kitchen towel and let mixture sit in a warm area of your kitchen for 18 to 36 hours; it should thicken and taste rich and tangy.
- Seal the jar or cover bowl tightly with plastic wrap and refrigerate until it reaches 60 degrees, 1 to 2 hours. If you refrigerate it longer, allow mixture to warm slightly at room temperature before proceeding.
- Line a fine-mesh sieve with a double layer of cheesecloth and place it over a large bowl. Make sure there is plenty of extra overhang of cheesecloth.
- In the bowl of a food processor, add the thickened butter mixture and process on high — warning this might make a mess even in a 14-cup food processor…you might want to do it in two batches — until the yellow curds begin to separate from the buttermilk, 2 to 3 minutes. It will have the appearance of liquidy cottage cheese.
- Slowly pour the buttermilk through the mesh sieve and then dump the butter curds in. Let sit for 1 to 2 minutes, allowing buttermilk to drip through. Gather the ends of the cheesecloth up and around the butter, pushing the curds down and into a ball. Twist the cheesecloth and squeeze the ball to extract as much buttermilk as possible. You will be left with a butterball.
- Pour the buttermilk into a separate container and reserve for another use. Place the butterball in the empty bowl. Be sure to squeeze out all excess butter from the cheesecloth. Pour 1/3 cup of ice water over the butter and, using a spatula, “wash” the butter, folding it over itself and pressing down to extract the extra buttermilk. Drain off the milky liquid and discard it; repeat this process until the liquid is clear, 4 to 6 times. The butter will start to harden; at that point your hands may work better than the spatula.
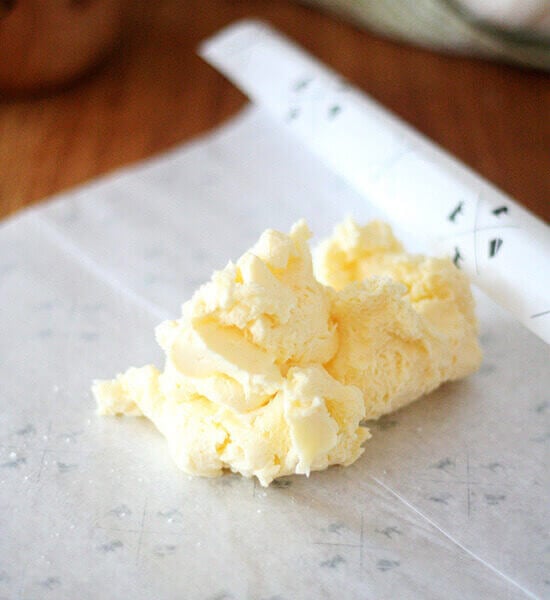
- Place the butter on a clean kitchen towel and pat lightly to remove excess moisture. Knead a few times with your hands and pat dry again; this will help extend its storage life. Sprinkle the finished butter with salt and knead a few more times to combine.
- Lay out a sheet of parchment paper, or two if you would like to divide the batch in half, and place the butter on the paper. Form the butter into a log and then roll it up in the paper and twist the ends to seal. Make sure the log has a uniform thickness throughout. Refrigerate until ready to use. The butter will last about a month in the refrigerator.