
Soft and Chewy Chocolate Chip Cookies
This post may contain affiliate links. Please read my disclosure policy.

I need another cookie. You?
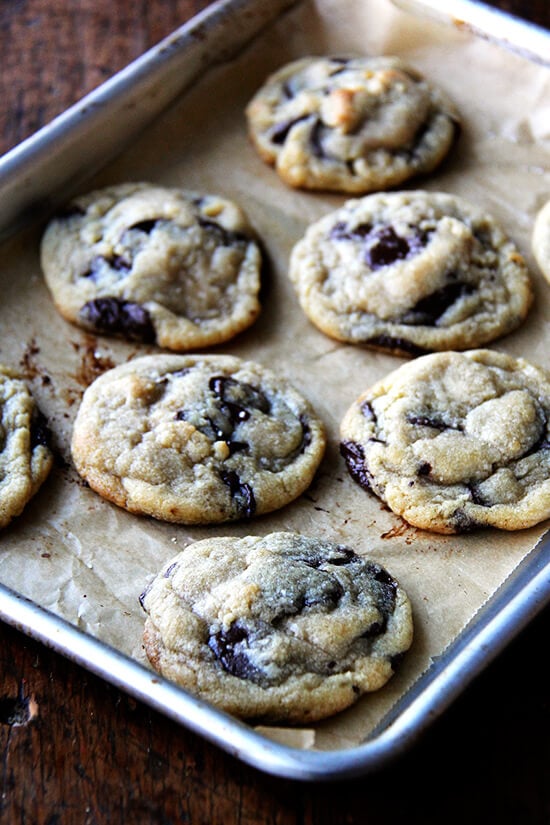
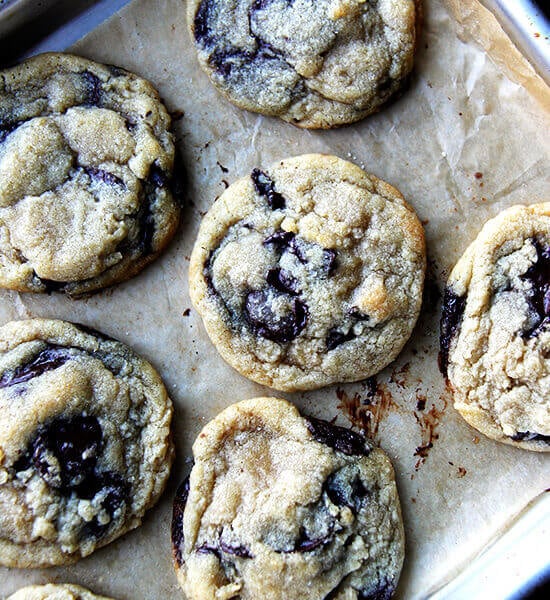
Over the weekend, Ella and I made cookies, soft and chewy chocolate chip cookies, the ones that still happen to be my favorite, chocolate chip or otherwise, a decade after first making them. I’ve posted this Fine Cooking recipe before, twice actually, but in each post it has been buried beneath another recipe, and I thought it was time to give it its own space.
Also, snow. You might be holed up. Cookies might help. I can’t think of a better way to pass the time. Stay warm, my Friends.
6 Tips for Perfect Soft and Chewy Chocolate Chip Cookies:
- A scale is best for accurate measuring of ingredients.
- Butter should be at room temperature.
- Chocolate: Over the years I have made these cookies with crappy chocolate chips, crappy chocolate chunks, high-quality chocolate bars roughly chopped, and chocolate pistoles. The cookies have never failed to please no matter the chocolate morsel, but, in my old age, I do have two preferences:
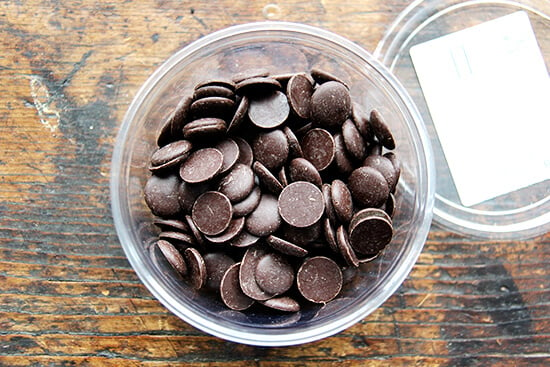
- Most recently I discovered chocolate pistoles (Guayaquil Pistoles Ecuadorian Cacao, 64% cacao, photo above) at the Honest Weight Food Co-op in Albany. The flavor of the chocolate is great, and I love having big chunks of chocolate in my cookies that are distinct from the soft and chewy dough.
- Before I discovered these pistoles, however, I was chopping up bars of Scharffen Berger 62% cacao, which creates the effect of chocolate melting throughout the cookie along with some nice chunks. Both chocolates/methods are delicious, it’s just a matter of preference.
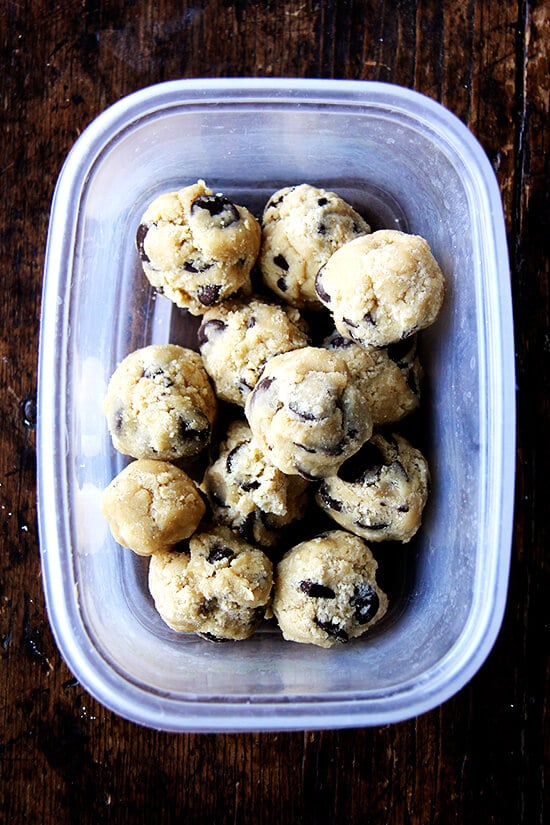
- For this recipe, use a scale to portion the dough into 1.75 oz (48 g) balls. So anal, I know, but the cookies bake evenly every time.
- Chill the dough balls. The cookies taste even better when baked from dough balls that have been chilled. Keep unbaked balls in an airtight container in the fridge — they’ll last for weeks there. Bake off as you need.
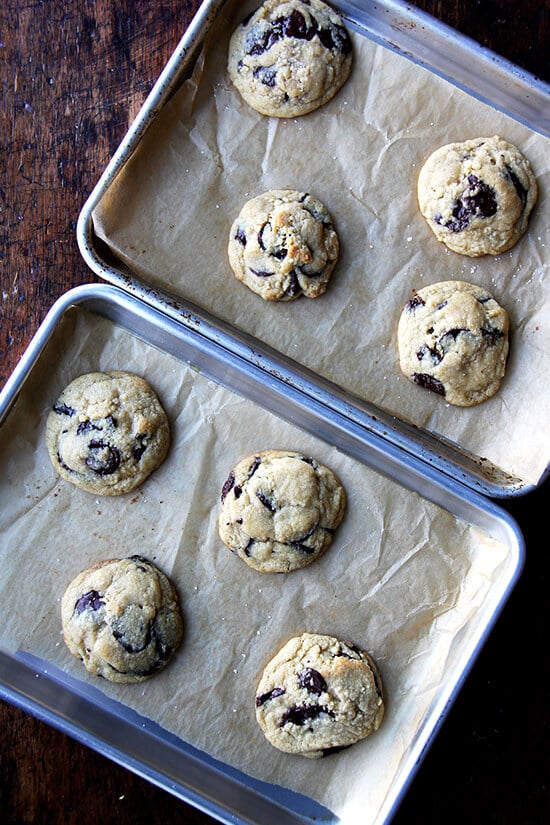
- Bake cookies of this size for about 11 minutes at 375ºF — you may need more or less time depending on your oven… every oven is different. Remove tray from oven and let cookies cook completely on cookie sheet. They will not look done when you pull them out of the oven. Have faith. Again, do not remove cookies from sheet pans until they are completely cool. I think these cookies taste best once they are completely cool.


Soft and Chewy Chocolate Chip Cookies
- Total Time: 1 hours 36 minutes
- Yield: 35 cookies
Description
Source: Fine Cooking 2003
Notes: This recipe halves beautifully, too. When I make a half batch, I use two teaspoons of vanilla, and I use a scant teaspoon of kosher salt.
Ingredients
- 10¾ oz unsalted butter (1⅓ cups)
- 10¼ oz (290 g | 1½ cups packed) light brown sugar
- 7¾ oz (220 g | 1 cup) granulated sugar
- 2 large eggs
- 1 tablespoon pure vanilla extract
- 17 oz (482 g | 3¾ cups) unbleached all-purpose flour
- 1.5 teaspoons table salt
- 1 teaspoon baking soda
- 12 oz (340 g) semisweet or bittersweet chocolate chips (see notes above)
- nice sea salt for sprinkling, optional
Instructions
- Cream butter and sugars together in the bowl of a stand mixer fitted with the paddle attachment, until light and fluffy. Scrape the bowl, beat again on high for one minute. Add the eggs and vanilla and beat until well blended, about another minute on medium-high speed. Whisk flour, salt and baking soda together in separate bowl. Add to butter mixture and combine with a spatula or wooden spoon (or very briefly with paddle attachment) until just blended. Add the chocolate chips and stir till combined. The dough will be stiff.
- Portion into 1¾ oz (48 g) sized balls. This is a tedious task, but it makes for beautiful and uniform cookies that bake evenly. If you have a digital scale, this is easy; if you have no scale, use a small ice cream scoop or some other uniform measuring device. Chill the portioned balls for at least one hour but ideally at least 24 hours. Keep balls in the fridge for up to a week or freeze for months.
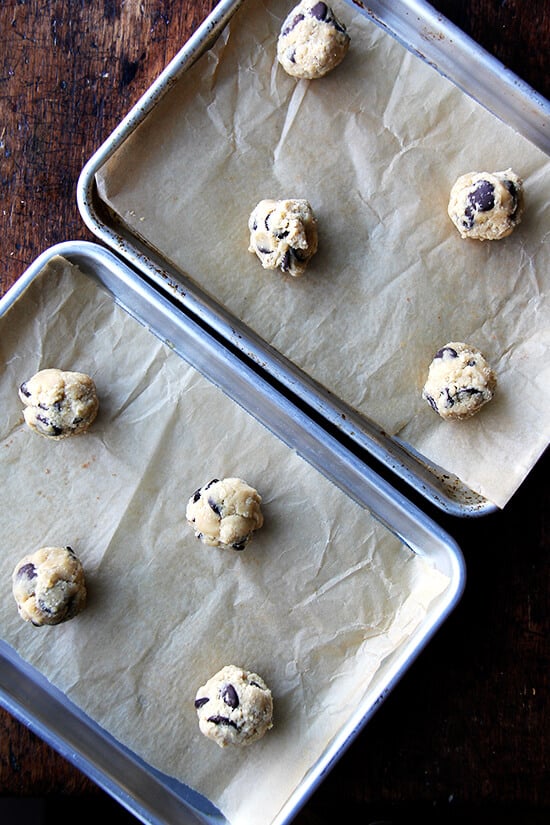
- Preheat oven to 375°. Place portioned balls nicely spaced on an ungreased or parchment-lined jelly roll pan. Sprinkle with sea salt if using. Bake for 11 minutes, rotating the sheet halfway through cooking if your oven tends to have hot spots. Keep a close watch. You want to remove the cookies from the oven when they still look slightly raw—you will think you are removing them too early. The cookies will continue cooking as they sit on the tray out of the oven. Let cookies cool completely on tray before removing.
- Prep Time: 15 minutes
- Cook Time: 11 minutes
- Category: Cookie
- Method: Oven
- Cuisine: American
This post may contain affiliate links. Please read my disclosure policy.


135 Comments on “Soft and Chewy Chocolate Chip Cookies”
I made these cookies for a dinner and never got to try one, but they disappeared quickly. Taking off one star because 375 seemed too high of a temperature. The bottoms got too browned and smelled burnt as they were baking.
I baked in several batches and these cookies come out best straight from the fridge or freezer. They baked off into a weird shape when I let the balls rest a bit at room temp.
Great to hear, Alicia! You can definitely lower the temperature. Actually, for the chocolate chip cookie recipe I included in my latest pizza book, I bake them at 325ºF for 18 minutes, so try the lower temp next time around 🙂
Hi! I always make these and love them!! But I see your response in a recent comment saying to bake them at 325 and for 18 minutes. Is that for this recipe or another one?
Hi! That’s how I bake them for the recipe that’s in my new cookbook (Pizza Night… out in April), but that one is slightly different than this one. I imagine that bake time/method will work very well here though. A few thoughts: if you’re happy with them, don’t change a thing! If you want to experiment, you could bake off 4 cookies or so using the new lower temp/longer bake time. Let me know if you experiment!
Thank you!! I do sometimes notice the bottom of the cookies being somewhat burnt, but I also love the fact that they come out looking raw with the 11 min bake time. At 325 & 18 min, should the cookies still look like they aren’t done when being taken out? Love this recipe and just want to perfect it!
Very similar visual cues but I’d say with the 325 for 18 minutes, they look slightly more done than when baked for 11 minutes at the higher temp — they’ll be slightly more brown on the surface but still very very light, and they will not look fully cooked. Good luck!!