Flowerpot Bread
This post may contain affiliate links. Please read my disclosure policy.
About a month ago, a friend texted me a photo of an adorable loaf of bread baked in a flowerpot. She was at Terrain’s garden café in Westport, CT, which looks as magical as the pages of its catalog. I immediately picked up half a dozen small flowerpots from a local garden shop and gave the peasant bread dough the flowerpot treatment. It worked like a charm. Brushed with butter, sprinkled with sea salt, does anything say, “I love you Mom!” more?
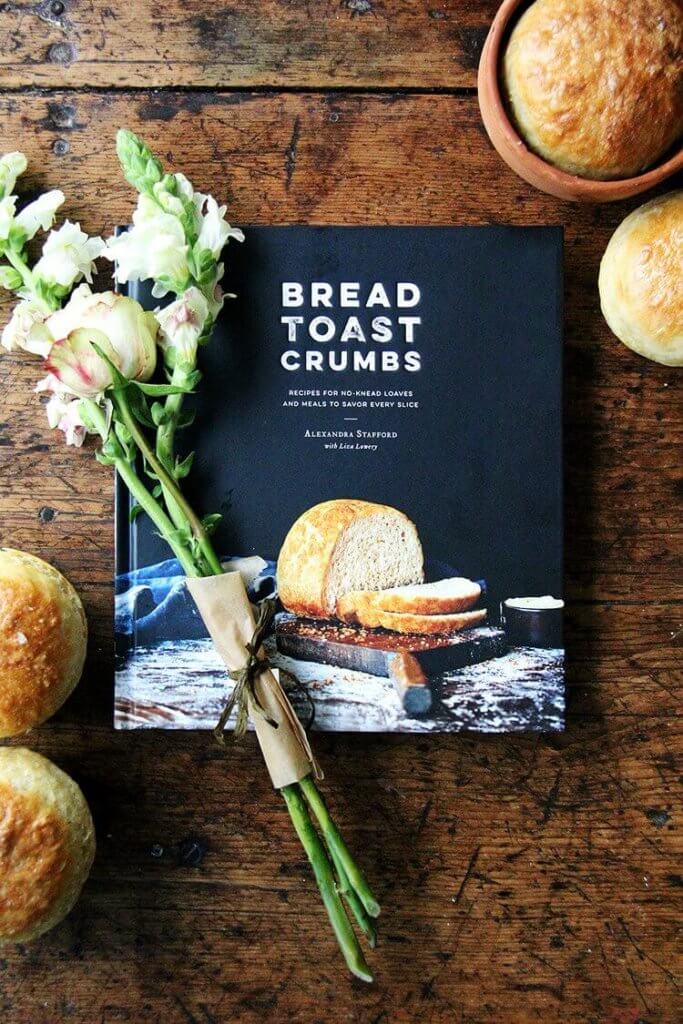
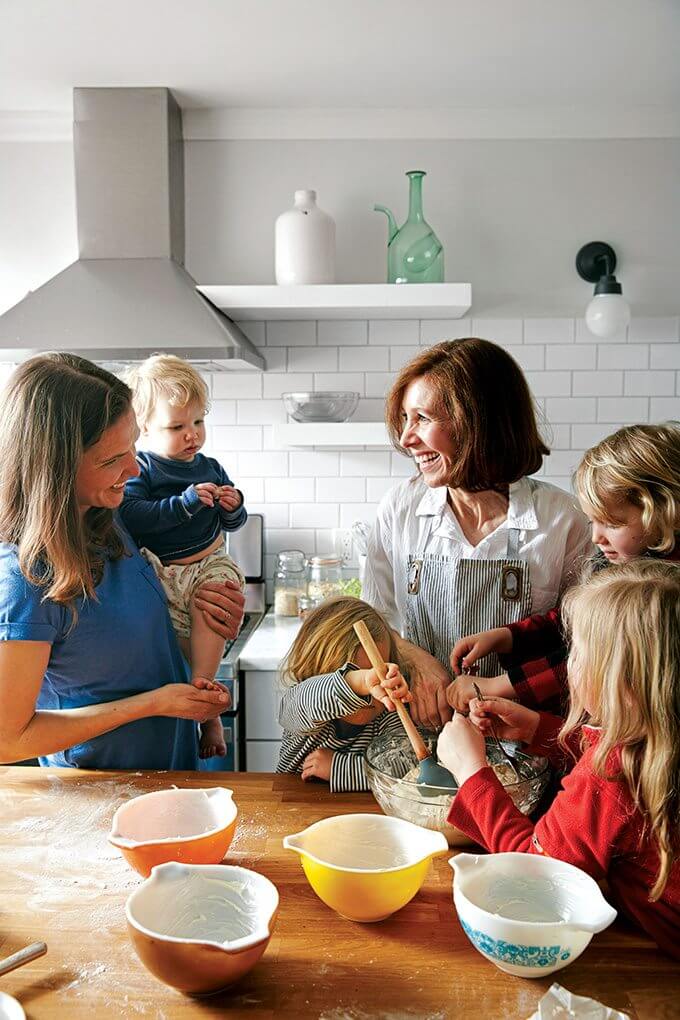
Baking with my mom! From the Bread Toast Crumbs photo shoot last spring:
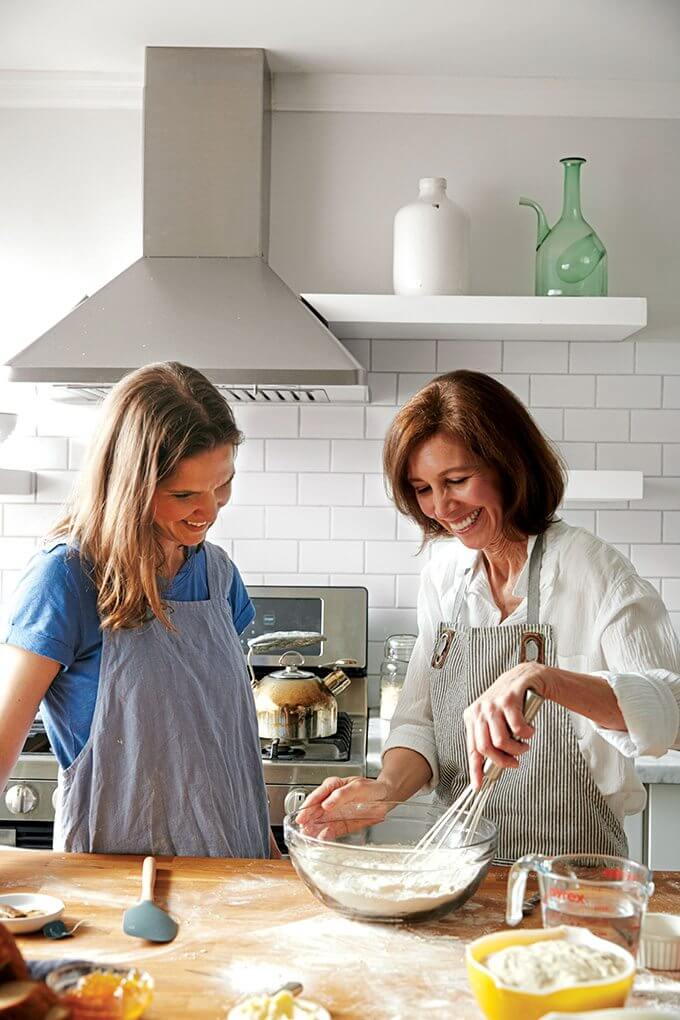
Flowerpot Bread: Peasant bread dough mixed:
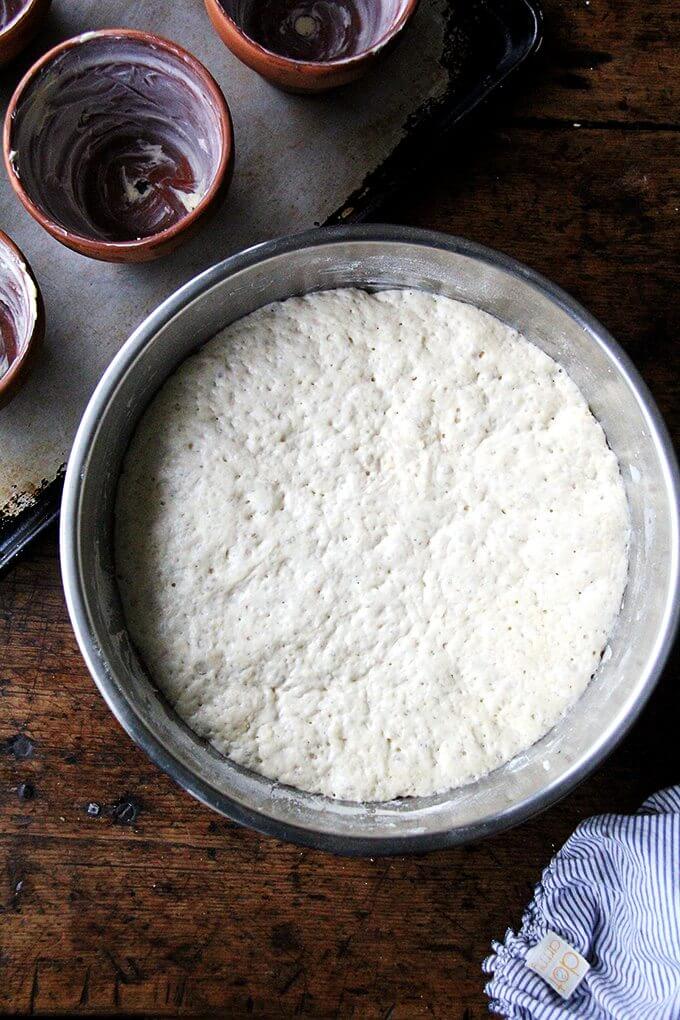
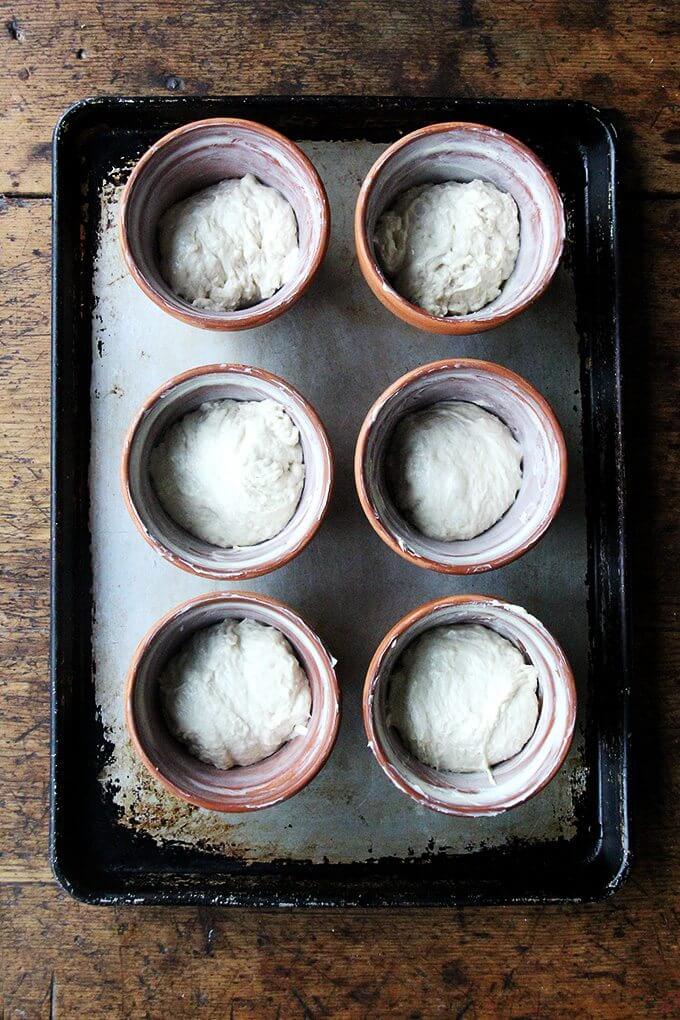
Dough, rising:
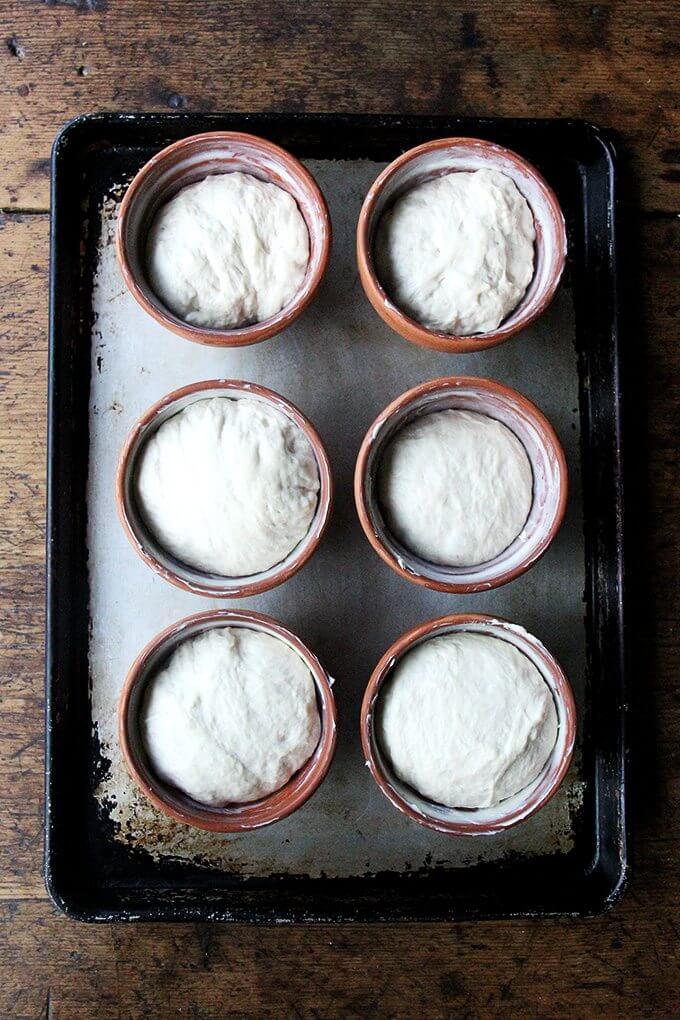
Dough, risen:
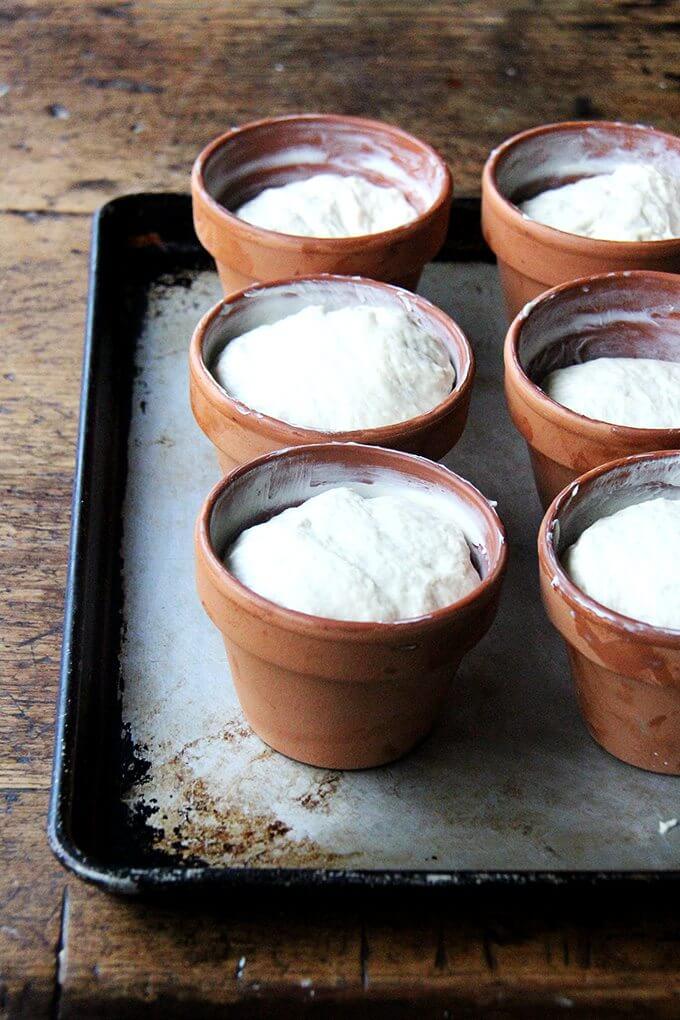
Ready for the oven:
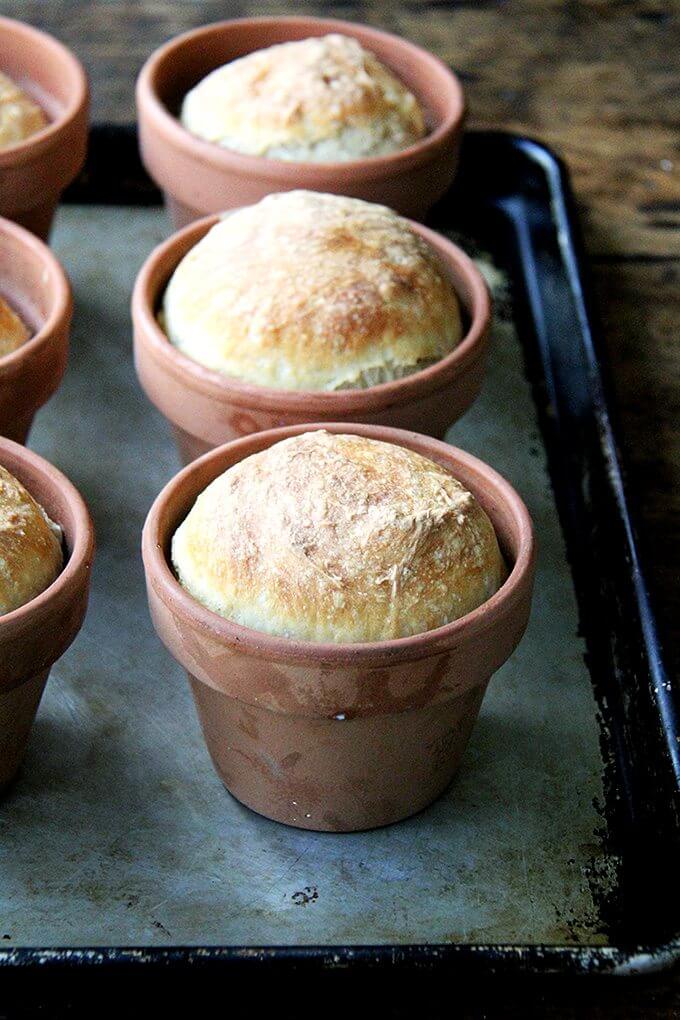
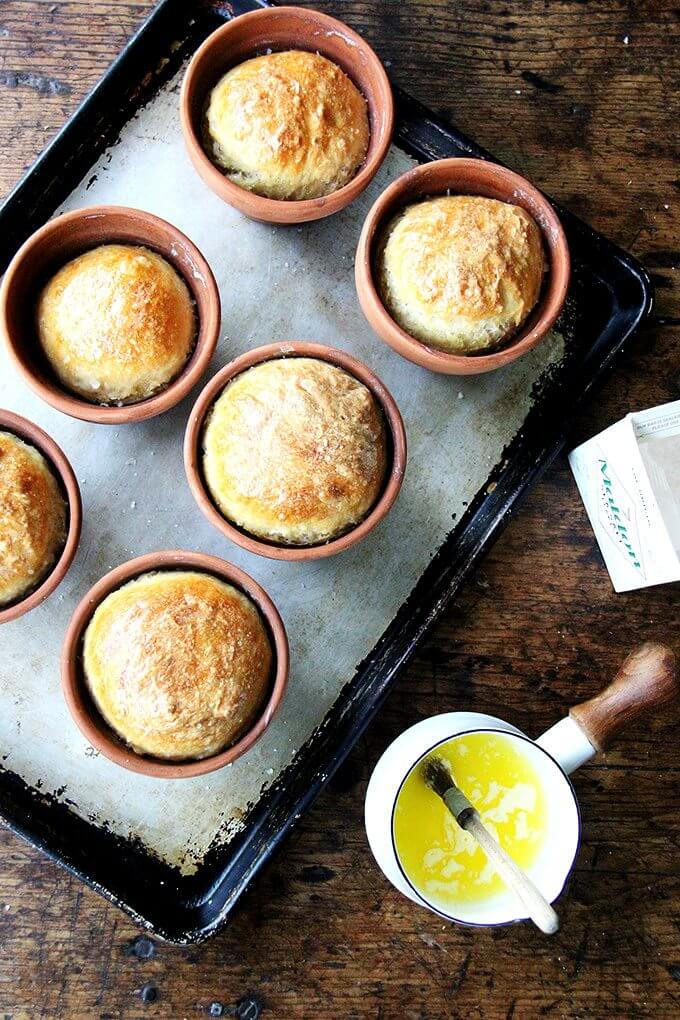
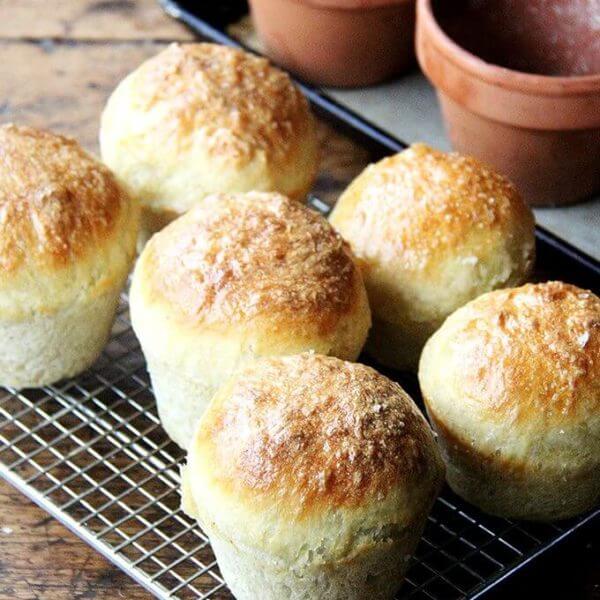
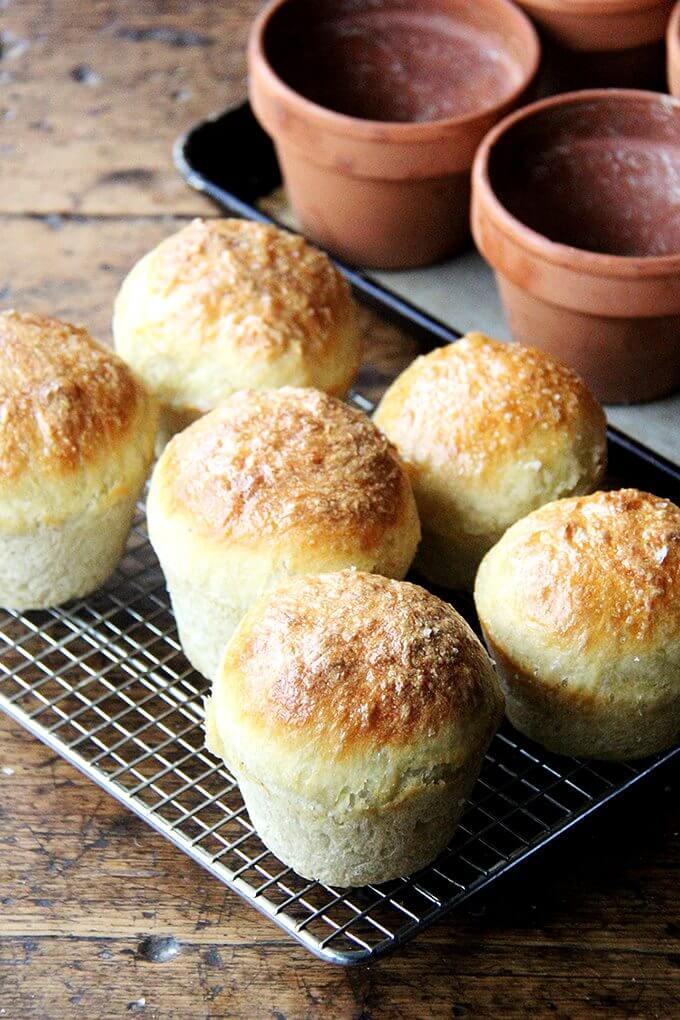
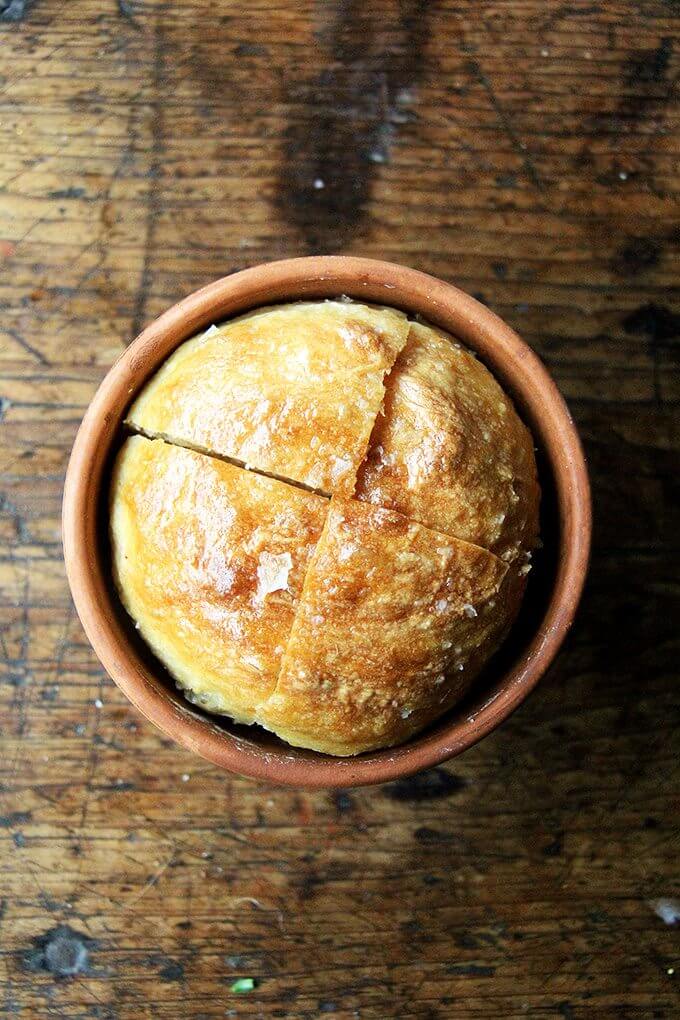
Freshly baked:
A sprinkling of sea salt is especially nice:
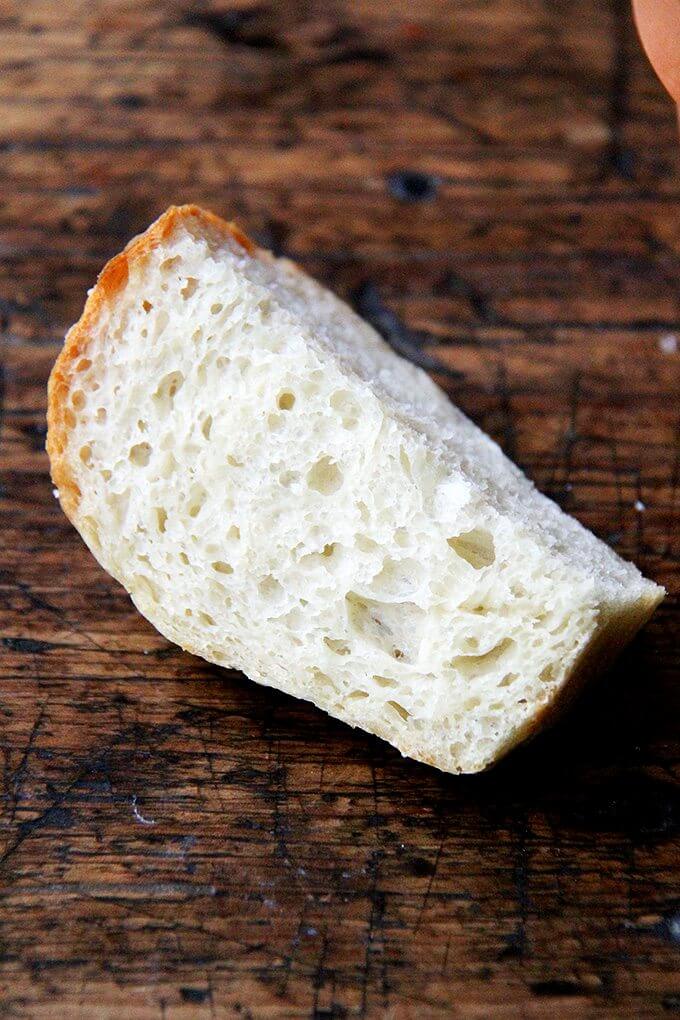
Flowerpot Peasant Bread
- Yield: 6 small loaves
Description
Adapted from the master peasant bread recipe in Bread Toast Crumbs.
Flowerpots: I use 6 small flowerpots measuring about 4 inches in diameter at the top opening and a little over 3 inches tall. Are they safe to use? I can’t say for sure. The ones I purchased from a local shop, Faddegan’s, are made in Italy and of terra cotta.
Warm spot to rise: This is how to create a slightly warm spot for your bread to rise: Turn the oven on at any temperature (350ºF or so) for one minute, then turn it off. Note: Do not allow the oven to get up to 300ºF, for example, and then heat at that setting for 1 minute — this will be too hot. Just let the oven preheat for a total of 1 minute — it likely won’t get above 100ºF. The goal is to just create a slightly warm environment for the bread.
Ingredients
- 4 cups (512 g) unbleached all-purpose flour
- 2 teaspoons kosher salt
- 2 cups lukewarm water (made by mixing 1 1/2 cups cold water with 1/2 cup boiling water)
- 2 teaspoons sugar
- 2 teaspoons instant or active-dry yeast
- room temperature butter for greasing the flower pots, plus more, if you wish, for brushing over top
- sea salt for sprinkling
Instructions
- Mixing the dough: If you are using instant yeast: In a large mixing bowl, whisk together the flour, salt, sugar, and instant yeast. Add the water. Mix until the flour is absorbed. If you are using active-dry yeast: In a small mixing bowl, dissolve the sugar into the water. Sprinkle the yeast over top. There is no need to stir it up. Let it stand for about 10 to 15 minutes or until the mixture is foamy and/or bubbling just a bit — this step will ensure that the yeast is active. Meanwhile, in a large bowl, whisk together the flour and salt. When the yeast-water-sugar mixture is foamy, stir it up, and add it to the flour bowl. Mix until the flour is absorbed.
- Cover bowl with a tea towel or plastic wrap and set aside in a warm spot (see notes above) to rise for at least an hour. (In the winter or if you are letting the bread rise in a cool place, it might take as long as two hours to rise.)
- Position an oven rack in the lower third of your oven. Preheat the oven to 425ºF. Grease 6 flowerpots (see notes above) with about a tablespoon of butter each—it is imperative to be generous here. Using two forks, punch down your dough, releasing it from the sides of the bowl, which it will be clinging to. As you release the dough from the sides, pull it towards the center. Then, take your two forks and divide the dough into two equal portions. Use your two forks to break off a third of one of these portions (1/6 of the total amount), and plop it in one of the buttered flowerpots. Repeat until all of the dough has been portioned into the pots—it’s OK if they aren’t evenly portioned out. Place the pots on a rimmed baking sheet.
- Let the dough rise for about 20 to 30 minutes on the countertop near the oven (or near a warm spot) or until it has risen to just below the rim of the pot. Be patient—it may take longer.
- Bake for 15 minutes. Reduce the heat to 375º and make for 15 minutes longer. Remove pan from oven. Brush the loaves with melted butter and sprinkle with sea salt if you wish. Run a knife around the edge of each flowerpot loaf of bread to loosen it from the sides. Turn each one out onto a cooling rack and let cool for 20 minutes or longer. When you’re ready to give the loaf as a gift, return the bread to the pot, wrap a bough around the pot, tuck it in a basket with some more goodies: butter, jam, flowers, etc.
This post may contain affiliate links. Please read my disclosure policy.



39 Comments on “Flowerpot Bread”
Love this clay pot as baking tool, Ali! It reminds me of a cheddar cheese bread my mother used to make and she baked it in one-pound coffee cans!
I SO look forward to giving my brother one of the 2 of your cookbooks I bought, for his birthday next month! He loves to bake bread…so I know he will love it!
Thank you, Teri!! I love the shape of coffee-can bread — I love the height and straight sides. Cheddar cheese coffee tin bread sounds so good.
Your bookplate is in the mail! Thank you for buying the book and sharing with your brother … means the world 🙂 🙂 🙂 xoxoxo
How simple, beautiful, and thoughtful! Thank you for a lovely gift idea not just for Mother’s Day, but for anyone!
Thank you, Karen! xo
I loved it and will be baking some this afternoon. It is like my artisan bread I now make.
Thank you!
So happy to hear this, John! Thank you 🙂
Thank you for the recipe! I can not buy your book right now,hopefully soon,I am going thou a bad time right now. Love your blog! Thank u so much!
Oh Jean, I’m so sorry to hear this 🙁 Wish I could help somehow. Thank you for the kind words. Hope things get better soon!
I received my bookplate today! Thank you so much. It made me even more excited to give my mom your book this weekend!
Thanks again!
Yay!! So happy it arrived, Anna! Thanks for writing in 🙂
I was so excited to receive my book plate, just in time for my birthday! I have been baking my way through the book since it arrived and everything so far has been great. Thank you!
So happy to hear this, Amy!! It means the world. xo
Very exciting. Made my first loaves today and they were as good as promised by your pics and blog and on Food52. Ordered a copy of your lovely book as a result and requested a bookplate from you. Very happy to add it to my collection. I’ve been baking bread for 50 years and this has to be one of the best and easiest recipes I have ever tried. Thanks to your mother and to you for sharing.
So happy to hear this, Karen! Truly, nothing could make me happier 🙂 I hope the bookplate arrived?! Thank you for your kind comment 🙂
Hello,
Will your technique work with whole grain flours?
I received my bookplate. It makes my book complete. Your blog is wonderful!
So happy to hear this, Jeanne! Your kind words mean the world 🙂
Thank you for sharing your Mom’s bread recipe. My friends and family thank you as well! Love the cookbook and your blog. There is just something so special in giving bread.
Paula, I’m so happy to hear all of this, thank you 🙂 I so appreciate the kind words. And I couldn’t agree more — bread is the best gift…people are always so happy. xo
I love your cookbook and have been filling
my home with wonderful aromas! Next to
Flowerpots! Thank you Ali!
Janine
I’m so happy to hear this, Janine! Hugs to you. Lots of of love, too 🙂 xo
You need to season the terracotta pots first, by brushing oil on them and baking them for 2-3 hours. This is what makes them food-safe. https://farmsteady.com/seasoning-your-flower-pots
Thank you, Claire! So helpful.
Hi Ali 😀 Do you think your recipe for light brioche rolls would work in the flower pots?
I do! I think they would be so good in fact. As always: butter the pots well.
Thank you for this lovely idea!!!
💕💕💕💕
Thank you for sharing.
I had a chance to try out this recipe over the weekend and it turned out so amazingly good! So I found a neat tip from a cookbook to place 6 to 8 ice cubes in a small baking dish to place beside the bread while it’s baking. The moisture creates a crispy crunchy outside layer and stays soft on the inside. Thank you I will definitely be making this bread again! 😁
Oh yay! Wonderful to hear this, Laurie! Great tip. Thanks for sharing 🙂
I am looking forward to trying this recipe. Can you answer if it matters whether the terra cotta pot has a hole or not? Thank you!
I have made the bread in both pots that have and do not have holes, so either way works. Good luck!
Fantastic idea, I’m going to give it a try. I’ve got to buy a few new flower pots for my garden so I’ll get 6 extra
Could I make these using your recipe for gluten-free Peasant Bread?
Yes!
Hi was wondering if like the glass bowl breads could I made this bread in one large flower pot
Yes! You’ll need to increase the bake time. I would add 10 minutes at the end.
I am so surprised how perfect these came out! Yes to cook in terra cotta pots follow what the previous person commented. These were so moist in the bottom but had more texture and crunch on top which was just what I was looking for. I then made some herb butter and slathered some all around the loaves and wow so delicious! Thank you so much 🙂
Great to hear, Jojo! Thanks so much for writing 🙂 🙂 🙂