
How to Make Excellent Skillet Pizza
This post may contain affiliate links. Please read my disclosure policy.

Many of you know I am a huge fan of the Baking Steel, a 1/4-inch thick slab of steel that creates crisp bottom crusts and airy edges on pizza and flat breads. Since seeing my first Baking Steel pizza emerge from my oven ballooned and blistered with a golden undercarriage, the Baking Steel has become my tool of choice for making great pizza at home.
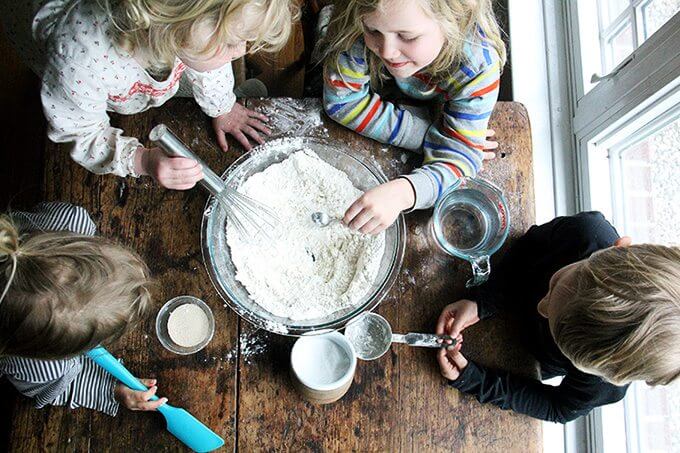
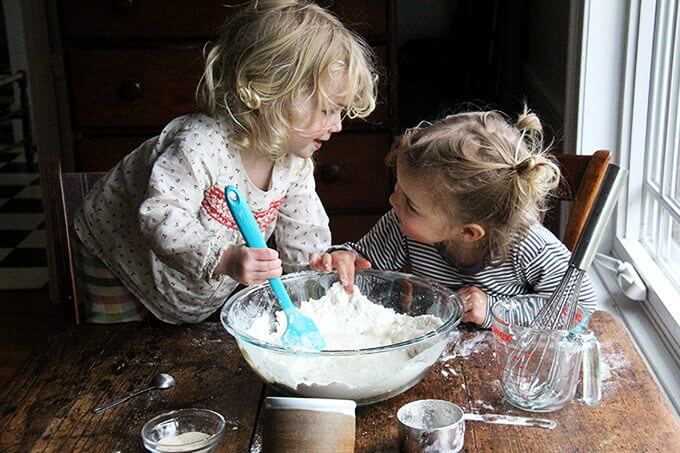
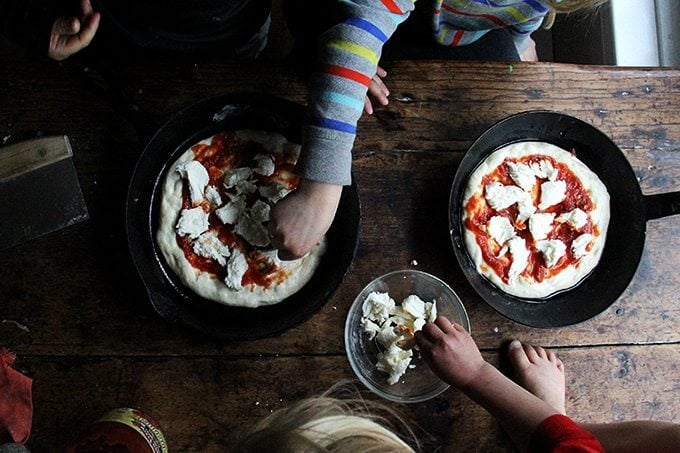
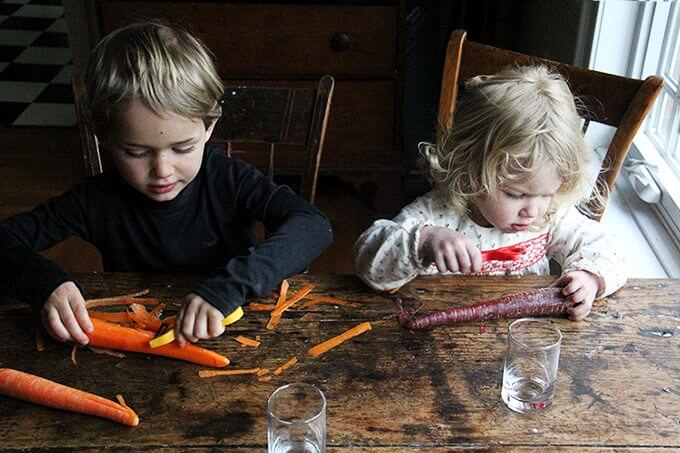
When I want to involve the children in the pizza-making process, however, I find it a little bit easier to use cast iron skillets. Moreover, it’s nice to know how to make excellent skillet pizza in your favorite cast iron pan or other heavy-bottomed pan.
This dough recipe is from my cookbook, Bread Toast Crumbs.

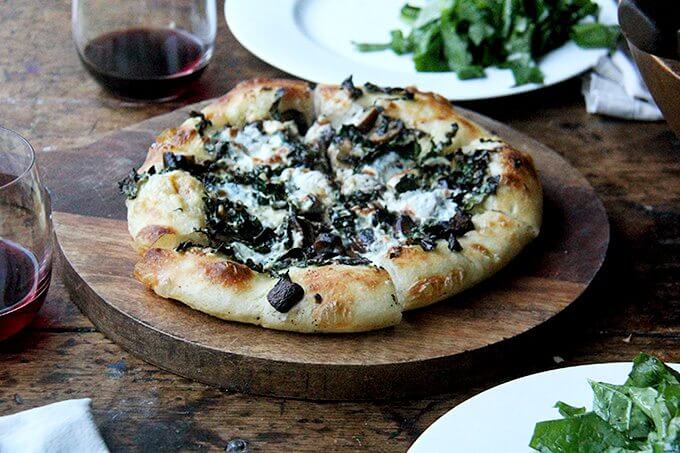
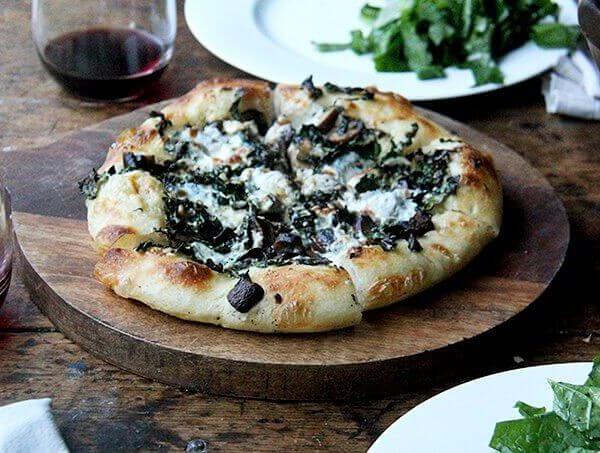
Skillet Pizza Two Ways: Tomato & Mozzarella | Kale & Mushroom with Crème Fraîche
- Total Time: 2 hours 15 minutes
- Yield: 6 pizzas
Description
This is a double recipe of the skillet pizza in my cookbook, Bread Toast Crumbs.
This recipe yields 6 rounds of pizza dough. Recipe can be halved; dough can be refrigerated.
I typically bake 4 pizzas one night, then refrigerate 2 rounds of dough (in individual quart containers), which I bake on the following evening, often just brushed with olive oil and sprinkled with sea salt.
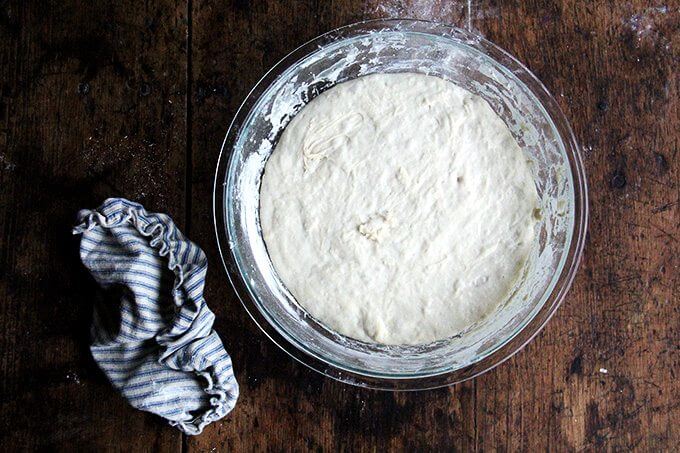
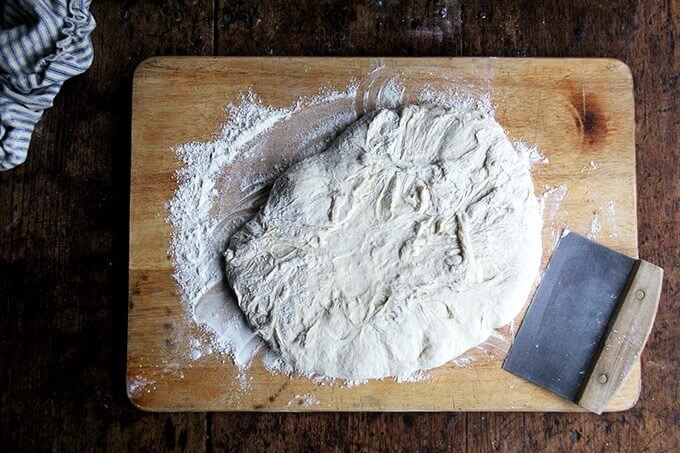
If you are unfamiliar with the peasant bread dough, it is a very wet, no-knead dough. The key when handling it, is to use as much flour as necessary to keep it from sticking to the board and your hands.
Jarred sauce: Most of the year, I use jarred tomato sauce. I like using a local (to me) brand, Casa Visco marinara, or Rao’s Marinara.
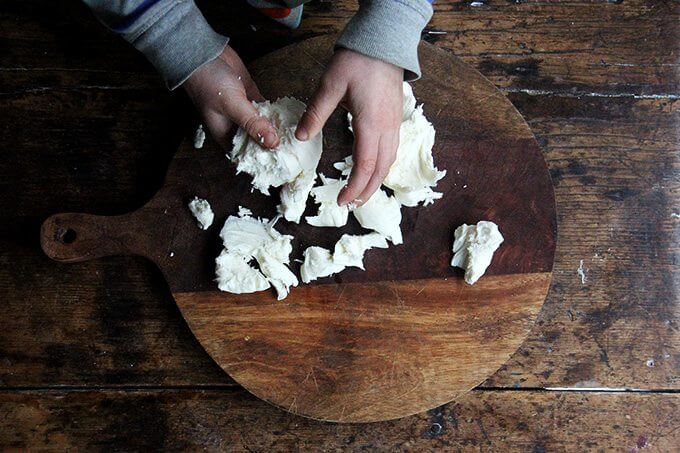
Mozzarella: Look for mozzarella not stored in brine to prevent the dough from getting too soggy.
Ingredients
for the dough
- 4 cups (512 g) all-purpose flour, plus more for assembly
- 2 teaspoons (10 g) kosher salt
- 1 teaspoon (4 g) instant yeast
- 2 cups (456 g) lukewarm water (made my stirring together 1.5 cups cold water and 0.5 cups boiling water)
toppings for tomato & mozzarella:
- Olive oil for the skillets
- Jarred tomato sauce, see notes above
- Fresh mozzarella, see notes above
- Sea salt, optional
toppings for kale & mushroom:
- 3 tablespoons extra-virgin olive oil, plus more for greasing
- 1 bunch kale, tough stems chopped off, remaining leaves and stems finely chopped
- 6 to 8ounces mushrooms, thinly sliced
- Fresh mozzarella, see notes above
- Crème fraîche
- Sea salt
Instructions
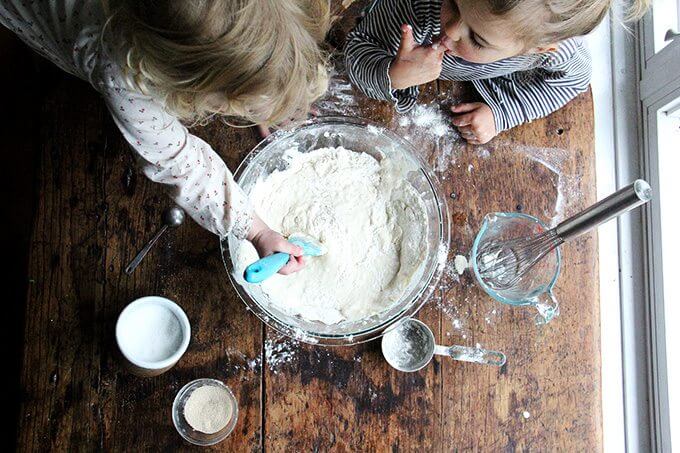
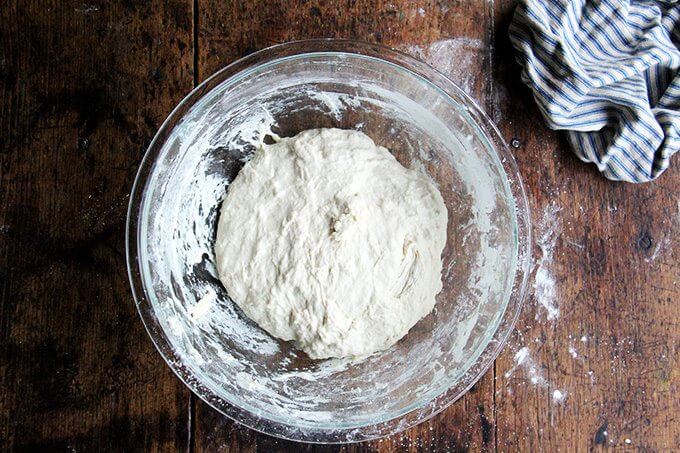
- To make the dough: In a large bowl, whisk together the flour, salt, and instant yeast. Add the water. Using a rubber spatula, mix until the water is absorbed and the ingredients form a sticky dough ball. (If you need to use active dry yeast instead, proof it in the lukewarm water with a pinch of sugar first for about 10 minutes, until foamy, before adding to the other ingredients.)
- Cover the bowl with a damp tea towel or plastic wrap and set aside in a warm spot to rise for 1 to 1 1/2 hours, until the dough has doubled in bulk. Note: Here’s a trick for making the perfect warm spot for the dough to rise. Set the oven to 400° F and let it preheat for 1 minute, then shut it off. The temperature will be between 80° F and 100° F. you should be able to place your hands (carefully) on the oven grates without burning them.
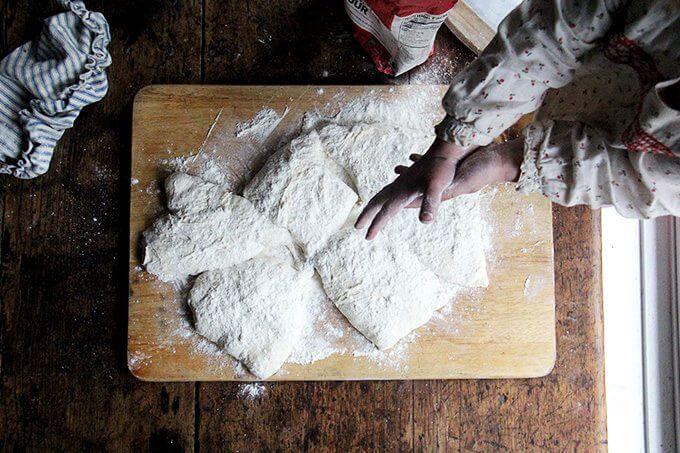
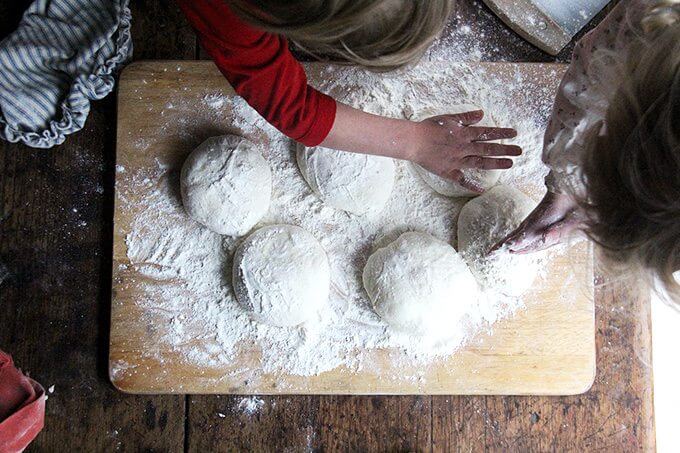
- Set a rack in the middle of the oven and preheat it to 550° F. Cover a work surface or cutting board liberally with flour — use at least 1/4 cup and more as needed. The dough is very wet, so don’t hesitate to use flour as needed. Using two forks, deflate the dough by releasing it from the sides of the bowl and pulling it toward the center. Rotate the bowl quarter turns as you deflate, turning the mass into a rough ball. Turn the dough out onto your floured surface and use a bench scraper to divide the dough into 6 equal portions. With floured hands, roll each portion into a ball, using the pinkie-edges of your hands to pinch the dough underneath each ball. Let the balls sit on their tucked-in edges for at least 20 minutes without touching.
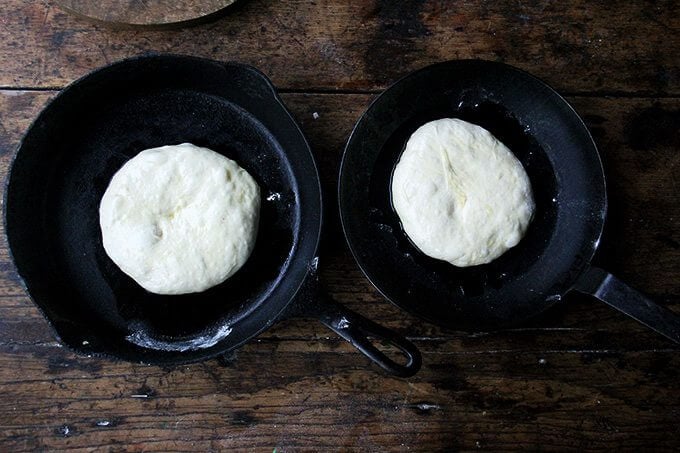
- Pour 1/2 teaspoon extra-virgin olive oil into one or two 8- to 10-inch oven-safe skillet. (If you have two skillets, prepare two—I don’t bake more than two pizzas at a time, but if you have two ovens or if your oven is large enough to fit three skillets on one rack, you can prepare three skillets at this step.) Transfer one ball of dough to each prepared skillet, and roll in the oil to coat.
- With oiled hands and working from the center out, gently stretch the dough to fit the skillet or into an 8- to 9-inch round. As soon as the dough begins resisting or tearing, stop, let it rest for 5 minutes, then stretch again—small tears are fine and can easily be pinched back together.
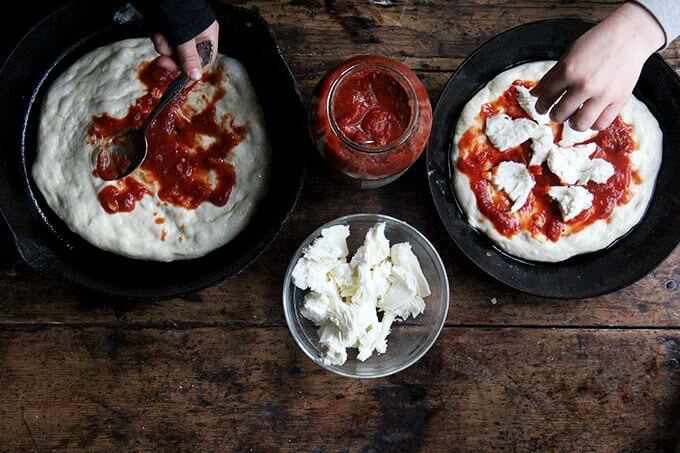
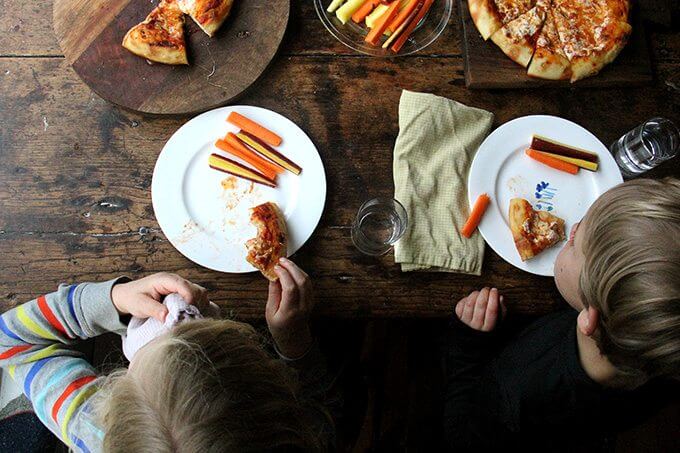
- For the tomato and mozzarella pizzas: Spoon sauce over the dough leaving a 1/2-inch border or so. Top with mozzarella to taste (see photos above for guidance). Sprinkle lightly with sea salt, if using. Place the skillets in the oven, one or two at a time, and bake for 8 to 10 minutes, until the edges are golden. Check the underside with a metal spatula; it should be crisp and golden brown. If the underside of the crust is still pale, continue baking for 3 to 5 minutes (checking often), or place the pan over a burner on medium-high heat for about a minute, keeping an eye on it the entire time and continuing to peek at the underside.
- For the kale and mushroom pizzas: Heat a large sauté pan over high heat. Add 2 tablespoons of the oil. When it shimmers, reduce the heat to medium, add the mushrooms and let them cook for 1 minute without disturbing them. After the 1 minute, stir to distribute and rearrange, then let cook for another minute. Stir again. Season with kosher salt and let cook another minute. When mushrooms are brown on all sides, scoop them into a bowl and return the skillet to high heat. Add the remaining tablespoon of olive oil. When it shimmers, add the kale and let cook for 1 minute without disturbing it. After the 1 minute, stir to distribute and rearrange, then let cook for another minute. Stir again. Season with kosher salt and let cook another minute. When the kale has wilted, turn off the heat, return the mushrooms to the pan, stir to combine, and taste. Adjust with salt to taste.
- Spoon crème fraîche over the dough leaving a 1/2-inch border or so—I use about a tablespoon per pizza. Top with a layer of sautéed kale and mushrooms. Top with mozzarella to taste. Drizzle lightly with olive oil. Sprinkle with sea salt. Place the skillets in the oven, one or two at a time, and bake for 8 to 10 minutes, until the edges are golden. Check the underside with a metal spatula; it should be crisp and golden brown. If the underside of the crust is still pale, continue baking for 3 to 5 minutes, or place the pan over a burner on medium-high heat for about a minute, keeping an eye on it the entire time and continuing to peek at the underside.
- Prep Time: 2 hours
- Cook Time: 15 minutes
- Category: Pizza
- Method: Oven
- Cuisine: American, Italian
This post may contain affiliate links. Please read my disclosure policy.


22 Comments on “How to Make Excellent Skillet Pizza”
Aww!! Love this! Have a wonderful Mother’s Day!!!!
Thank you, Rosa!!
Love your beautiful family! For a day when you’re rushing with pizza, have you tried skillet pizza under the broiler? I love this method so much because it’s quick and doesn’t heat up the house- something that is perfect especially in the summer. I read about this in the artisan bread in 30 minutes a day site. You preheat your broiler to high. Stretch your pizza dough, then heat your cast iron skillet on high on a burner (no need to oil pan). Quickly top while the bottom crust brown, then slide the whole thing, pan and all under the broiler. Cooks the top- usually forms some nice bubbles and gets cooked all the way through. Not as kid friendly (so hot) for topping, but the method that I use most often these days, even with a baking steel in my oven!
Sarah, I have not!! And I obviously must try this immediately. Thank you so much for sending and thank you for the kind words … means a lot 🙂 And it doesn’t always have to be kid friendly — half the time they’re out and about when it comes time to top the pizzas … fast is the name of the game. Thank you!!
Just bought your book and am so excited to get going with your great bread! I will conquer bread with your new book. Thank you so much for sharing !
You will you will!! So happy to hear this, Maude. Thank you 🙂 🙂 🙂
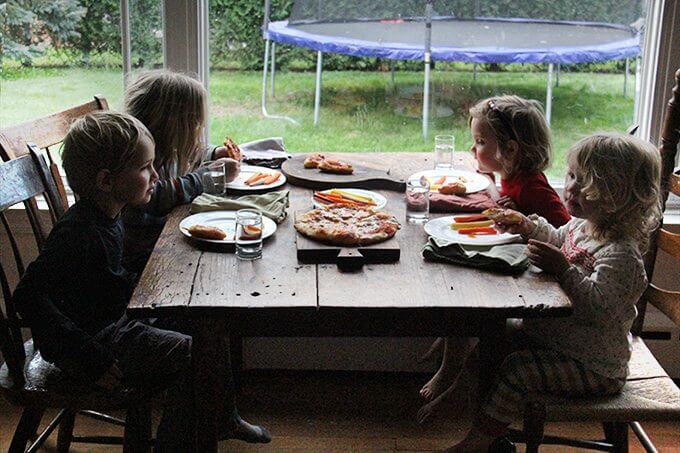
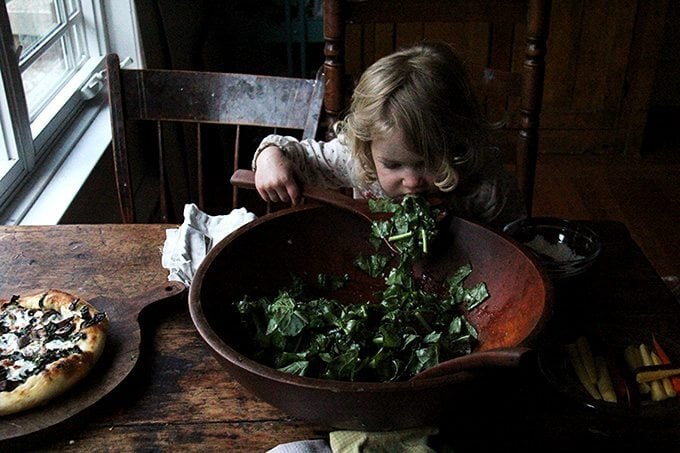
Love pictures of your kids! Especially this one with four of them at the table and Little Miss (is it Wren?) eating salad directly from the bowl 🙂 Many greetings from Poland, Europe.
Ilona, it’s actually Tig who is eating straight from the bowl! Such a rascal. Thank you for writing 🙂
Looking at the photos in this post for the 3rd time. Just to warm up my heart.
<3
Awww, Gena, thank you 🙂 xoxo
love techniques for crispy pizza, not easy in a 500 degree max home oven! So, thank you for this recipe, love how you involve the kids in this one, beautiful photos!
Thank you so much, Sabrina. You are too kind!
Beautiful children! Just wanted to let you know I love your book. Just bought it and it is intriguing. What great ideas-especially the ones for crumbs! Oh, and I made the bread with my son-he was amazed at the process and the yummy results. Thanks.
Martha, thank you!! I’m so happy to hear all of this. And so happy your son approved, too—that’s the best 🙂 Thank you for writing in and thank you for the kind words.
Hi Alexandra, is it possible to successfully make this pizza on a baking sheet? Trying to minimize new kitchen purchases (baking steel, pizza stone, cast-iron skillets etc.) as I’m running out of room! Many thanks, Steven
Hi Steven, so sorry for the delay here! Yes, it is possible, but I have to say the crust comes out so much better in the cast iron. I have tried sheet pans, and they work, it’s just that the crust never gets as crisp as I like. But I hear you on the minimizing new purchases. Give it a shot!
Wonderful to hear this, Mira!
Hi Mira! Gosh, it’s so hard to say. Part of me wonders if you have your second (or third or fourth) rounds of dough resting at room temperature, you could get away with letting your skillet cool just five minutes or so. Of course, be careful transferring the dough to the still-hot skillet, but I think if you’re careful, you can get away with gently stretching the dough to fit the pan, using “piano” fingers to stretch it. Top it quickly and get it in the oven. Keep an eye on it regarding the time. It may take a few minutes less, but I imagine the baking time will be quite similar.
I’ve been making this almost every weekend for several months-every time my family comments on how delicious the crust is. My husband says it’s better than any pizza he’s had before-even restaurants can’t beat this. It has replaced my previous go to crust recipe. Thank you for sharing this absolutely amazing recipe!
So nice to read this, Erin! Thanks so much for writing and sharing this 🙂 🙂 🙂
Hi,
Can I use unbleached bread flour.
Thanks