Peasant Bread Video Tutorials
This post may contain affiliate links. Please read my disclosure policy.
I created these videos to supplement this recipe: My Mother’s Peasant Bread: The Best Easiest Bread You Will Ever Bake.
If you are using instant yeast (which I recommend), watch video 1, then skip to video 4. If you are using active-dry yeast, start with video 2.
- Using Instant Yeast. I highly recommend using Instant Yeast for bread baking. SAF Instant Yeast is my preference. Order it in bulk and store it in an airtight quart container in the fridge — it will keep for at least a year there or in the freezer. Instant yeast can be stirred directly into the flour, which makes the dough-mixing process happen incredibly quickly. (Pardon the chaos of the children here.)
- Using Active Dry Yeast. (Skip this video if you used Instant Yeast.) If you have active dry yeast on hand, here’s how to bloom it. (Note: Before I switched to using SAF Instant Yeast exclusively, I used Red Star Active Dry Yeast, which I also ordered in bulk from Amazon and stored in the fridge.)
- Mixing the Dough Using Active Dry Yeast. (Skip this video if you used Instant Yeast.)
- This is what the dough looks like after 60 – 90 minutes of rising. At this step, you punch it down with two forks, butter two 1-qt Pyrex bowls (Pyrex 322 Bowls), divide the dough in half, transfer each half to the prepared bowls, in preparation for the second rise.
- Transferring bowls to the 425ºF oven.
- Checking Halfway: Here I open the oven to show you how the bread is doing but it’s really best to just keep the oven door closed. After 15 minutes in the oven, turn the heat down to 375ºF and bake for another 17 minutes.
- Remove the bread from the oven and turn it out onto cooling racks:
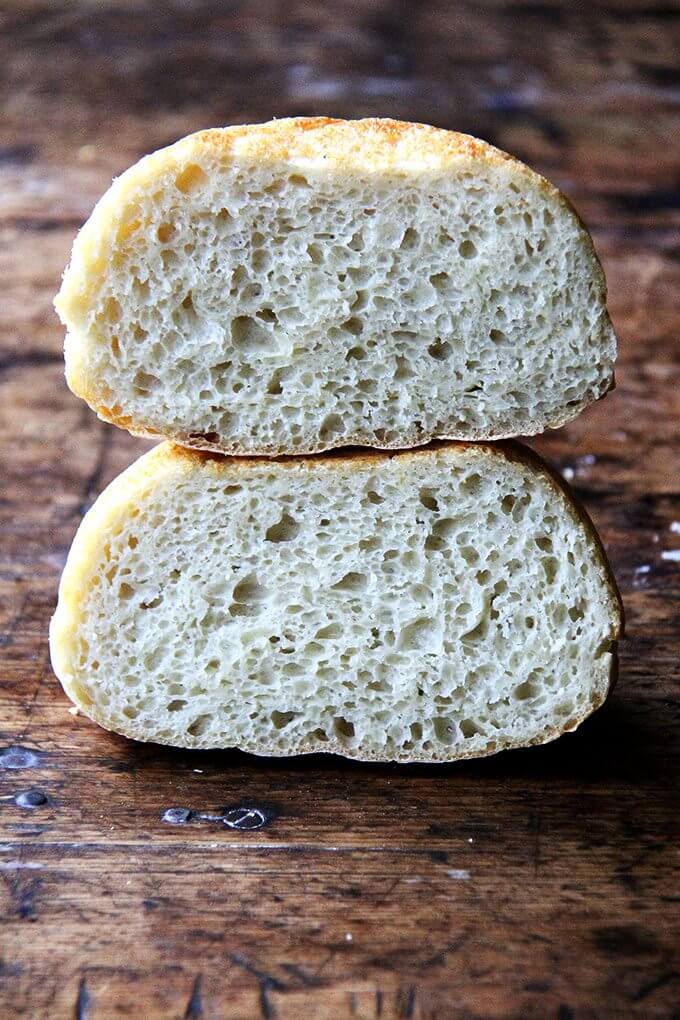
- Slice it up!
This post may contain affiliate links. Please read my disclosure policy.