
The Easiest French Apple Tart
This post may contain affiliate links. Please read my disclosure policy.
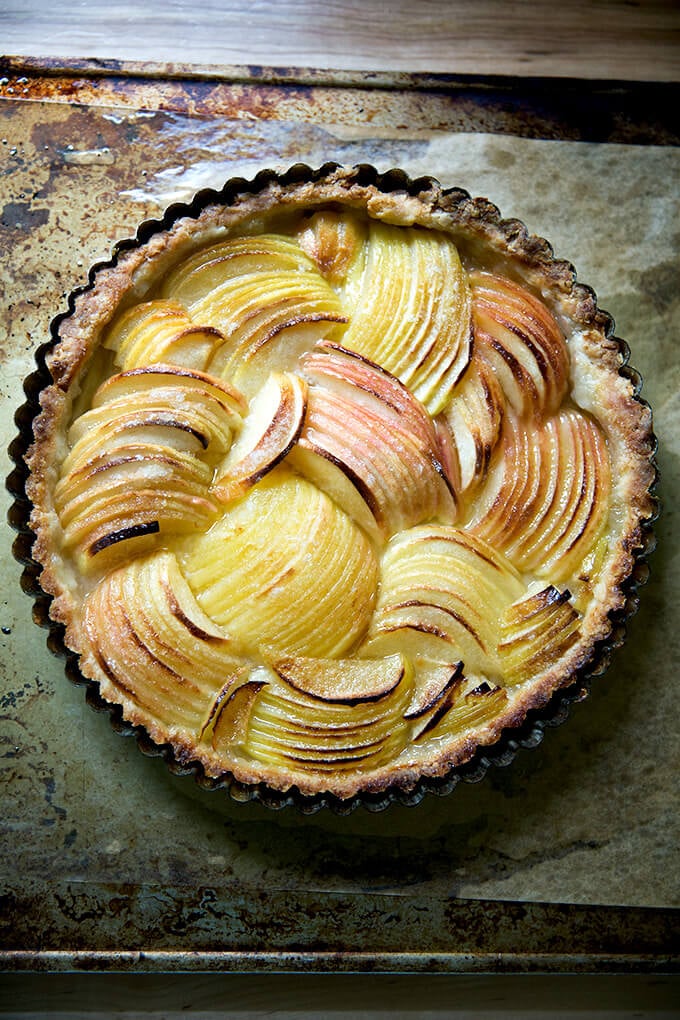
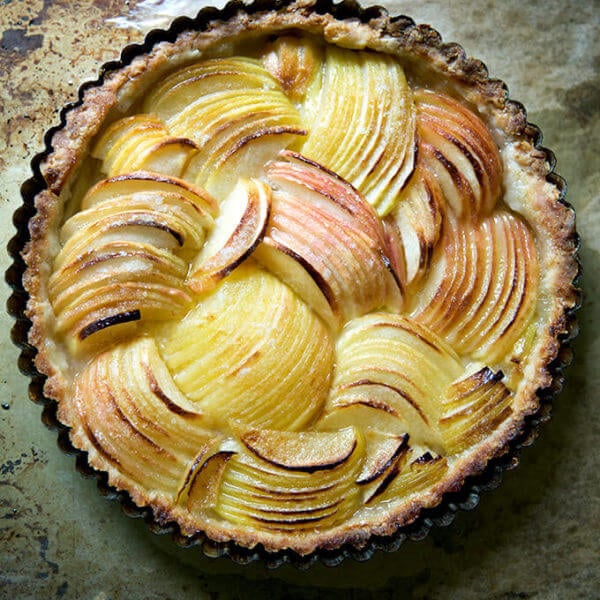
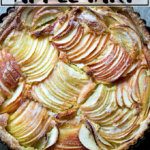
This French apple tart recipe is simplicity at its best: buttery pastry dough + unpeeled, thinly sliced apples + a sprinkling of sugar + a few pads of butter. That’s it! It’s so easy, so pretty, and so delicious.
A few weeks ago I came across a photo of an apple tart in Sarah Copeland’s Every Day is Saturday that stopped me in my tracks. For one, it was stunning. But two, the apples had their skins on!
I am ALWAYS peeling apples for pies, tarts, galettes, and the like, but: maybe, this photo had me wondering, I didn’t have to?
It turns out: I didn’t.
Last Sunday, for a local event, I made, as planned, two apple-frangipane galettes, one of my all-time favorite fall desserts. With the extra round of pastry I had on hand, I gave the unpeeled-apple tart a whirl.
The result? Where to begin?
The Beauty of A French Apple Tart…
… lies in its simplicity.
If you’ve been reading for a while, you know I’m always pushing the frangipane with these sorts of desserts — I find the combination of almond cream + flaky pastry + fruit to be irresistible.
But this tart, without the frangipane, is just as irresistible, just as difficult to pass on seconds, just as impossible to avoid slicing off teensy slivers every time you walk by. And it couldn’t be simpler: Apples. Sugar. Butter.
That’s it!
The hardest part about making this tart is slicing the apples thinly and keeping the apple “fans” together as you slice. I appreciated a note from Sarah in the recipe in regard to arranging the apple slices: “Don’t overthink it!” (A French apple tart I had made years ago, which called for creating apple “roses” drove me nearly mad.)
But Sarah’s right: the elegance of this presentation is in the union of random and uniform. It’s such a fun tart to assemble but an even more fun one to eat. I highly recommend whipping up some heavy cream and salting it just a touch more than you might normally. The sweet with the salty is, well… c’est parfait.
Note: The recipe below follows Sarah’s method for the filling but not the crust. Her “easier-than-pie-apple-tart” calls for making a gluten-free press-in-the-pan crust made with almond flour, which looks and sounds lovely. The recipe below calls for my favorite, foolproof, all-purpose, all-butter food processor pastry dough. It comes together in less than five minutes and yields the flakiest of flaky crusts. Bonus: no blind-baking (for this tart at least) required!
How to Make a French Apple Tart Ahead of Time
Last fall I learned you could freeze entirely assembled un-baked pies; then bake the frozen-solid pies directly from the freezer… no thawing required. This fall, I gave the method a go with this French apple tart.
The result? Five stars ⭐️⭐️⭐️⭐️⭐️
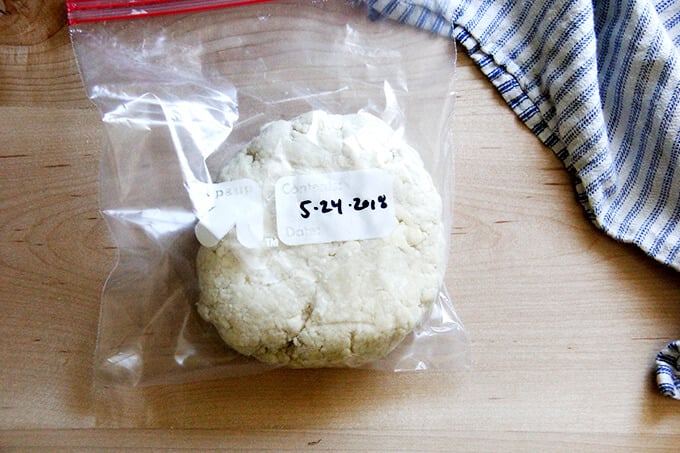
For this recipe, simply follow the process through step 5, stopping after you add the cubed butter. Transfer the tart to an airtight bag; then transfer to the freezer for up to 3 months. When ready to bake, proceed with the recipe, baking the tart directly from the freezer (i.e. no need to thaw in the fridge or on the counter overnight.
PS: 9 Apple Recipes to Make Right Now
How to Make a French Apple Tart: A Step-by-Step Guide
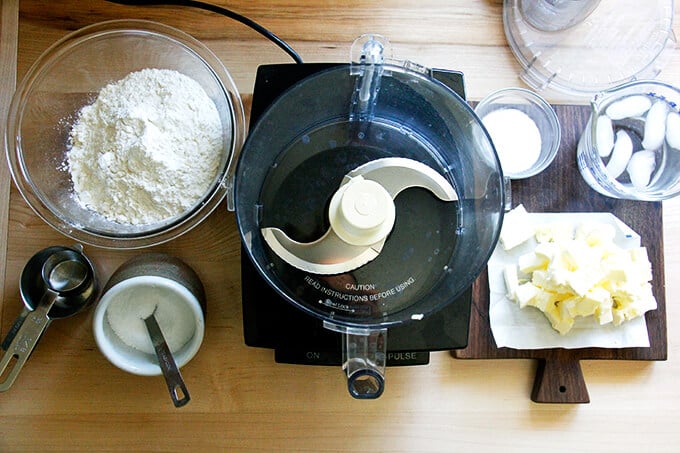
Make the dough. Gather your ingredients: flour, salt, sugar, butter, ice water. (Note: The pictures below show a double batch of dough being made; the recipe in the recipe box is for a single batch of dough.) First pulse the flour, sugar and salt together.
Add the butter and pulse 10 times (about).
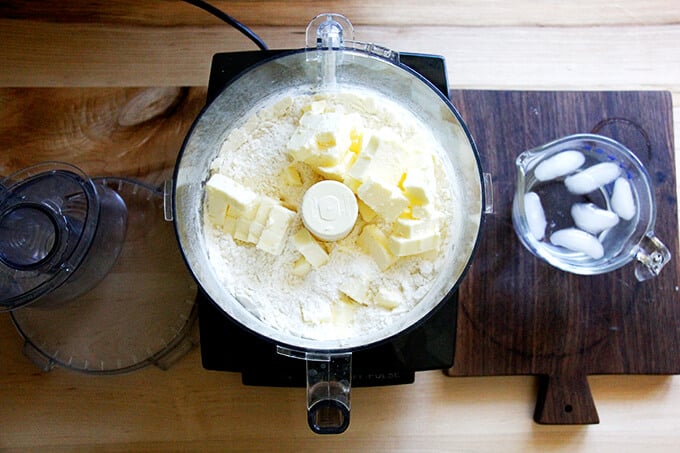
The butter should be the size of peas (about).
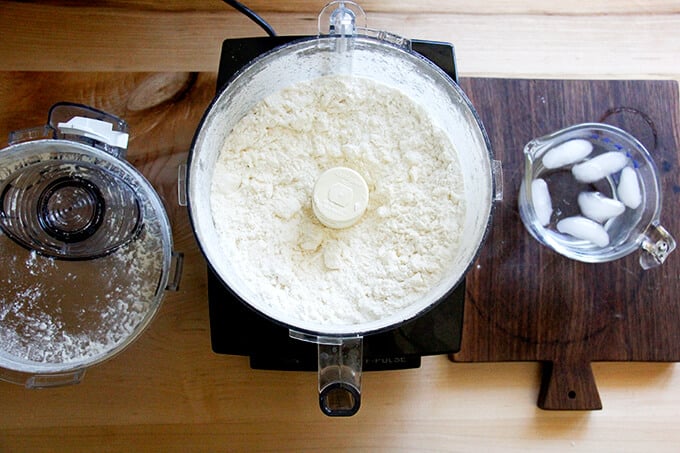
Add ice water.
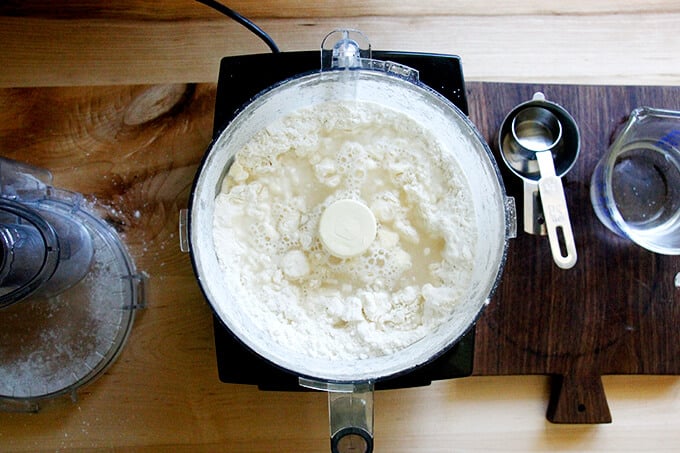
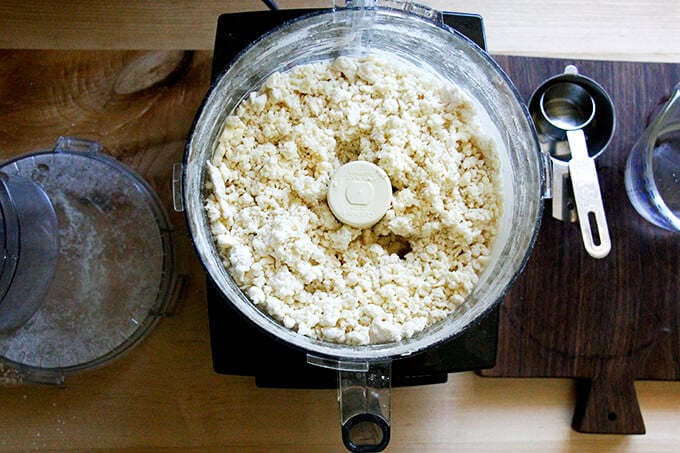
Pulse again about 10 to 15 times or until the dough is still crumbly, but holds together when pinched.
Divide dough between two clean tea towels. I love these tea towels by Now Designs.
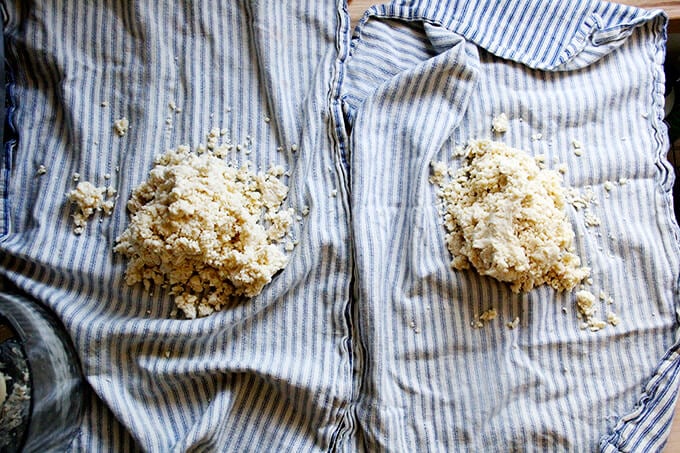
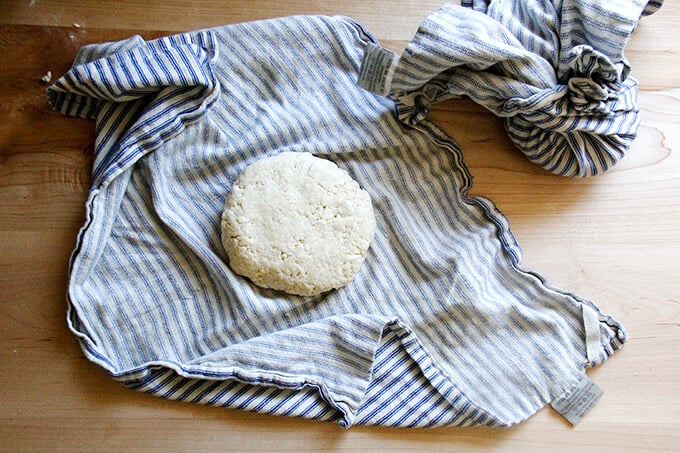
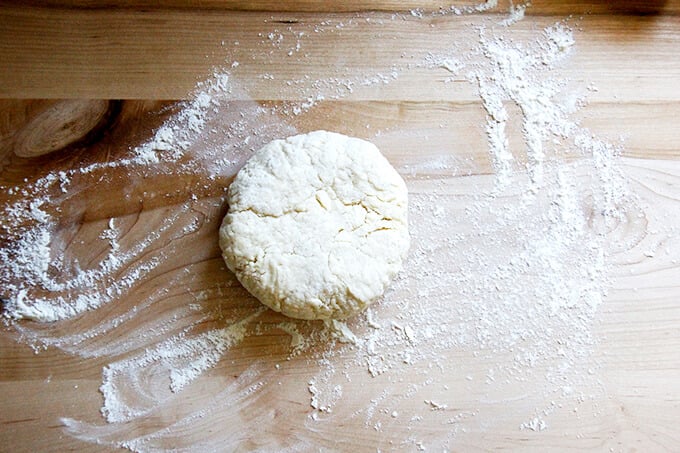
Gather towel into a beggar’s purse, and squeeze to form a round.
Transfer one to the freezer for a future use.
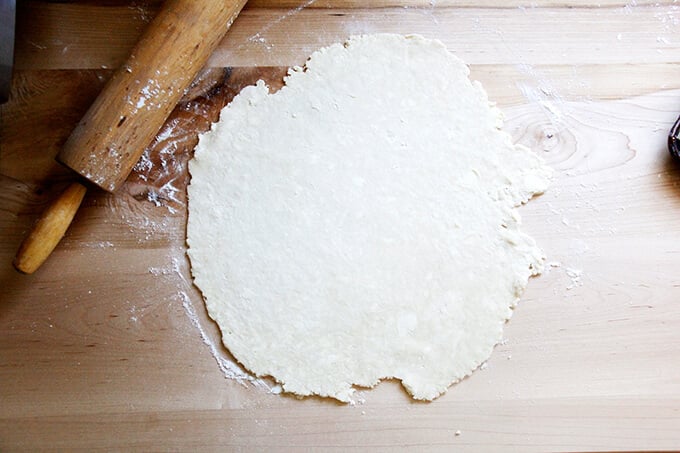
On a lightly floured surface, roll out the remaining round into a circle about 12- to 13-inches in diameter.
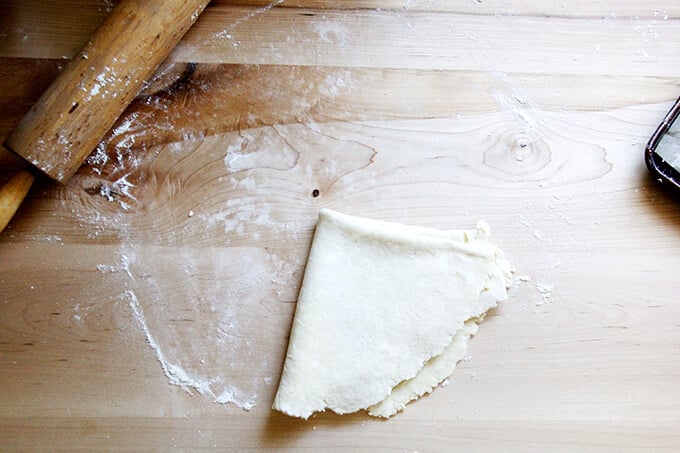
Fold dough into quarters for easy transfer to tart pan. Sorry no picture of the filled-in tart pan. At this point, the tart pan should chill in the freezer for 30 minutes.
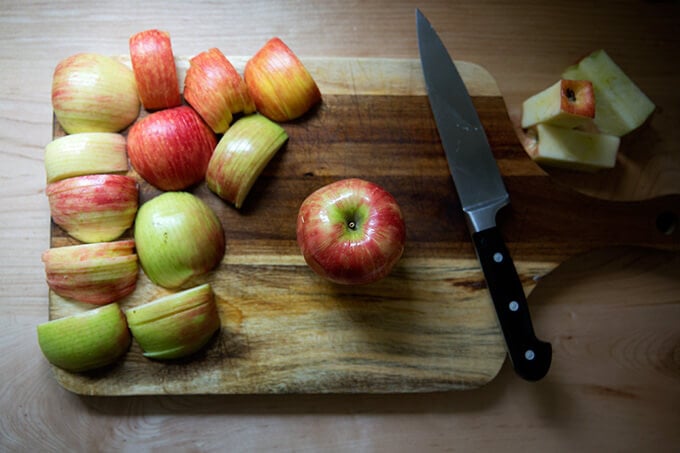
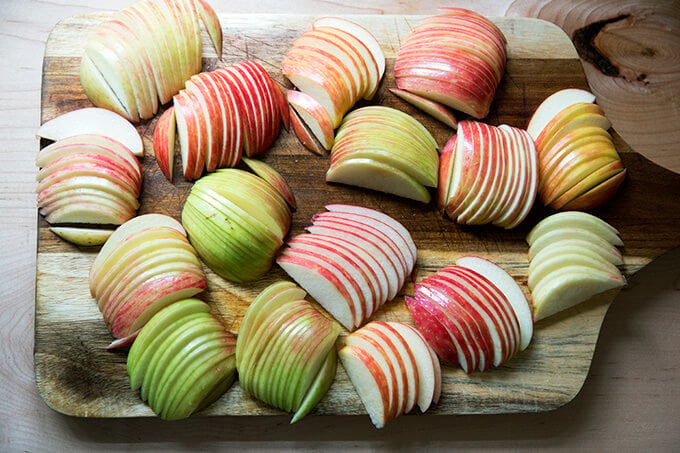
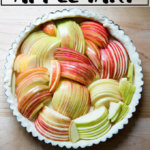
Meanwhile, cut 3 to 4 apples straight down around the core to create 4 “cheeks”. Then slice thinly, keeping the cheeks together.
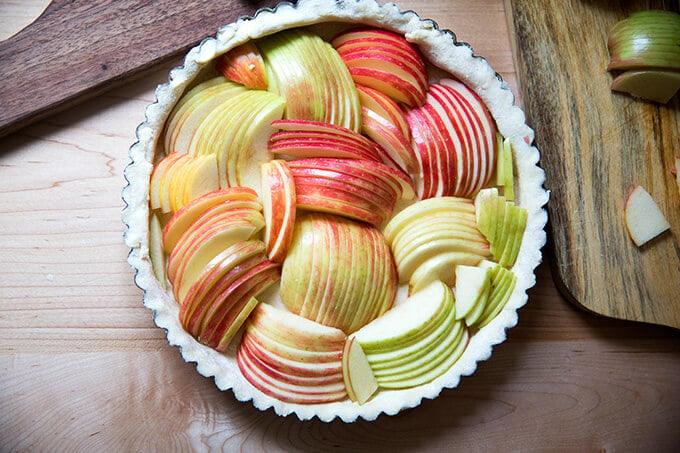
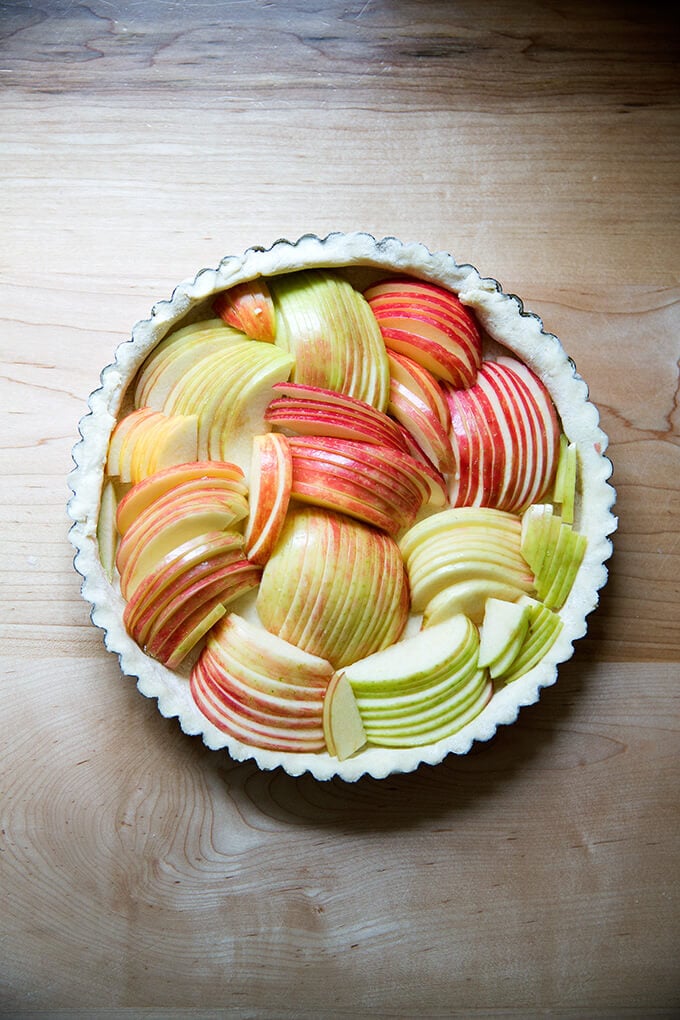
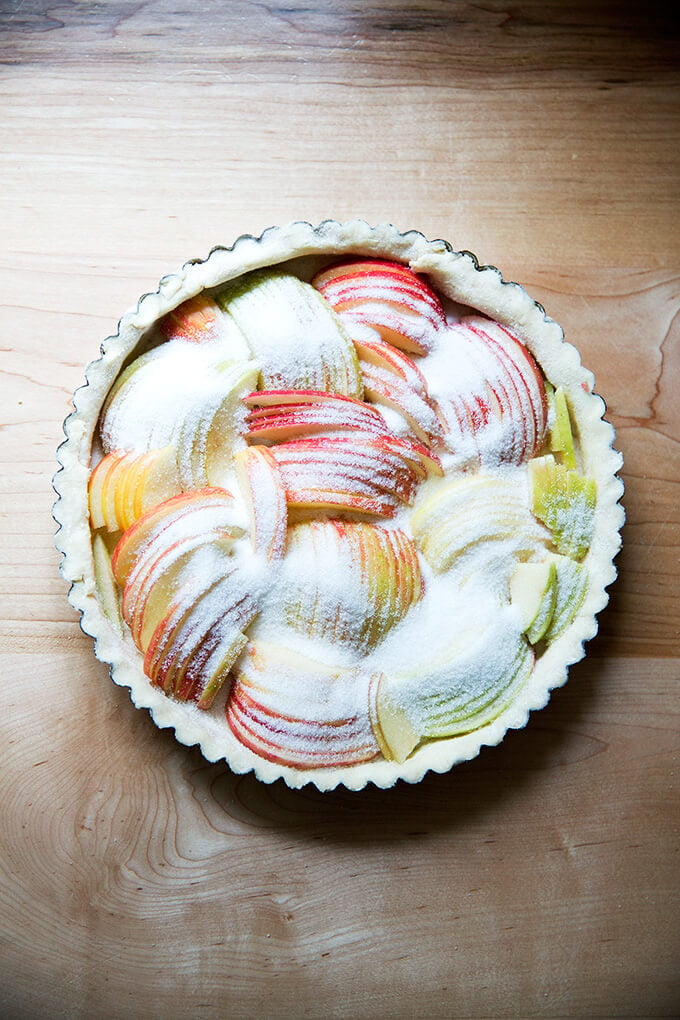
Fill your tart shell with fans of apples, cutting as necessary to fit.
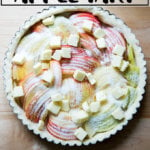
Sprinkle with 1/4 cup sugar.
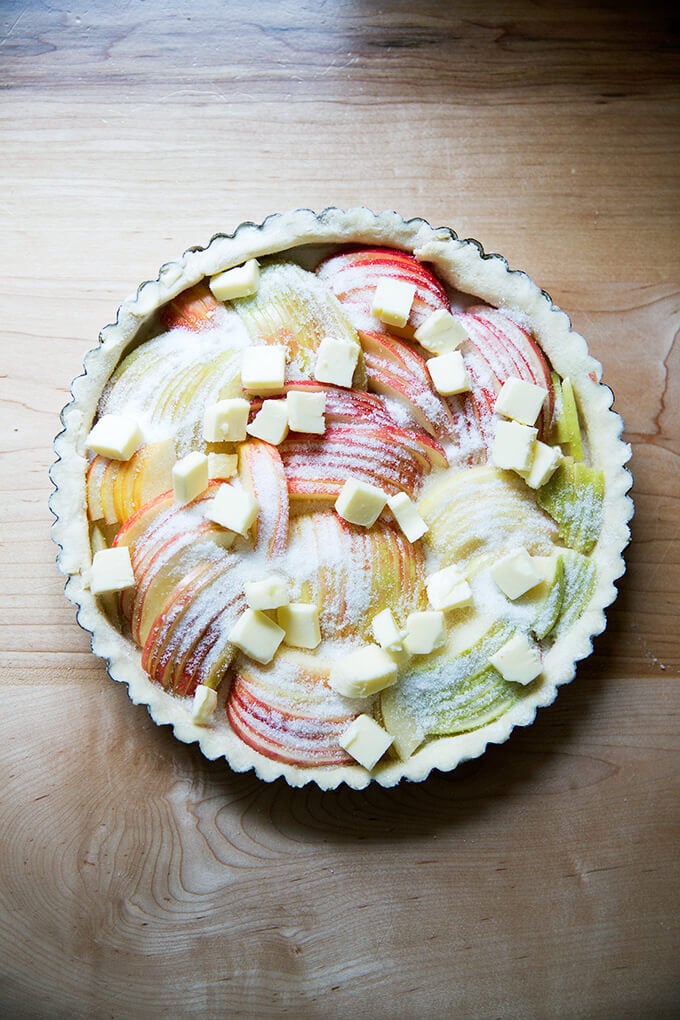
Dot with 1/4 cup cubed butter.
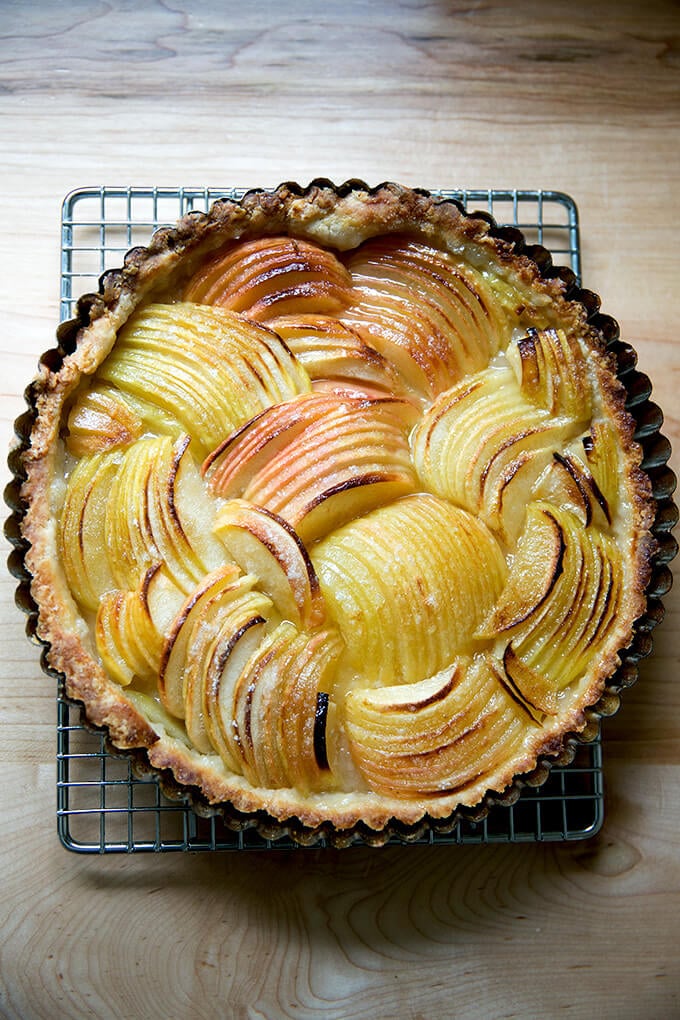
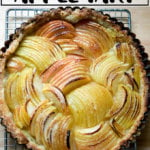
Bake till slightly caramelized at the edges. Let cool before serving …
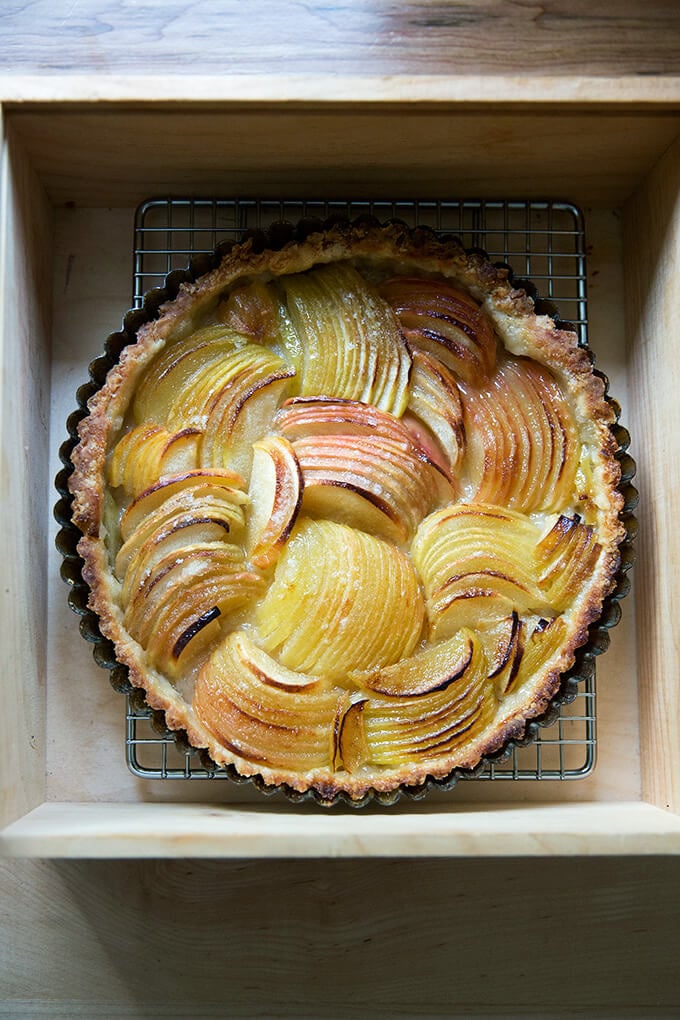
…or packing away to bring to a party! Any excuse to break out the Pie Box.

The Easiest French Apple Tart
- Total Time: 1 hour 45 minutes
- Yield: 1 tart
Description
Dough recipe: This is the only pie dough, tart dough, galette dough, pastry I use. It’s foolproof. Here are five recipes I use it in.
Dough can be made up to 3 days in advance and stored in the fridge or made weeks in advance and stored in the freezer. I typically make a double batch and freeze one round for a future use, but I’ve written the recipe below to yield one pastry round.
The filling for this French apple tart recipe is inspired by Sarah Copeland’s Every Day is Saturday, in which there is a lovely gluten-free variation.
Save your pie dough scraps and make cinnamon snails.
Ingredients
For the tart dough:
- 1 1/4 cups (160g) all-purpose flour
- 1 tablespoon (14 g) sugar
- 1/4 teaspoon table or kosher salt
- 8 tablespoons (114 g) cold, cubed butter, salted or unsalted
- 1/4 C. + 1 T. (71 g) ice water
For the apple tart:
- 3 to 4 apples, I typically use Honey Crisp; use what you like
- 1/4 cup (57 g) butter, salted or unsalted
- 1/4 cup (61 g) sugar
For serving:
- 1 cup heavy cream
- confectioner’s sugar to taste
- flaky sea salt, such as maldon, if you have it, kosher or other salt if you don’t
Instructions
- Make the pastry: In the bowl of a food processor, pulse the flour, sugar and salt together. Add the cold, cubed butter to the food processor. Pulse at 1-second intervals until butter is the size of peas—should be about 10 quick pulses. Add the ice water and pulse again about 10 times until the mixture is crumbly but holds together when pinched. Lay a clean tea towel on a work surface. Dump the crumbly dough mixture into the center of it. Grab the four corners of the towel together and twist to create a beggar’s purse, pressing the dough into a round.
- On a lightly floured work surface, roll out the dough into a 12- or 13-inch round. Use as much flour as needed to prevent the dough from sticking, and every few rolls, flip the dough over. Transfer dough to a tart pan with a removable bottom. Fit the dough into the pan, trimming the edges. (Save the scraps; see notes above.) Transfer to freezer for 30 minutes.
- Preheat the oven to 425ºF and place a rack in the center of the oven.
- Prepare the apples. Cut the “cheeks” of the apples off the core into four pieces — each piece will have one large flat side. Lay each piece on its flat side and slice thinly, keeping the slices together as you go. Arrange the slices around the tart in any pattern you desire, fanning the apples as you go. You may need to cut some of the apple fans to fit.
- Sprinkle evenly with the 1/4 cup sugar and 1/4 cup cubed butter. Transfer to a rimmed sheet pan. (I like to line with parchment paper for easy cleanup.) Transfer to the oven for 35 to 40 minutes, checking after 15 minutes: if it is browning too quickly, lower the temperature to 400ºF. I find 425ºF works perfectly, and I actually will turn the oven to convection bake during the last 2 to 3 minutes to get some more caramelization on the apples. This is unnecessary — the uncaramelized apple slices taste delicious, too — but I find it visually appealing and tasty.
- Make the whipped cream. Place the heavy cream in the bowl of a stand mixer and whip until soft peaks begin to form. (You can do this by hand, too, with a bowl and whisk.) Add confectioner’s sugar — start with 1/4 cup and add more to taste. Add a big pinch of sea salt and beat to combine and until the peaks begin getting firmer. Taste — the mixture should be slightly sweet and the salt should be noticeable, though the whipped cream should not taste salty.
- Serve the tart warm or at room temperature with dollops of the whipped cream.
- Prep Time: 1 hour
- Cook Time: 45 minutes
- Category: Dessert
- Method: Oven
- Cuisine: French, American
This post may contain affiliate links. Please read my disclosure policy.


155 Comments on “The Easiest French Apple Tart”
I want to make this but do not have a tart pan. do you think I could use your berry galette recipe with the frangipane but have the apple arranged like the tart? I imaging I would need to spread it over two galettes? Thanks so much!
PS We have made your crockpot Brothy Chickpeas over the Oven Baked Polenta 3 times in the past month! So so good!
I do! I actually have been wanting to post a hydrid recipe of the French apple tart with the galette, specifically for the reason you are writing — what if you don’t have a tart pan? I would basically make the apple galette recipe as written, but use the apple method from this recipe. Regarding your question about spreading it over two galettes, are you referring to the frangipane?
Yay re chickpeas + polenta 🙂 🙂 🙂
Thank you! No, actually, I wondered if the bulkiness of the arranged apples of the tart might not fit in the smaller area of a galette? I’ve never made yours so perhaps I can roll the dough out large enough to accommodate the same amount of apples.
You may not need quite as many apples — I’d start with 1 to 2 depending on the size of the apples. It’s going to be gorgeous!
Thank you so much!
I’m going to do it!
I wish I could post a pic for you!
Happy Thanksgiving!
Woohoo! Happy Thanksgiving 🙂
Where did the frangipan recipe go ?
I think you’re lookin for this recipe: French Apple Tart & Cinnamon Snails
I don’t own a tart pan.
Ali helped me decide to use this arrangement of apples in the Apple Galette with Frangipane recipe. It was so easy with her food processor pie crust (I’ll never use any other recipe for crust again)! The galette used 2 apples. Since I had the 2nd pie crust, I made a fresh cranberry and orange galette as well. They were both a hit. Thank you, Ali
Oh yay! I’m so happy to read this, Karen! Orange + cranberry sounds so festive, too! Thanks for writing 🙂
Haha…thanks for the thanks! Another question…I’m about to purchase your book…Bread, Toast, Crumbs and am wondering if the mix of accompanying meal recipes includes some vegetarian choices? Thanks if you get a chance to advise.
Thank you for your interest Karen 🙂 Yes, there definitely are some vegetarian choices and some of the recipes that call for meat — the soups that call for chicken stock or a gratin that calls for sausage — could easily be made vegetarian. That said, I don’t want to mislead you — there are a number of recipes that star meat.
Thanks so much! I’m sure the real star of the cookbook is the bread!
When our family was young, I used to make starter bread…they called it “Amish Yeast Starter” around these rural Virginia parts. It was delicious but very sweet and contributed to our expanding waistlines (because we ate too much)! I use to modify it to make cinnamon rolls. I think I fed it with instant potato flakes which I haven’t bought since, haha.
Can’t wait to get your cookbook.
I have heard of that bread! I’m sure it was delicious 🙂 🙂 🙂 Thank you, Karen.
Good morning! I’m so excited to try making this tarte for Christmas, and have a quick question. I see that there is no blind baking. Is there a need to blind bake the tarte case/pastry before adding the apples to prevent the bottom from going soggy? Thank you!
No need!
Thank you so much!
Just realised you can leave reviews – I would’ve left one months ago!
Such a simple recipe that just hits the spot! Such a crowd pleaser, I make it all the time and always gets compliments.
Adding salt to the whipped cream was something I can’t believe I wasn’t doing before – adding a bit of cinnamon as well works a treat.
Thanks so much for this great recipe!
Great to hear, Greta! Thanks so much or writing. I hear you: salted whipped cream is a revelation 🙂
My first attempt at this and it turned out memorably. Truly the EASIEST….
Great to hear, Roger!
Do you have a photo of this tart after it is sliced?
If so, please email me
jsadallas4@gmail.com
This was delicious! though I wonder if there could be more filling of some sort? maybe like a vanilla mixture to pore into it
You could add a layer of frangipane to the shell as in this recipe: Apple-Frangipane Galette