Description
Special equipment: Straight-sided vessel for the bulk fermentation, Dutch oven, flour-sack towel
Here’s my list of essentials for sourdough bread baking.
Digital Scale: Do not attempt this recipe without a scale. This one costs $9. Troubleshooting what goes wrong with sourdough bread is impossible if you’ve measured with cups. They’re simply not accurate.
Troubleshooting: If you have issues with your dough being too sticky, please read this post: Why is my sourdough so sticky? The 4 common mistakes.
Flour:
- I prefer making this bread with 350g bread flour and 50g of freshly milled, stone-milled flour, which provides both flavor and color. (Read the post above for more details and why I suggest stone-milled flour as opposed to commercial whole wheat flour.) I’ve been using a mix of Anson Mills graham flour and rye flour, but there are many great stone-milled flours out there, and you may have a local source, which is even better.
- 50g may seem like a tiny amount of stone-milled flour for this recipe, but I am constantly amazed by how much flavor this small amount of freshly milled flour adds. If you are new to sourdough baking, I recommend starting with 100% bread flour (King Arthur Flour is my preference) because it’s so forgiving and easy to work with. Once you get the hang of it, start incorporating stone-milled flour a little bit at a time. I don’t like using more than 100g (25%) of stone-milled flour in this recipe.
- If you cannot find bread flour — I know supplies are limited at the moment — you can use all-purpose flour. If you live in a humid climate, consider reducing the water by 20 g. You can add the 20 g of water in slowly while you mix until the dough resembles that in the video/photos.
Salt:
I like breads to be a little bit saltier than standard. If you are sensitive to salt, start with 8g. Next time, adjust salt as you wish.
Ingredients
*Please read notes above before proceeding. Watching the video is helpful, too.*
- 400 g bread flour, see notes above
- 8g to 10g kosher salt or sea salt, see notes above
- 300 g water
- 100 g active sourdough starter
- rice flour, for dusting
Instructions
- Mix the dough. In a large bowl, combine the water, starter, and salt. Stir with a rubber spatula to loosely combine. Add the flour, and stir with a spatula to combine — it will be a wet, sticky dough ball. Transfer to a straight-sided vessel and cover with a tea towel or bowl cover for 30 minutes.
- Stretch and fold. After 30 minutes, grab a corner of the dough and pull it up and into the center. Repeat until you’ve performed this series of folds 4 to 5 times with the dough. Let dough rest for another 30 minutes and repeat the stretching and folding action. If you have the time: do this twice more for a total of 4 times in 2 hours. [Video guidance here.] Note: Even if you can only perform one series of stretches and folds, your dough will benefit. So don’t worry if you have to run off shortly after you mix the dough.
- Bulk fermentation: Cover the vessel with a tea towel or bowl cover and let rise at room temperature (70ºF/21ºC) for 4 to 18 hours (times will vary based on the time of year, the humidity, and the temperature of your kitchen). The bulk fermentation will end when the dough has nearly doubled in volume and you can see bubbles throughout the dough and on the surface. (Note: Do not use your oven with the light on for the bulk fermentation — it is too warm for the dough. To determine when the bulk fermentation is done, it is best to rely on visual cues (doubling in volume) as opposed to time. A straight-sided vessel makes monitoring the bulk fermentation especially easy because it allows you to see when your dough has truly doubled.)
- Shape: Gently transfer the dough to clean work surface. I prefer to use no flour and a bench scraper at this step, but if you find an un-floured work surface to be difficult, feel free to lightly flour it. [Video guidance is especially helpful for this step.] Fold the dough, envelope style: top third over to the center; bottom third up and over to the center. Then repeat from right to left. Turn the dough over and use your bench scraper to push the dough up, then back towards you to create a tight ball. Repeat this pushing and pulling till you feel you have some tension in your ball. Place the dough ball top side down and let rest 30 to 40 minutes. (FYI: This is called the bench rest.)
- Proof. Line a shallow 2-qt bowl (or something similar) with a tea towel or flour sack towel. Flour sack towels are amazing because the dough doesn’t stick to them, and therefore you need very little rice flour, but if you only have a tea towel, you will be fine. If you are using a tea towel, sprinkle it generously with rice flour. If you are using a flour sack towel, you can use a lighter hand with the rice flour. After the 30-to 40-minute bench rest, repeat the envelope-style folding and the bench scraper pushing and pulling till you have a tight ball. [Video guidance here.] Place the ball top side down in your prepared towel-lined bowl. Cover bowl with overhanging towel. Transfer bowl to the fridge for 12 to 24 hours. (Note: When you remove your dough from the fridge, visually it will likely look unchanged. This is OK. You do not need to let it then proof at room temperature before baking.)
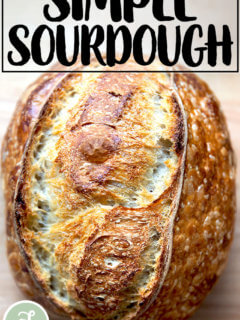
- Bake. Heat oven to 500ºF. Remove your sourdough from the fridge. Open the towel. Place a sheet of parchment over the bowl. Place a plate over the parchment. With a hand firmly on the plate and one on the bowl, turn the dough out onto the parchment-paper lined plate. [Video guidance here.] Carefully remove the bowl and towel. Carefully remove the plate. Brush off any excess rice flour. Use a razor blade to score the dough as you wish. I always do a simple X. Grab the ends of the parchment paper and transfer to the Dutch oven. [Video guidance here.] Cover it. Lower oven temperature to 450ºF, bake covered for 30 minutes. Uncover. Lower temperature to 400ºF. Bake for 10 minutes more or until the loaf has darkened to your liking. Transfer loaf to a cooling rack.
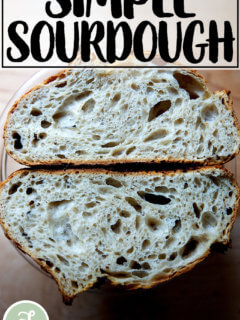
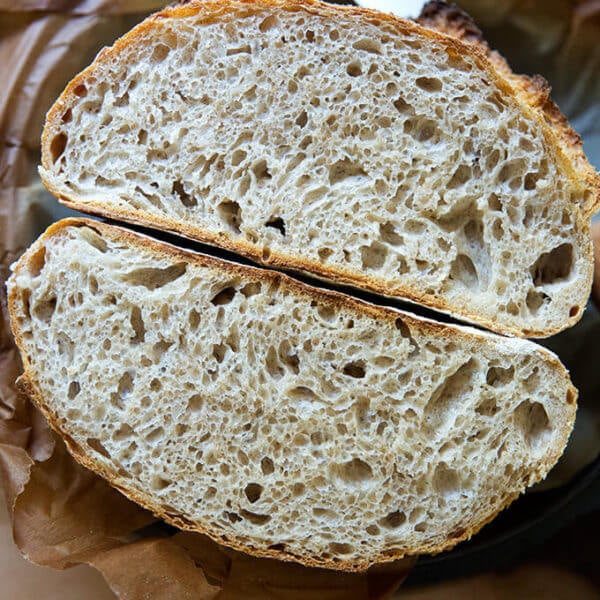
- Cool. Let loaf cool for at least 30 minutes before cutting.
- Prep Time: 48 hours
- Cook Time: 45 minutes
- Category: Bread
- Method: Sourdough
- Cuisine: Global