Stamped Christmas Cookies: Brown Butter Muscovado
This post may contain affiliate links. Please read my disclosure policy.
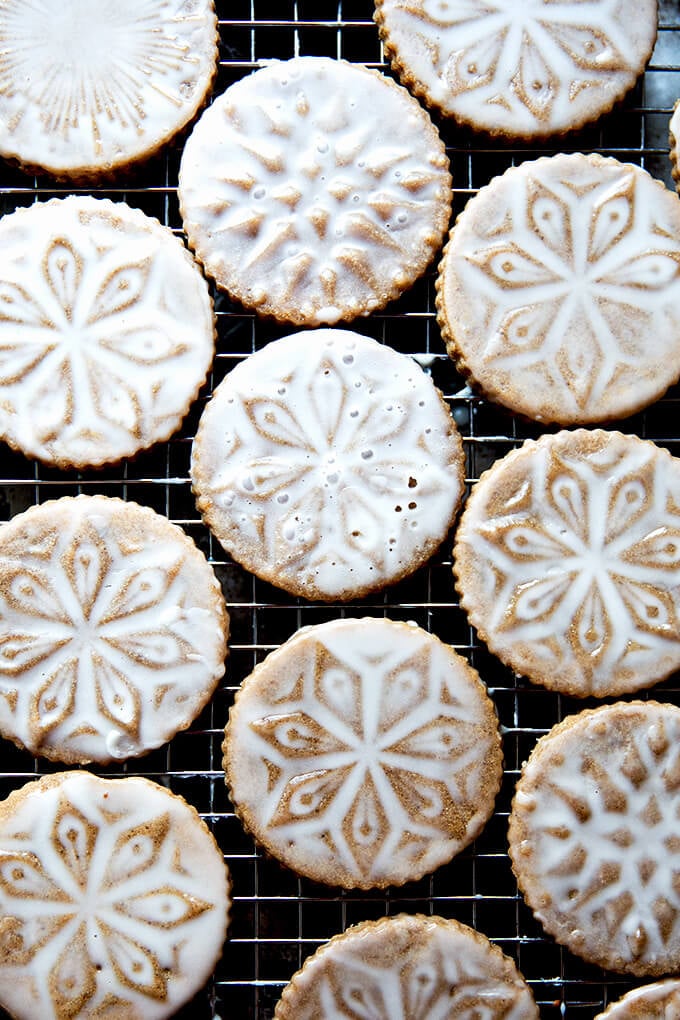
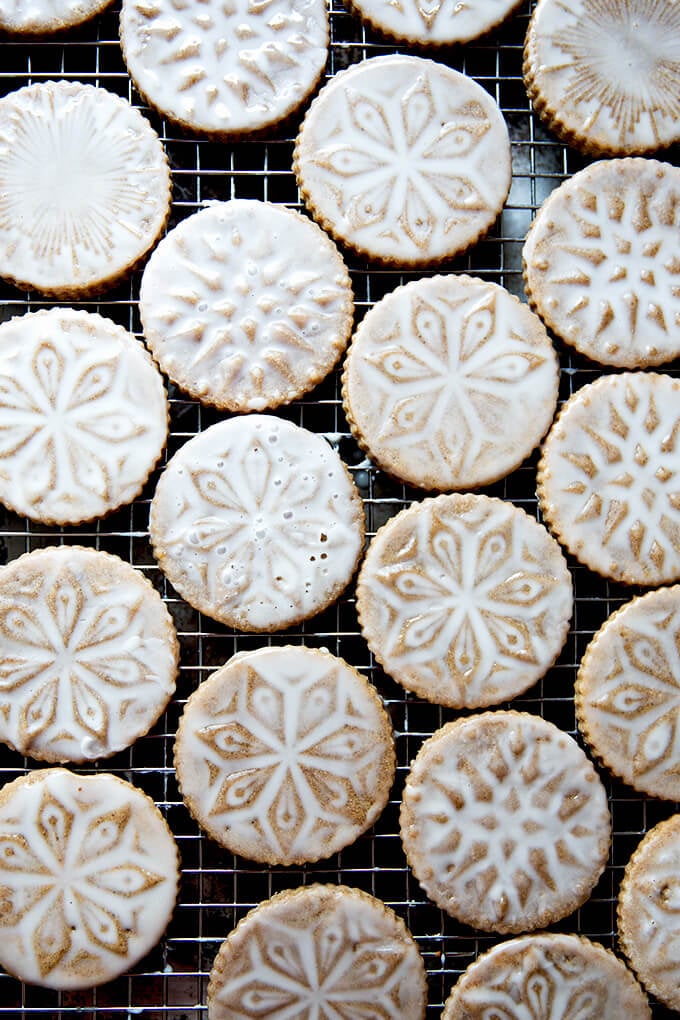
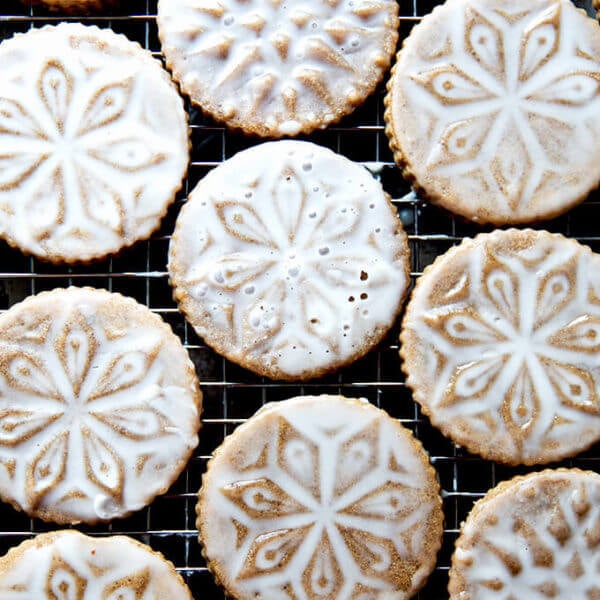
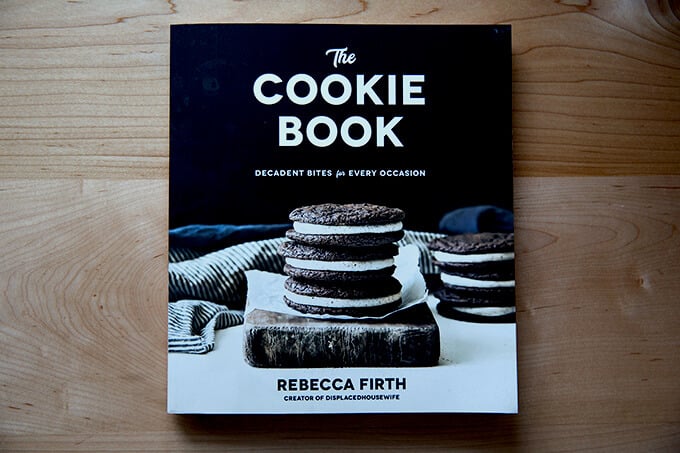
When it comes to cookies, I shy away from anything that looks too complicated, anything that might require a piping bag or a frosting tip, anything with ornate detail. But when I saw a photo of an embossed sugar cookie, lightly glazed, looking like a frosted snowflake in Rebecca Firth’s The Cookie Book, I read on.
Rebecca had been inspired by the stamped molasses cookie in Yotam Ottolenghi and Helen Goh’s Sweet and wanted to create something similar but with a different flavor profile. She went the brown butter, muscovado sugar route and loaded it with holiday spices: cinnamon, allspice, cloves, ginger, and cardamom. Spiced. Brown. Butter.
As Ina says: How bad can that be?
I immediately ordered a set of cookie stamps, and before I knew it, I was browning butter, rolling out dough, and stamping away. As noted above, this sort of thing is a little out of my comfort zone, but with Rebecca’s detailed notes, I felt I had her by my side, encouraging me when things felt especially unfamiliar.
For instance, when it came time to pack the dough into a disc, she says: “Typically sugar cookie dough needs a light hand. Not this dough. You’ll need to almost knead it to get it to adhere together.” There are so many hints like this throughout the recipe that made navigating the wonderful world of the stamped cookie a little less scary. Plus, all of the ingredients throughout the book are listed in both volume and weight, which I so appreciate more and more.
The verdict: these cookies are as delicious as beautiful, and while I think every kitchen might be a little happier with the addition of a cookie stamp set in its drawers, I would make these cookies again in a second with a simple, round cutter. They are absolutely delicious, spiced perfectly for the season.
Happy Baking, Friends. I hope these cookies make it into your lives sometime soon.

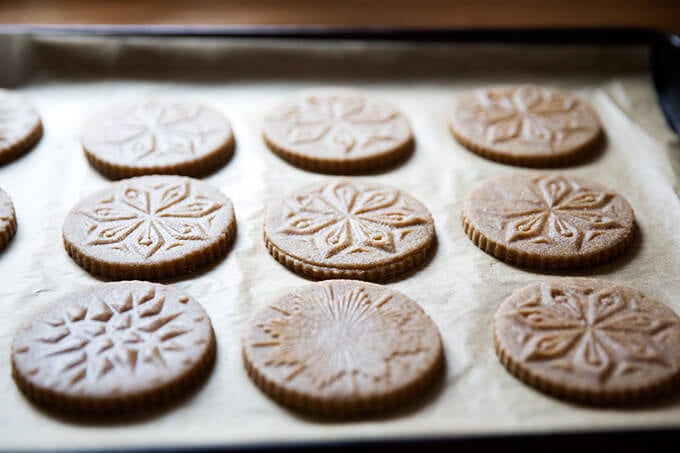
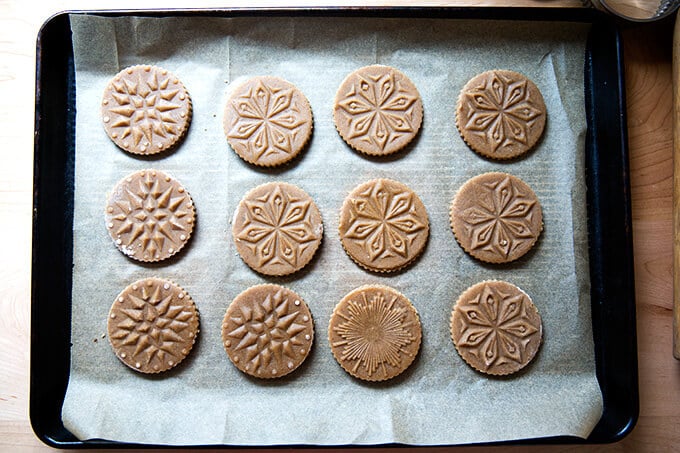
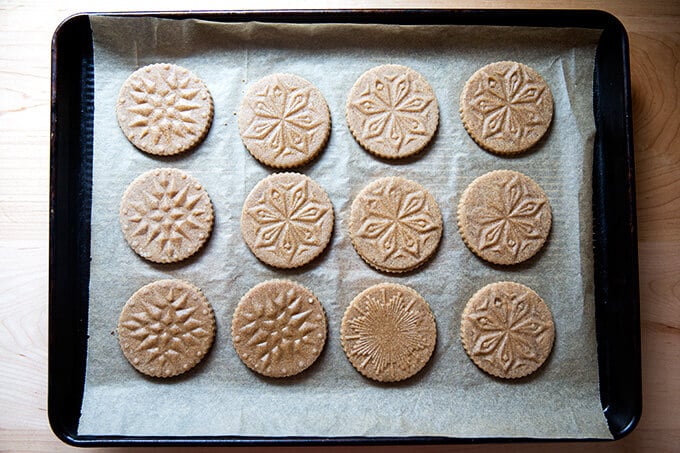
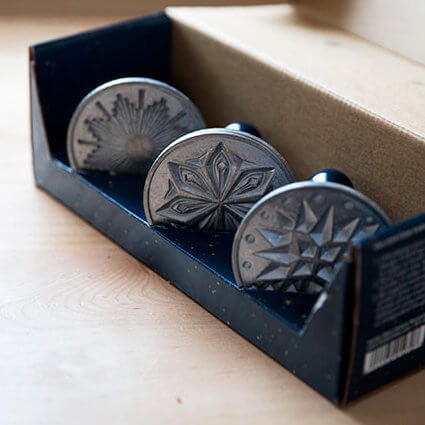
The cookie stamps! Together, I think they would make a nice gift.
Stamped Christmas Cookies: Brown Butter Muscovado
- Total Time: 1 hour 7 minutes
- Yield: 24 – 36
Description
From Rebecca Firth’s The Cookie Book
As noted above, the cookies are worth making even if you don’t have a stamp set, but if you’re interested in purchasing one, this is the one I have: Starry Night Cookie Stamps. And if you’re interested in creating that fluted edge, a set of fluted cookie cutters is nice to have, too — these are great for linzer cookies as well.
Notes:
- I couldn’t find muscovado sugar, so I used dark brown sugar.
- Making these cookies takes a bit of patience, but Rebecca’s tips and notes throughout the recipe are incredibly helpful. The dough, you will learn, needs to be at the perfect temperature—too cold, the stamp won’t leave a mark; too warm, the dough will stick to the cutter. Once you find your rhythm, the process moves along nicely.
Ingredients
For the cookies:
- 24 tablespoons (344 g) unsalted butter
- 1 cup (210 g) dark muscovado sugar, packed or dark brown sugar
- ½ cup (96 g) granulated sugar
- 2 large eggs, room temperature
- 1 tablespoon (15 ml) real vanilla extract
- 3 cups (408 g) all-purpose flour
- 1 cup (136 g) bread flour
- 2 teaspoons (5 g) cinnamon
- 1 teaspoon allspice
- 1 teaspoon cloves
- 1 teaspoon ginger
- 1 teaspoon sea salt
- ½ teaspoon cardamom
For the glaze:
- 2 cups (260 g) powdered sugar
- 1 tablespoon (15 ml) real maple syrup
- ½ teaspoon maple extract, optional
- 4 tablespoons (60 ml) milk, or more to thin
Instructions
- To make the cookies, place the butter in a medium heavy-bottomed saucepan and melt over medium heat. (Be sure to use a medium or large pan — the butter foams and boils up during the browning process and will creep over the edge of a pan that is too small.)
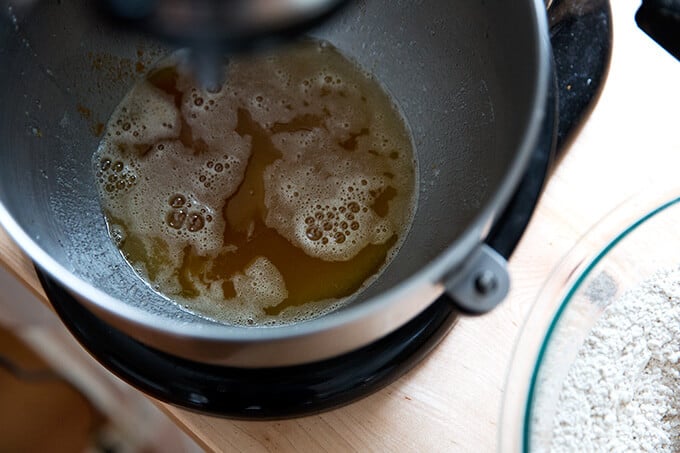
- Once melted, crank up the heat to medium high, stirring constantly. Small golden bits will start to settle on the bottom of the pan, and it will start to have a nutty aroma. This should take around 3 to 5 minutes. Once this happens, take the pan off of the heat and pour the butter into the bowl of an electric stand mixer fitted with the paddle attachment. Once cooled slightly, add the muscovado and granulated sugar and mix on medium until blended. The mixture will be thick. Add in the eggs, one at a time, making sure to blend completely before adding in the next. Add in the vanilla and mix for 1 minute more. Be sure to break up any large muscovado lumps.
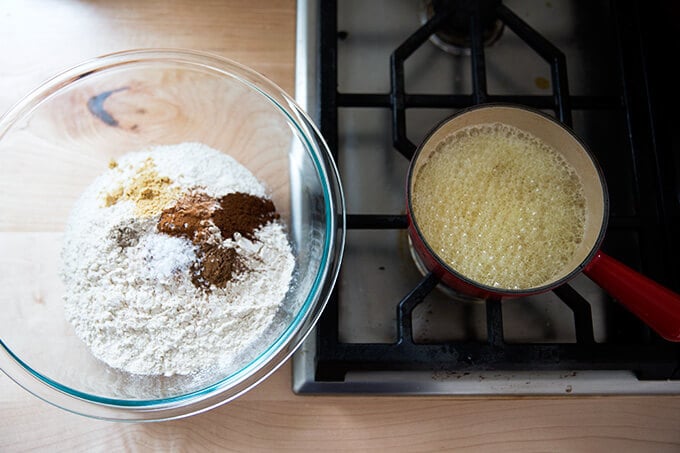
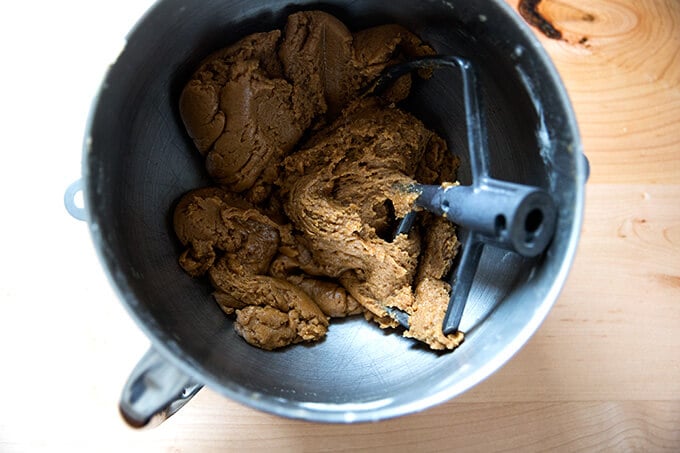
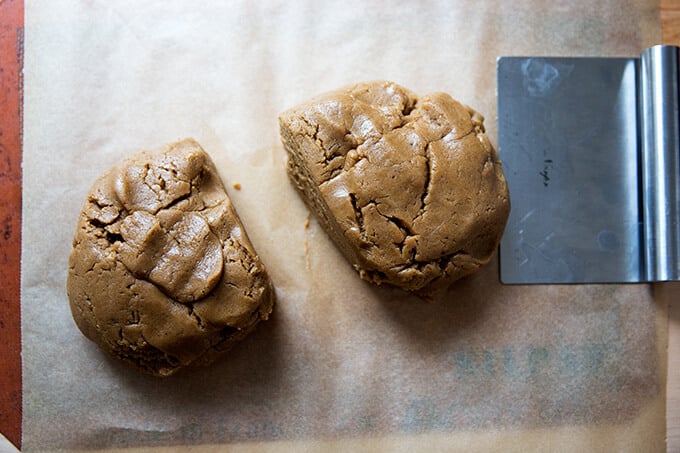
- In a large bowl, whisk together the all-purpose flour, bread flour, cinnamon, allspice, cloves, ginger, sea salt and cardamom. Add this to the brown butter mixture and mix on low until the mixture comes together and is no longer crumbs. Separate into two equal halves and pat each mound of dough into a disc. Typically sugar cookie dough needs a light hand. Not this dough. You’ll need to almost knead it to get it to adhere together.
- Press any cracks or fissures together.
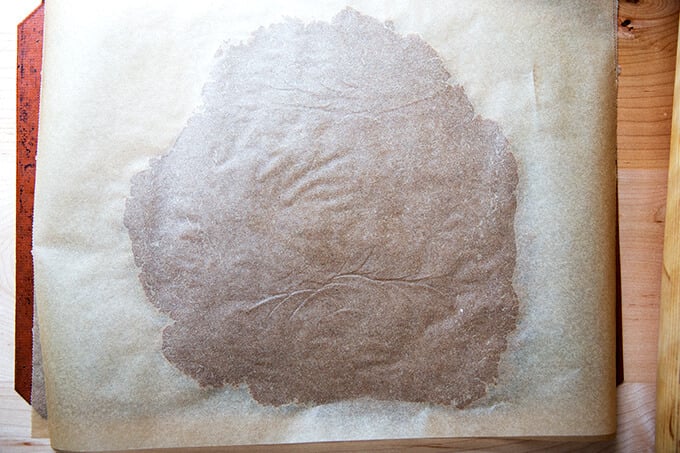
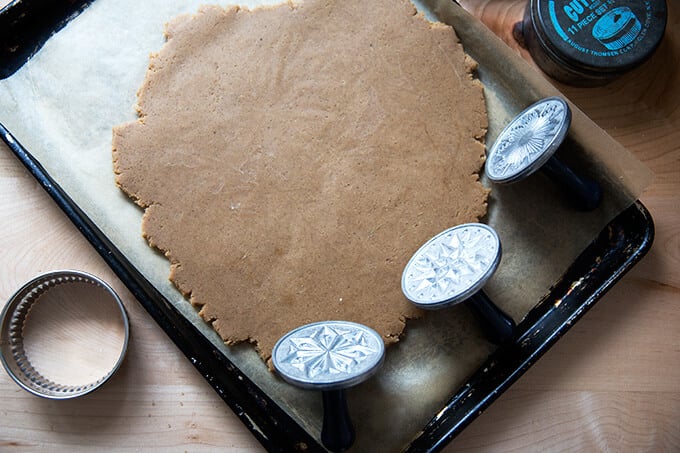
- Place a dough disc between two layers of parchment paper. If you have a silicone baking mat, place it underneath the parchment to keep it from sliding on the counter. Roll the dough to 1/4 – ½-inch thickness — you may find the thinner texture to be easier to work with. Pull the dough with the parchment onto a baking sheet and chill in the freezer for 5 to 10 minutes or in the fridge for 10 to 20 minutes, max. The dough should chill quickly. If at any point the dough starts sticking to the floured cookie stamps, put it back in the freezer for 5 minutes or in the fridge for 10 minutes. Conversely, if it’s too chilled, let it come closer to room temperature to stamp, or it will be too hard—this happened to me, and I had to let it sit at room temperature for about an hour.
- Cover several baking sheets with parchment paper.
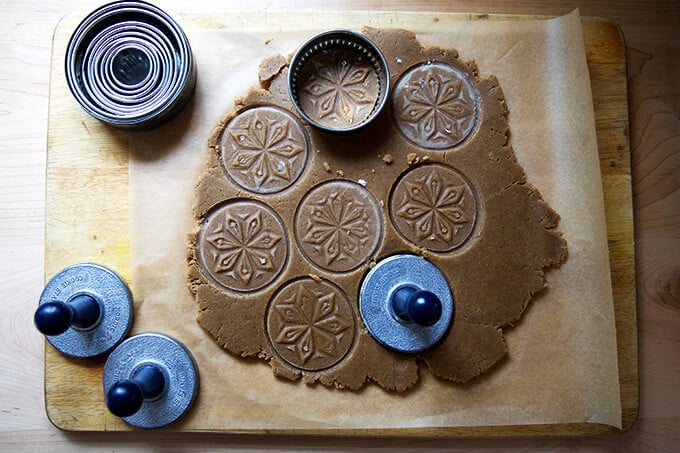
- If using cookie stamps, dip the cookie stamps in some flour and dust off the excess. Evenly press the cookie stamp onto the dough, making sure to press firmly to get the detailed imprint, and then use a fluted, round cutter to cut the cookie from the dough. Grab a spatula to move the cut-out cookie to your prepared baking sheets. Repeat with the remaining cookies. Re-roll scraps as needed.
- Preheat the oven to 375°F (190°C) and make sure a rack is in the top third of the oven at least 6 inches (15 cm) from the heat source.
- Place the cookies in the freezer for 30 minutes (or longer — I kept them in for 24 hours, and I imagine they would keep longer if stored in an airtight container) and then take them directly from the freezer to the top rack of the oven and bake for 9 minutes. It’s crucial not to overbake these. (Note: my cookies were not quite as tall as 1/2 inch, so they cooked in about 7 minutes — keep an eye on them! If they bake too long, the stamped design becomes less pronounced. They might not look done when you remove them, but they continue to cook as they cool.) Let the cookies cool for 5 minutes on the baking sheet and then transfer to a rack to finish cooling.
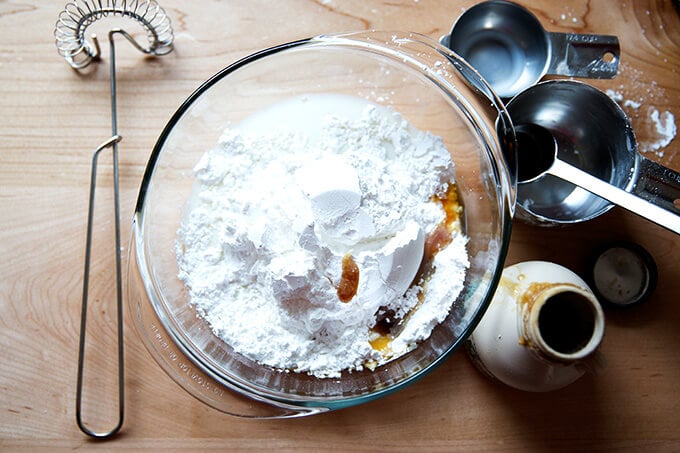
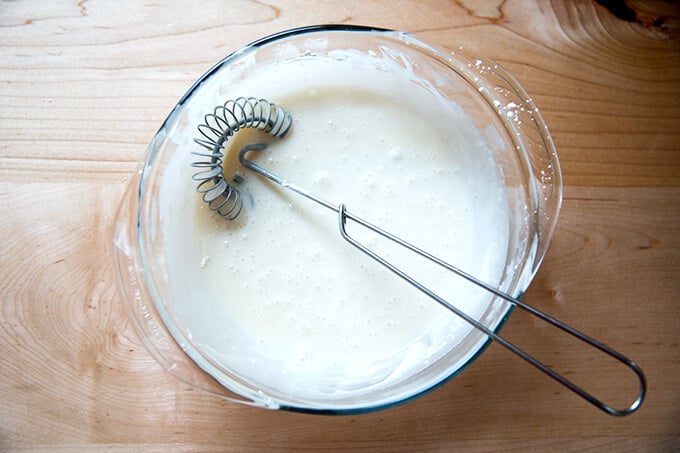
- To make the glaze, in a small bowl, whisk together the powdered sugar, maple syrup, maple extract, if using, and milk until you have a thin glaze. Place a baking sheet underneath the cooling rack. Dip the cooled cookies into the glaze, letting the excess drip back into the bowl…you want the glaze to be thin enough that you can see the detail from the cookie stamps—I found myself using my finger to wipe off excess glaze; the cookies just need a thin coating. They are delicious without any glaze at all in fact, but the glaze is super pretty. Set the cookies back on the cooling rack to dry completely and serve!
- Prep Time: 1 hour
- Cook Time: 7 minutes
- Category: Cookies
- Method: Oven
- Cuisine: American
This post may contain affiliate links. Please read my disclosure policy.



45 Comments on “Stamped Christmas Cookies: Brown Butter Muscovado”
So excited to try these! Ordered the stamps and wondered how they were cut out. Now I know, “use a fluted, round cutter to cut the cookie from the dough”. Guess I am getting a round cutter, too!
I use my round cutter set surprisingly often … I don’t think you’ll be upset with that addition to your arsenal as well 🙂
These look spectacular Ali! Need to find those cookie stamps ASAP!
You do you do!! They are so much fun 🙂 🙂 🙂
These were delicious! Made exactly as written. I found the dough super easy to work with. You do have to get in the groove and learn when best to stamp and cut based on how chilled the dough is, but once you get that down it is easy peasy. A couple of tips: roll and cut all the dough and freeze as you go, then bake at once after they are all frozen. Saves time and less rotating sheet trays. Also I found it easier just to dip my finger in the glaze and spread a thin layer on the cookie rather than dipping them. And lastly, flour the top and bottom of the spatula as you are transferring cookies around before baking – made it much easier to move them.
Wonderful to hear this, Chrystal! Thank you so much for writing and for sharing all of these tips — so helpful for others!! Love the idea of cutting all the dough and freezing as you go. Smart.
Ali,
These look gorgeous! Just wondering – are these chewy cookies or crispy?
Hi! It really depends on how long you cook them. If you “over bake” them, they will be crisp but tender — my husband actually preferred the crisp ones. If you “under bake” them, they aren’t chewy, but they aren’t crisp either … I don’t know how best to describe it because it’s not sandy like a sable. You know, it’s like a soft gingerbread. So yummy. Love these.
Is this cookie like a ginger bread cookie, or what would be a comparison in taste and texture.
Is this a crisp, or soft cookie? Thank you
Hi Carol,
It really depends how you bake it. I prefer the cookies on the softer side; my husband prefers them crisper, so I’ll always bake a few a bit longer for him. This is not a soft and chewy cookie nor is it a thin and crisp cookie. It’s not sandy like a shortbread either. I would describe it as soft and tender, similar to a gingerbread cookie in texture.
Alexandra,
Thank you for the wonderful recipe. We tried them yesterday, they were delicious! We loved the beautiful taste of brown butter and spices together. I am so happy to find a great new recipe! Thank you, and happy holidays to you and your family!
So happy to hear this Amina!
I made these with muscovado sugar and while the dough and cookies are tasty. THEY ARE FINIKY! The total time it took was over 3 hours just to bake and ice the cookies. Between freezing and refrigerating the dough MANY times, I finally have 24 cookies. I won’t be making these cookies again.
Sorry to hear this, Justina! They definitely require some patience in terms of finding a rhythm … totally agree with that. For me they are worth the effort because they are so tasty and pretty, but I do understand the frustration.
Does this glaze harden?
If not stored in an airtight container, it will get crusty. So, I would store it in an airtight container. Is that what you are asking? Or are you wanting to know if the glaze hardens on the cookies themselves?
I founds some stamps I’ve had for forever, but had never used…was going to give them away, but went looking for recipes for stamped cookies. Settle on yours, and it is delicious. Great instructions. Thanks!! I’ll be keeping the stamps.
P.S. I used cup for cup / 1:1 GF flour for my minions, in place of the regular and bread flours; added a bit of baking powder to make up for the extra gluten in the bread flour — they came out fine (although no doubt inferior to the real thing).
Wonderful to hear this, Anna! I love a stamped cookie …so festive. Thanks for sharing your tips on using GF flour … so helpful for others. Thanks for writing!
Ali, how did I miss this when I went looking for Stamped cookie recipes? Oh well. A new project! I recently made some citrus stamp cookies and learned that you can roll 14-16g of dough into a ball and press your stamp onto it. I covered my stamp with plastic wrap held on with a rubber band. Cut out with a scalloped cookie cutter. I chose to make them smaller so I had lots. Scraps still worked. No rolling. Now, I have to make yours! They sound so delicious. Cheers!
Leslie! This is BRILLIANT!! I am totally going to try this when I make these cookies next week. Thank you so much for sharing. Plastic wrap is genius too. Happy happy holidays to you!!
These look delish and I love her cookbook. Do you think this cookie dough would work well with an embossed rolling pin?
Hi Stefanee! So hard to say … I love these cookies — they are so pretty and so tasty — but I do remember the dough being a little finicky … I would hate for you to try only to find the dough stuck to your work surface or rolling pin.
You could always try it, and if it’s a mess, you can scrape up the dough, pat it into a round, let it rest for 10-15 minutes in the fridge; then try again or try a different method. Good luck!
Hi Alexandra! The written recipe ingredients list seems to be missing the eggs that the photo shows and that the directions talk about.
I’m assuming it’s two from the photo, but did you leave those out purposely?
Thanks!
Hi Morgana! Yes, it’s 2 eggs … they’re added in step 2 after you add the sugar… do you see it now??
Oh, yes of course! I see it now.
I thought it was odd that you would have left it out. I find your recipes to be so complete, well-tested, and error-free. Never have had a question or problem with any of them! I guess I just overlooked it.
Love your blog, recipes, and especially the videos – it’s so fun to hear the sounds of your household around you as you cook! Thanks for all you do!
Just adding a rating!
Thanks, Morgana!
Thank you for your kind words, Morgana … means a lot 🙂 🙂 🙂 I hope this one turned out OK… it’s definitely one that requires a bit of patience and finesse. Wishing you a happyhappy holiday season!
I was so excited to try this recipe but it didn’t work well for me. Is the quantity of butter correct? So 24 Tbsp means 3 sticks of butter but it seemed like too much. When the recipe said it would be very thick after mixing the butter and sugar, mine was very liquidy. Plus when the dough was done and I was shaping into discs, my hands were coming away buttery! Did I miss something?
Oh Dani, sorry to hear this! It definitely is a recipe that requires a bit of finesse. Yes, the quantities are accurate. Question for you: Did you use a scale to measure the sugar, flour, etc? Did your dough resemble the photos above? Sorry for the trouble with this one … I know how frustrating it can be when a project such as this one doesn’t work out.
Thanks! The dough actually did look like the photo but my hands were slick with butter after I touched it. I ended up adding a bit more flour and kneaded it in. And my first sheet of cookies actually seemed underbaked – like wet on the bottom. But I didn’t notice until I had another sheet in the oven so I wasn’t able to bake them longer. But I did the remaining cookies longer and they seemed okay. Still a bit underbaked for some reason but okay. Anyway, I also struggled with the stamps lol!! I finally found they worked better for me if I used 2 Tbsp of dough and rolled them into a ball and dipped the stamp into flour each time, tapping it on the counter to remove the excess. It was just one of those days where nothing I did worked out!!! However, today was a better day and I glazed them today and all but that first underbaked sheet turned out very pretty and tasty! Thanks again!!!
Sorry, I didn’t mention – I did not weigh the flour or sugar. And I couldn’t find muscovado and used demerara, which I later learned after a google search is actually quite different!!
Hi Dani! I’m sorry to hear about this … I’ve totally been there, and this is definitely not the easiest recipe. I’m thinking the use of demerara sugar likely caused the difference in the texture of the dough, possibly not using a scale, too, but more likely the different sugar. Glad to hear your efforts weren’t totally for naught, too, and that you got some pretty and tasty cookies in the end!
Hi Alexandra! I made the dough for these about a week ago, and just got around to baking them today. All went as expected, but you are right on about the freezing the stamped dough. If they aren’t frozen enough, they lose the definition of the stamped pattern during baking. I ended up with some that were stamped and some that had lost most or all of the stamped design because I rushed the baking and didn’t leave in the freezer long enough.
Interestingly, in my experience the cookies that I rolled a bit thinner took the stamping better and baked better. 1/2 inch was just too thick for me to roll this dough. The cookies I rolled to 1/2 inch didn’t bake through and had a bit of gumminess in the centers and bottom.
Love the dough and finished cookie taste, but won’t be using this dough for stamped cookies again. I’m going to roll the rest of my dough and use standard cutters. This dough rolled, cut, and transferred to baking sheets beautifully, but the stamping was simply too complicated and picky for my baking. Yours turned out beautifully, and I wish I had the patience and consistency of effort that it takes. Sadly, I don’t.
The browned butter and spices were a spectacular taste, and will be a nice alternative to the standard holiday gingerbread. Thanks for posting this recipe! I never would have found it otherwise-
I agree that you MUST freeze the stamped cookies or they will lose definition. I also went with a more homespun look using a more traditional stamping method of rolling the dough in about two inch balls, flattening them with my palm and then stamping them until the dough just reaches the ends of the stamp and gently pulling the dough off, resulting in a thinner cookie, which I too preferred! Topped it with an orange glaze and they were fabulous. This dough is really quite yummy, and much better than a regular gingerbread cookie!
So nice to hear this, Cynthia. Your orange glaze sounds so pretty and tasty! I do find these cookies to be so yummy … I wish the dough were more manageable.
Morgana, I totally understand all of this. I love these cookies — I think they are so tasty and so pretty — but generally I don’t have the patience for this sort of baking either. Great to hear the thinner cookies turned out better. The next time I make these, I’ll make a note about the thickness. 1/2-inch is quite thick, and I think 1/4 inch is probably more accurate. Wishing you a happy holiday! Thanks for taking the time to write and share all of your notes.
I was wondering if it would work to scoop out cookie dough balls and then use the stamps to stamp down the balls? On amazon they showed that as a demonstration on how to use the cookie stamps. Do you think this would work instead of rolling out the dough?
I think that’s actually a great idea … this recipe definitely is a little tricky. I hate to deter you because I find them to be so pretty and tasty, but the dough definitely has been problematic for some people over the years. Your method sounds promising.
I was going to report back on this. The method worked beautifully. Dough was very easy to work with this way. I scooped out golf size cookie balls using cookie scoop. Put those in fridge for 20 minutes. And then stamped them and proceeded with recipe (freeze and bake). The edges weren’t perfectly round, had cracks, and I was ok with that. But could easily use a round cookie cutter to cut out the cracked edges.
So nice to read this, Sol! Thanks so much for taking the time to write back and share your notes. I really want to try this method and update the recipe. I might need to order the right size scoop. I’ll try to find that video, too. Thanks so much again and happy holidays!
These cookies are wonderful! So flavorful soft and the glaze is the perfect topping! I bought the stamps she recommended from amazon and they did not disappoint! This will be a yearly staple for sure.
Great to hear, Kayla! Thanks so much for writing 🙂 🙂 🙂
Hi, Ali!
Just made these and they are awesome! I used 50% coconut sugar and 50% dark brown sugar with excellent results.
Question: once iced, can the cookies be frozen?
did these as a “dry run” for the annual neighborhood cookie exchange and would love for them to keep a few weeks.
Oh, and I think the icing elevates the flavors!
Great to hear this, Janine! And yes, the iced cookies can be frozen. How fun you are getting a jumpstart on the holiday baking 🙂 🙂 🙂