Simple Sourdough Focaccia: A Beginner’s Guide
This post may contain affiliate links. Please read my disclosure policy.
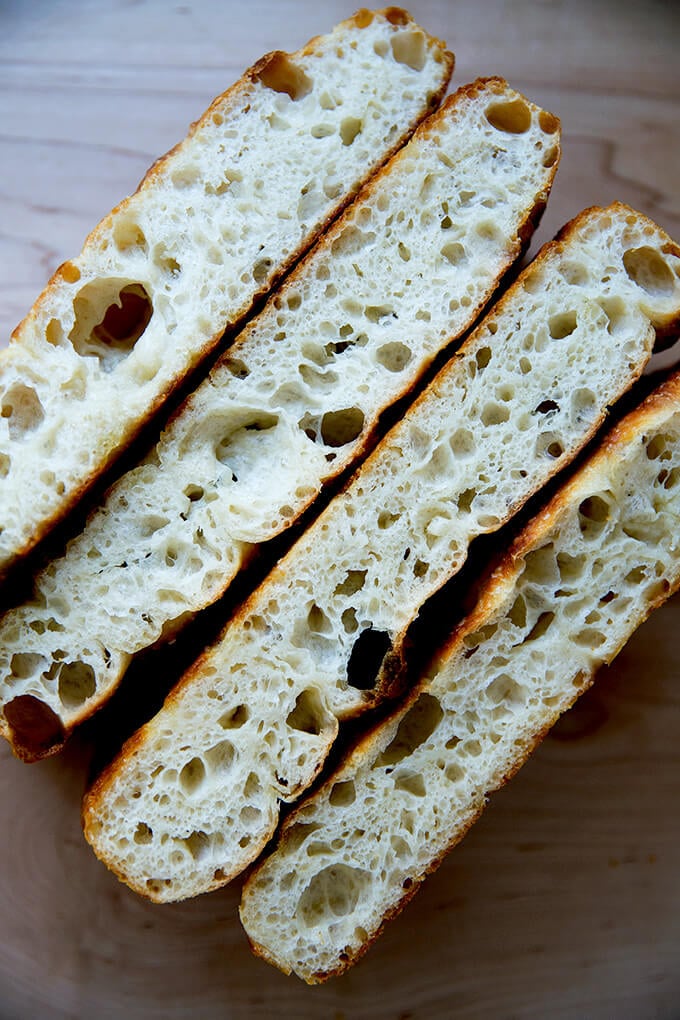
Sourdough is having a moment. Longtime sourdough bakers may cringe at this proclamation, just as our grandparents likely roll over in their graves when they hear “toast” is a thing.
But it’s true. I cannot open a magazine without seeing a feature on a bakery and its naturally leavened loaves; I cannot scroll through Instagram without seeing a crumb shot of a halved sourdough miche, a beautiful web of irregular holes, or an intricately scored, thick-crusted boule being presented like Simba to the animal kingdom.
My interest in sourdough in recent months has been spurred by a number of requests about how to make my mother’s peasant bread with a sourdough starter. Initially, I thought why? The beauty of the peasant bread is that it doesn’t require a starter or a long rise or any fussy techniques; it can be on your table start to finish in three hours. Everyone will rave.
Over the years, I’ve been able to answer questions relatively easily about how to make the peasant bread morph into something else: a boule with a thick crackling crust — thank you Jim Lahey — or a thinner round to use for pizza or something palatable for the gluten-free crowd.
But achieving that sour taste — even a subtle sour taste — is something yeast, even with a long slow rise cannot achieve. And, moreover, natural leavening is natural leavening — no yeast allowed.
So I began experimenting. I tried reviving my old starter, long neglected in my fridge, and when it proved altogether spent, I ordered one from Breadtopia. I followed the instructions to activate it, and within a day, I had a vibrant, bubbling starter.
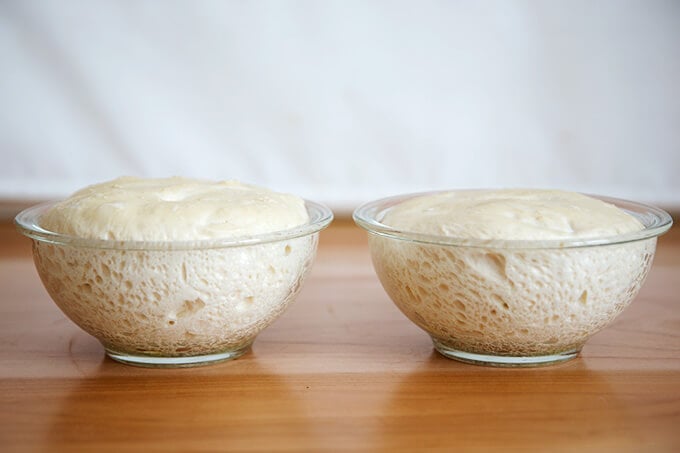
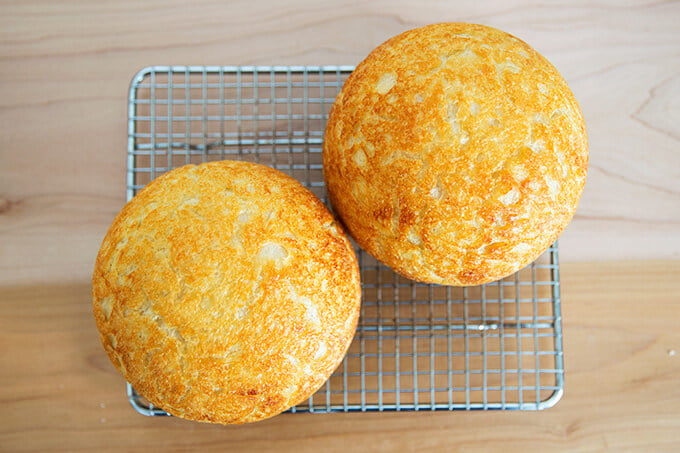
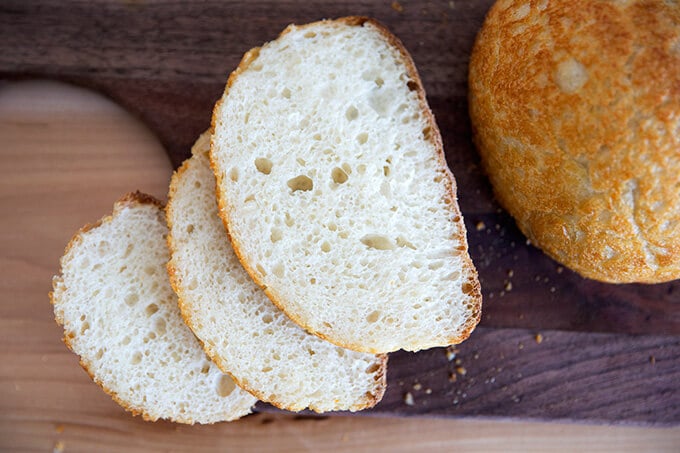
After a bit of trial and error, I soon found a nice rhythm, mixing the dough in the afternoon, letting it rise all evening, splitting the dough into two portions and plopping each into a buttered Pyrex bowl in the morning. By early afternoon, the bread was ready to bake. The resulting loaves looked just like the peasant bread, golden crusted, soft crumbed, but with a nice subtle sourness. (Photo below.)
Using the sourdough peasant bread proportions, I decided to make focaccia, my favorite, a bread I love for so many reasons: its versatility — sandwich bread, appetizer, dinner bread — and its flavor and texture: the oil-crisped crust, the generous amount of salt, the chewy crumb.
I also think focaccia is an ideal bread with which to begin a sourdough journey. Why?
- First, it requires no special equipment — not a Dutch oven or a Baking Steel to create a thick crust; not two Pyrex bowls to create a golden, less-thick crust. You likely have a 9×13-inch pan somewhere in your kitchen. This is all you need.
- Second, it requires no tricky shaping technique on a floured work surface. Shaping free-standing sourdough boules is an art and it takes practice and repetition. It’s a beautiful thing when you get the hang of it, but it can be frustrating until you do.
- Third, it requires no scoring. With focaccia, you don’t need a razor sharp lame — you use your fingers to dimple the dough.
For those intimidated by sourdough bread baking, this recipe, as well as this simple sourdough bread recipe, are the recipes I suggest making first, both for their simplicity and flavor. Another great beginner’s bread recipe to try is this overnight, refrigerator focaccia, which requires minimal effort but yields spectacular results.
Curious about Sourdough? Let’s Start From the Top.
You need a sourdough starter, and you can make a sourdough starter from scratch in just about a week. I only recommend doing so if it currently is summer (or a very warm fall) where you are. While it is immensely satisfying to build a starter from scratch, there is no shame in buying one for a few reasons, namely: when you purchase a starter, you are guaranteed to have a strong, vigorous starter from the start.
I’ve purchased sourdough starters from King Arthur Flour and also from Breadtopia. Both were easy to feed and activate. Once your starter arrives, follow this guide on How to Activate, Feed, and Maintain A Sourdough Starter.
Four Reasons to Buy (or Procure) a Starter
- First, if you’re curious about sourdough, get to it! Making a starter from scratch takes weeks. I did it once many years ago following the instructions in Tartine Bread, and after nearly losing my mind, I literally jumped for joy when I dropped a spoonful of my starter into a cup of water, and it floated. Making a starter from scratch is a really cool exercise, and it’s something to be proud of should you succeed (or not!), but why not start experimenting with an active sourdough starter while you build a starter from scratch on the side?
- Second, feeding a mature starter will help you understand how to build one from scratch. You’ll observe how a starter rises and falls, what happens when you feed it more regularly, what happens when you neglect it, how it smells at various stages, etc.
- Third, they’re relatively cheap (or free if you get one from a friend).
- Fourth, maybe you embark on a sourdough journey and decide it isn’t for you. Why go through the trouble of building a starter till you know you enjoy the process of sourdough baking?
Begin with an Easy Recipe
As noted above, I think focaccia is a perfect sourdough-bread-baking starting point. It will teach you the fundamentals of working with sourdough without the potentially frustrating steps of shaping, scoring, and baking with a Dutch oven. The recipe below also can be baked in a loaf pan, another great option if you do not want to deal with shaping and scoring and Dutch ovens.
PS: Whole Wheat(ish) Sourdough Bread recipe
PPS: Essential Equipment For Sourdough Bread Baking
How to Make Sourdough Focaccia: A Step-by-Step Guide
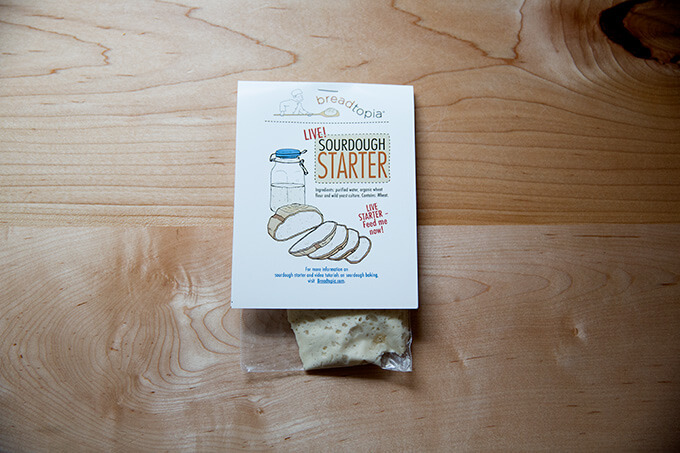
Get a starter. If you don’t have a starter and don’t have a friend who can lend you one, I recommend buying one. I bought mine from Breadtopia, and I’ve managed to keep it alive for 6 months now. Score!
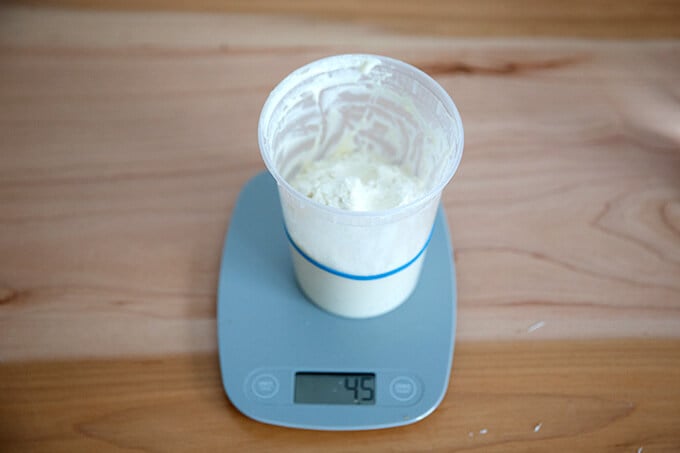
I store my starter in this quart container. When I’m ready to use it, I discard some of it, and add about 45 g flour…
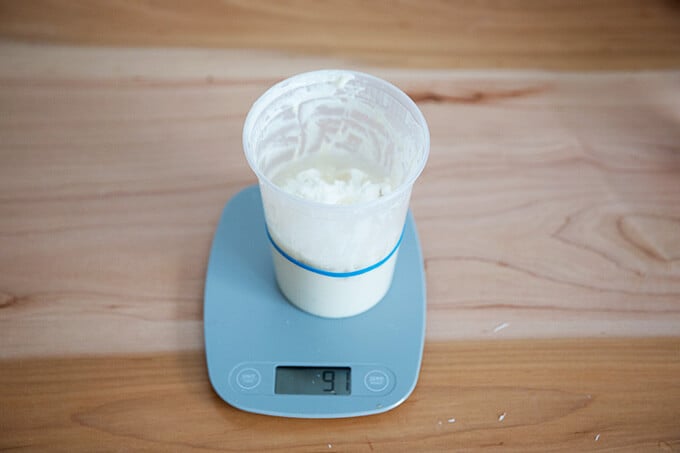
… and 45 g water. You don’t have to be exact, but when you’re getting started, I think it’s helpful to weigh both the water and flour. Depending on how long the starter has been in the fridge, it may need one or two feedings before use.
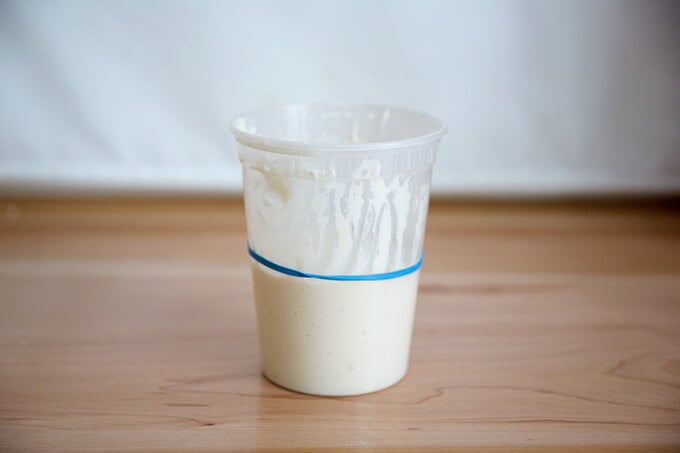
If you stick a rubber band around your starter vessel, you’ll know when …
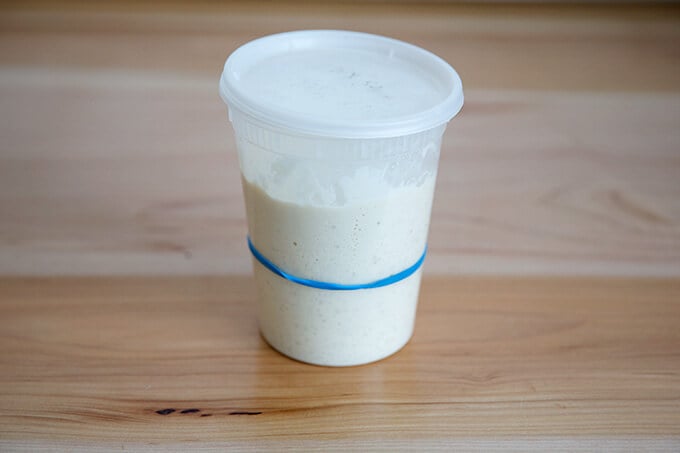
… it has doubled and is ready for use.
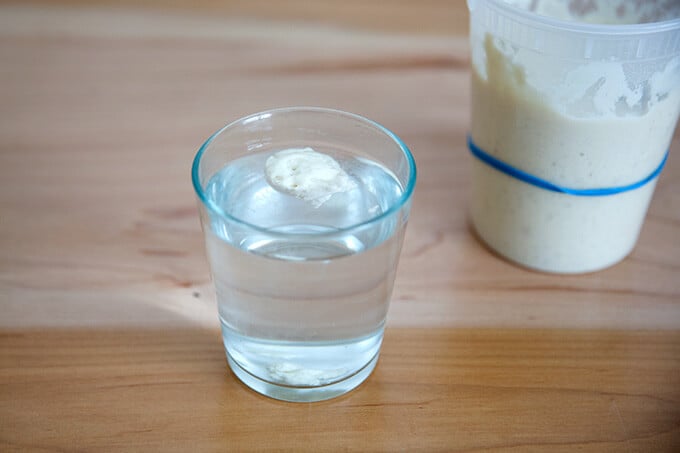
If you need reassurance as to if it’s ready, you can do the float test: drop a spoonful of starter into a glass of water. If it floats, it’s ready.
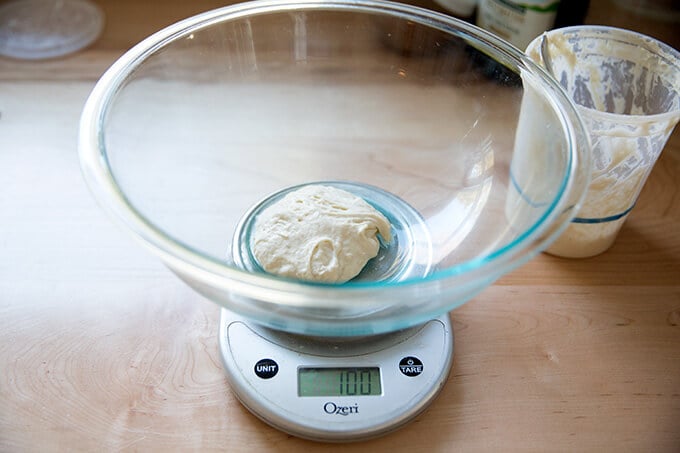
As with all bread, when mixing sourdough doughs, it’s best to weigh everything with a digital scale. Start with 100 g starter.
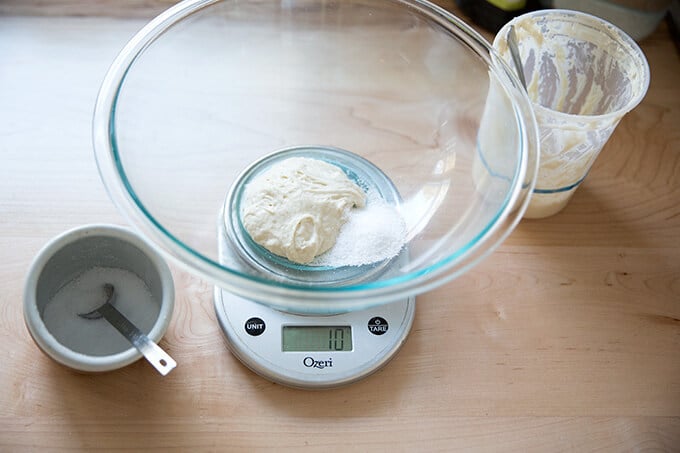
Add 10 g kosher (or other) salt.
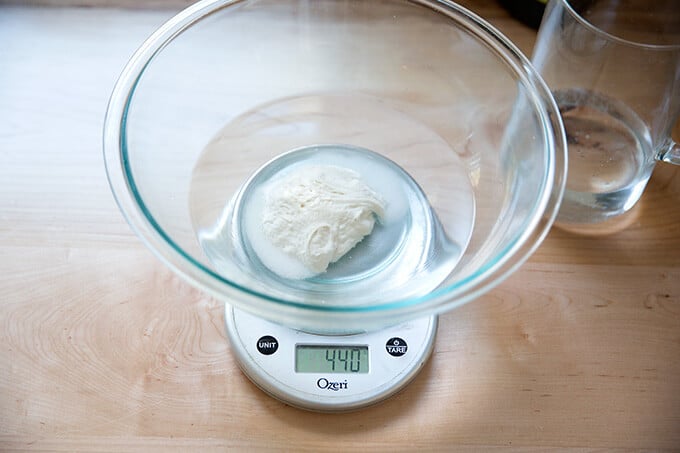
Add 440 g water. (See recipe notes: If you live in a humid environment, you may want to use less.)
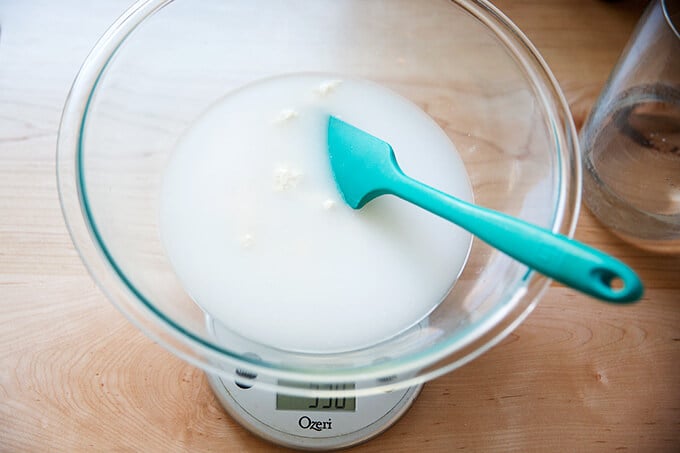
Stir to combine.
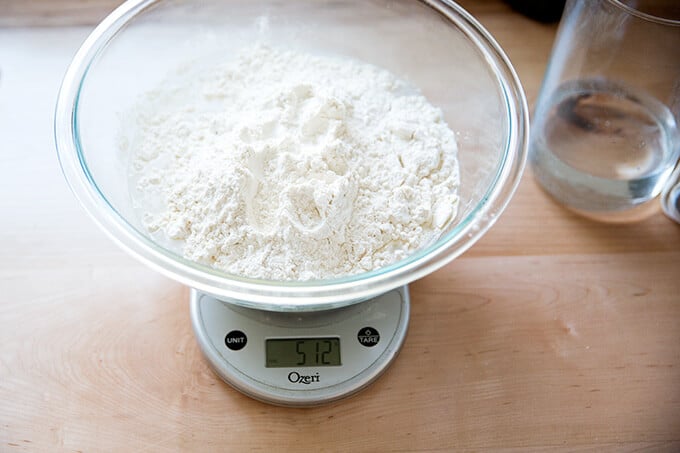
Add 512 g bread flour.
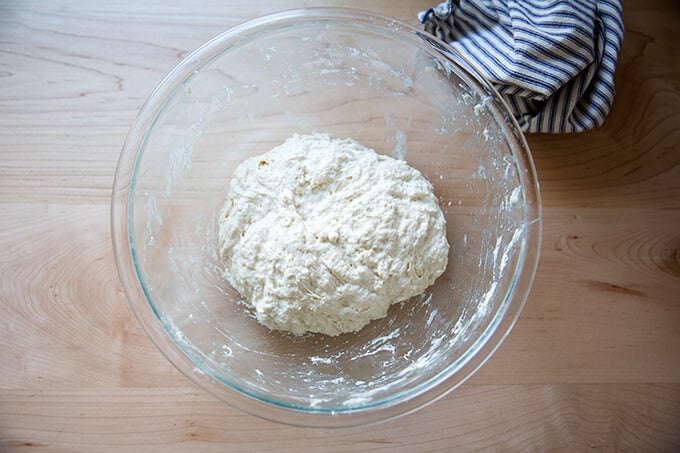
Stir to form a sticky dough ball.
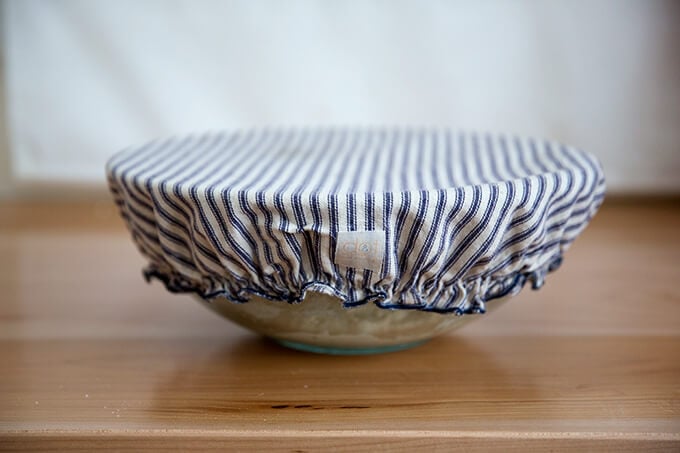
Cover with a towel or bowl cover, and let rise for 8 – 18 hours at room temperature (times will vary depending on the time of year and how warm your kitchen is … in the summer, this may take only 4 hours):
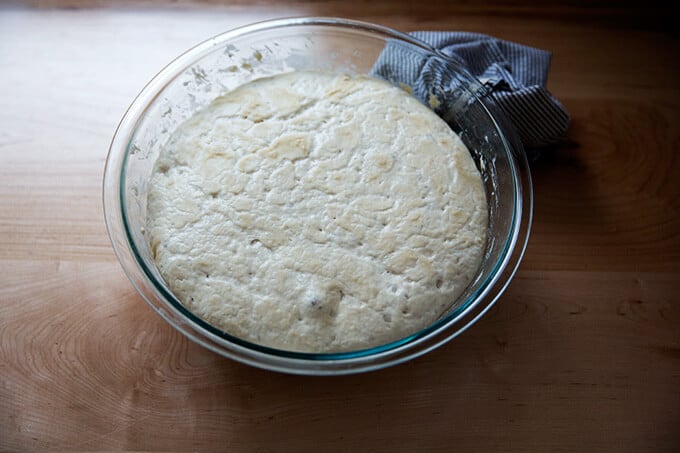
When it doubles …
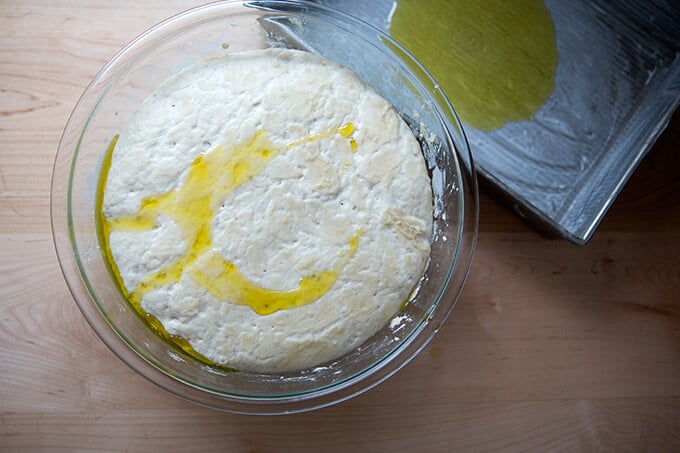
… drizzle it with some olive oil.
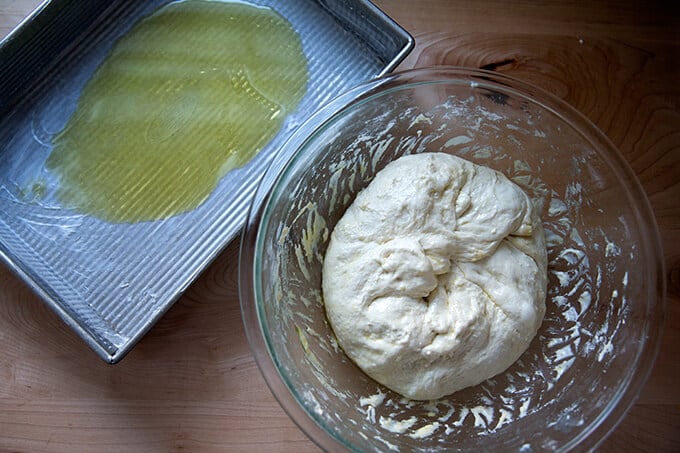
Deflate the dough by pulling the sides into the center.
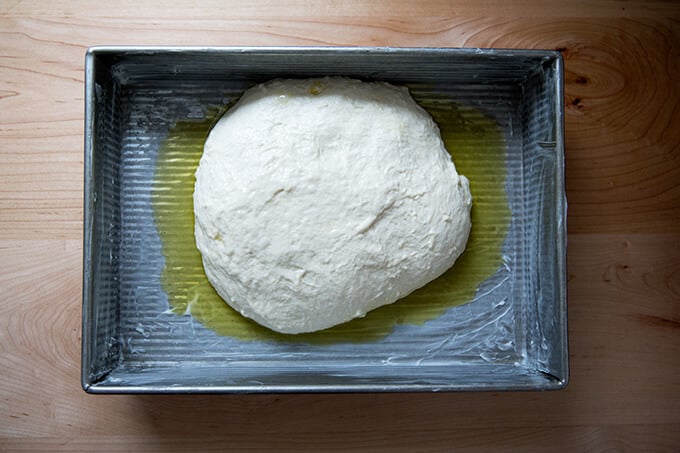
Dough, ready to make it’s second rise, which will take 5-6 hours. Love this USA Pan.
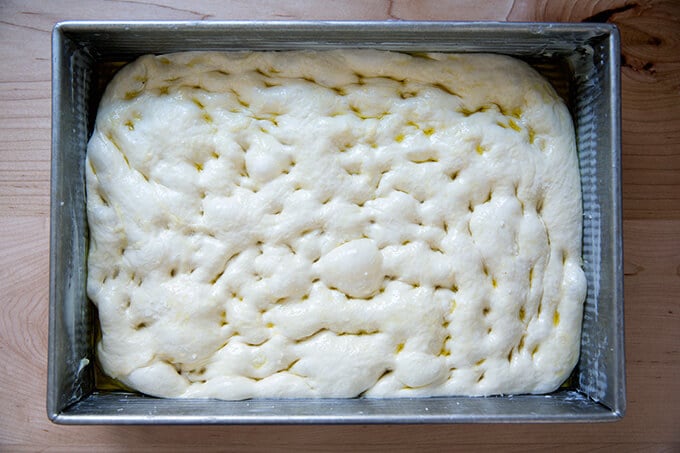
After 5-6 hours, the dough is ready to be dimpled and stretched and salted. Bake at 425ºF for 25 minutes.
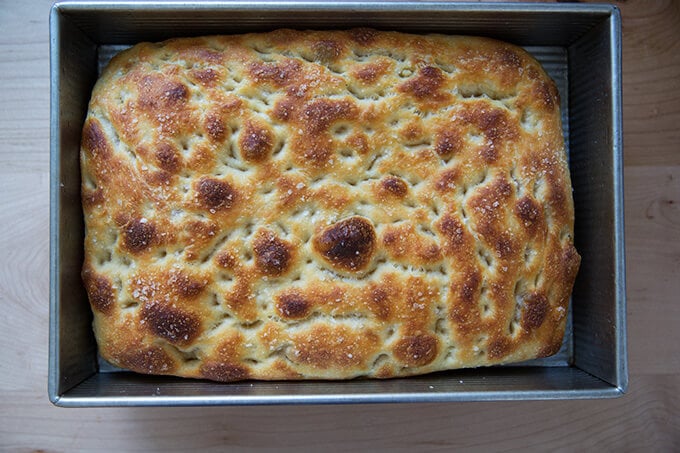
Just-baked sourdough focaccia:
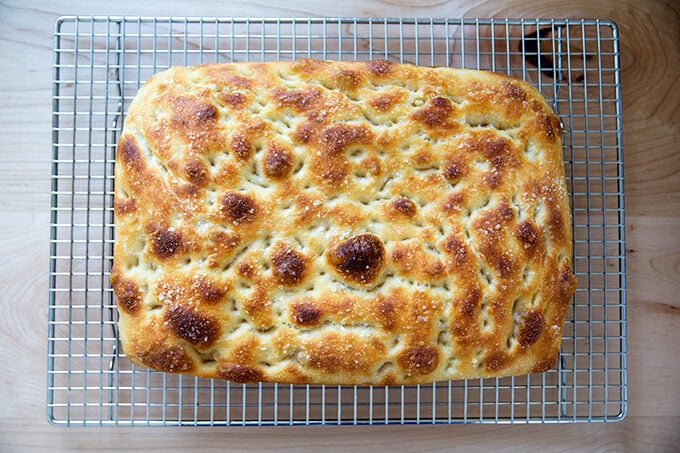
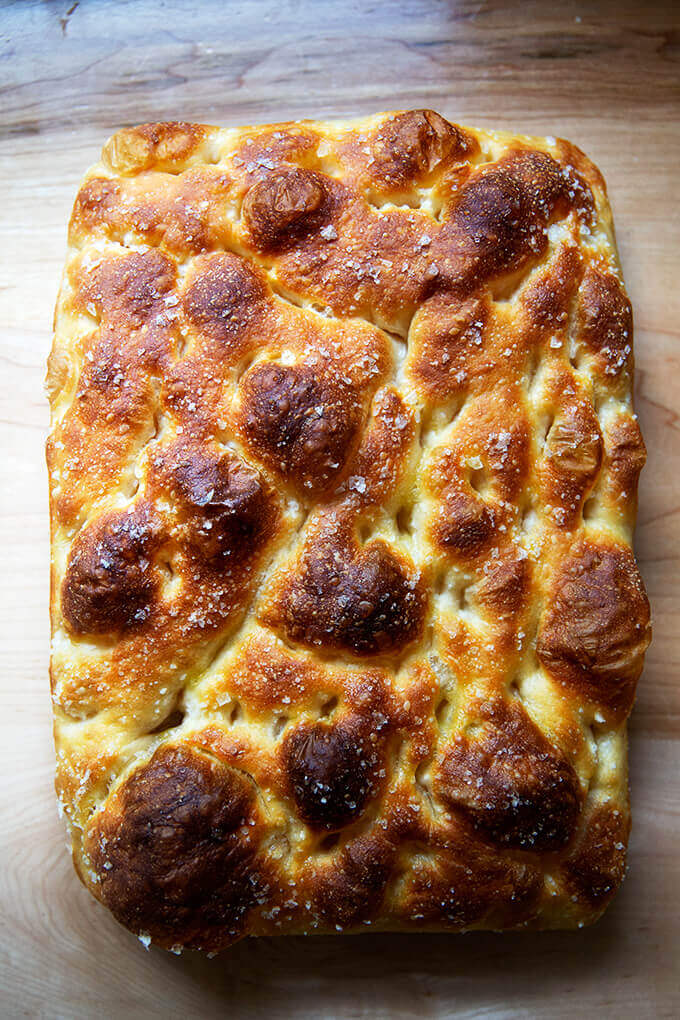
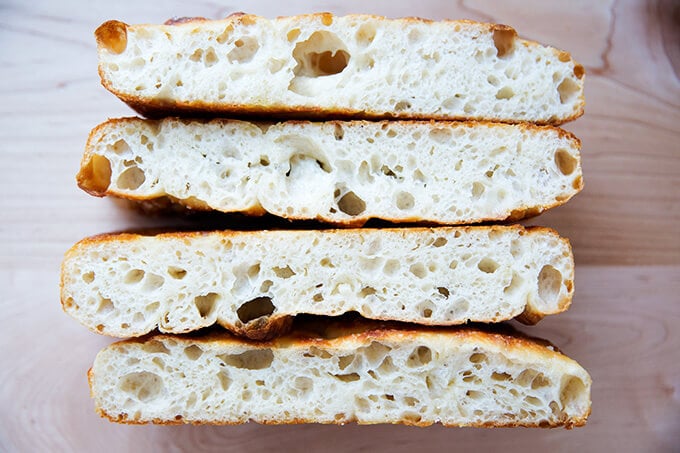
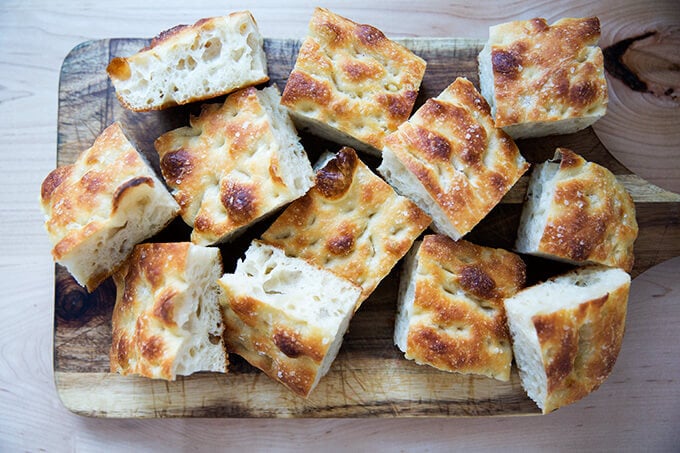
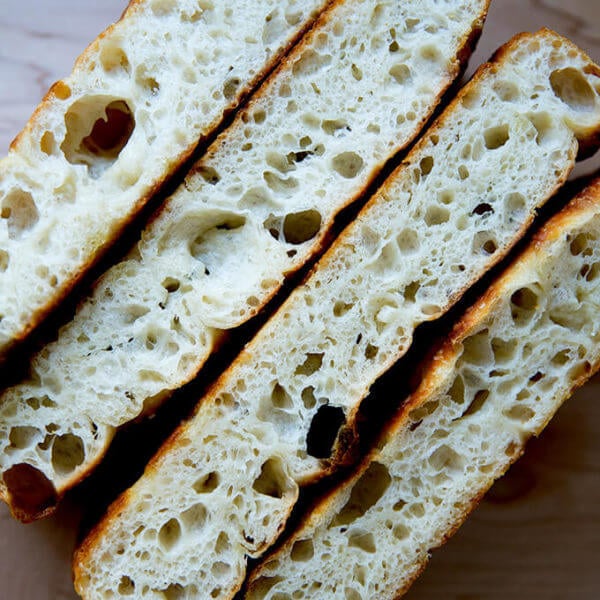
Simple Sourdough Focaccia
- Total Time: 24 hours 25 minutes
- Yield: 1 loaf
Description
Adapted from my favorite yeasted, slow-rise focaccia recipe — overnight refrigerator focaccia — this recipe replaces the yeast with a sourdough starter.
UPDATE: Video guidance is here! Watch up above or click the link below in the recipe card.
What you need to make this recipe…:
- …a sourdough starter. I bought mine from Breadtopia. It was easy to activate. There are no instructions on the package itself; follow the instructions on the video here.
- …time. Once your starter is ready to go, this recipe requires an initial 4- 18 hour rise, followed by a second 4- to 6-hour second rise. After the initial rise (depending on the time of year and temperature of your kitchen), you can deflate the dough, and stick it in the fridge for 8 to 10 hours (maybe longer), which might help you regarding your schedule. Keep in mind, when you remove the dough from the fridge and transfer it to a pan, it will still need to rise for another 5- to 6- hours.
- …water. Apparently, chlorine in water can adversely affect sourdough. Leaving water at room temperature for 24 hours will allow most of the chlorine to escape.When I am in the habit of making sourdough bread, I fill a large pitcher with water and leave it out at room temperature. I use this for my sourdough breads and starter. Truth be told, I’ve used water straight from the tap and have not noticed a difference.
Water quantity: Depending on where you live and the time of year, you may need to cut the water back. If you live in a humid environment, for instance, I would suggest starting with 430 g water. If you are not using bread flour, you also may need to cut the water back a bit.
Timing:
The more I make sourdough, the more I realize so much depends on the time of year and the temperature of my kitchen. In the summer, because it is so warm, the first rise (bulk fermentation) takes between 4 – 6 hours; in the winter the first rise takes 12 – 18 hours.
The key with this recipe is to make sure the first rise doesn’t go too long — you want the dough to nearly double. A straight sided vessel (as opposed to a bowl) makes gauging the first rise easier. (Note: If your dough rises above double, don’t despair … recently my dough tripled in volume during an overnight rise, and the resulting focaccia was still delicious, light, airy, etc.)
A few thoughts: If you are making this focaccia in the summer (northern hemisphere), use 50 g of starter and check the dough every couple of hours. If you are making this in the winter, use 100 g of starter, and plan for a long first rise.
Troubleshooting: If you have issues with your dough being too sticky, please read this post: Why is my sourdough so sticky? The 4 common mistakes.
Flour choice:
- I’ve been using King Arthur Flour’s special patent flour — bought a 50-lb. bag of it at Restaurant Depot. Its protein content, 12.7%, is the same as the protein content of its bread flour. I also have used all-purpose flour (11.7%) with success, but I recommend bread flour, which seems to be more reliable for people especially those living in humid climates. If you only have ap flour on hand, you may consider reducing the water a bit — bread flour absorbs slightly more liquid than all-purpose flour.
Ingredients
- 50 g – 100 g (1/4 to 1/2 cup) active starter, see notes above
- 10 g (about 2.5 teaspoons) kosher salt
- 430 – 440 g water (1.75 cups – 1.75 cups + 2 tablespoons), room temperature, see notes above*
- 512 g (about 4 cups) bread flour, see notes above
- 3 tablespoons extra-virgin olive oil, divided, plus more for drizzling
- Nice, flaky sea salt, such as Maldon
Instructions
- Place the starter, salt, and water in a large bowl. Stir with a spatula to combine — it doesn’t have to be uniformly mixed. Add the flour. Mix again until the flour is completely incorporated.
- If time permits, perform one “fold”: 30 minutes after you mix the dough, reach into the bowl and pull the dough up and into the center. Turn the bowl quarter turns and continue this pulling 8 to 10 times. See video for guidance.
- Drizzle with a splash of olive oil and rub to coat. Cover bowl with a tea towel or bowl cover and set aside to rise at room temperature (70ºF/21ºC) for 4 to 18 hours (the time will vary depending on the time of year, the strength of your starter, and the temperature of your kitchen — in summer, for instance, my sourdoughs double in 6 hours; in winter, they double in 18 hours. Do not use an oven with the light on for the bulk fermentation — it will be too warm. It is best to rely on visual cues (doubling in volume) as opposed to time to determine when the bulk fermentation is done. A straight-sided vessel makes monitoring the bulk fermentation especially easy because it allows you to see when your dough has truly doubled.).
- When dough has doubled, place 2 tablespoons of olive oil into a 9×13-inch pan. (I have been using this USA Pan, which I love. I have had no sticking issues. If you are using a glass pan, you may, as a precaution, want to butter it it first — I have had disasters with bread sticking when I’ve used oil alone with other baking vessels.)
- Drizzle dough with a tablespoon of olive oil. Use your hand to gently deflate the dough and release it from the sides of the bowl. Gently scoop the dough into the center of the pool of oil in your prepared pan. Fold dough envelope style from top to bottom and side to side to create a rough rectangle. Turn dough over so seam-side is down. Video guidance here.
- Rub top of dough with oil. Leave alone for 4 to 6 hours, uncovered, or until puffy and nearly doubled.
- Heat oven to 425ºF. Rub hands lightly with oil, and using all ten fingers, press gently into the dough to dimple and stretch the dough to nearly fit the pan. Sprinkle generously with sea salt. Transfer pan to the oven and bake for about 25 minutes or until golden all around. Remove pan from oven and transfer bread to a cooling rack. Cool at least 20 minutes before slicing.
- Prep Time: 24 hours
- Cook Time: 25 minutes
- Category: Bread
- Method: Oven
- Cuisine: Italian
Incidentally, this same recipe can be used to make sandwich bread. You need one large loaf pan, 10×5-inches, such as this one.
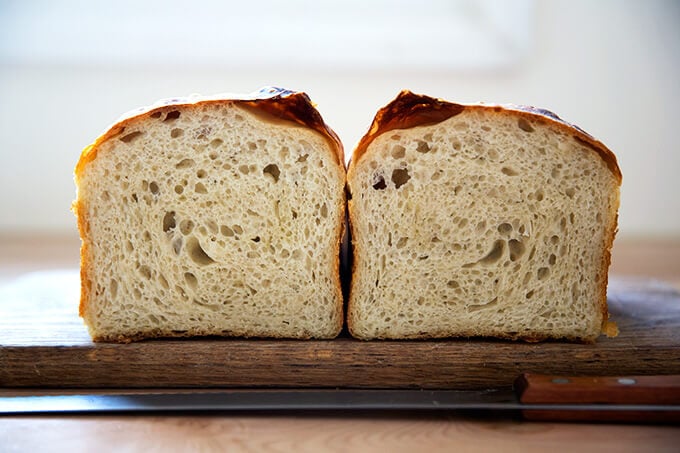
As noted above, this same recipe can be baked, like the original peasant bread recipe, in buttered Pyrex bowls. More on this soon.
Just-baked sourdough peasant bread.
Sliced sourdough peasant bread.
This post may contain affiliate links. Please read my disclosure policy.


