
How to Make Fresh Homemade Pita Bread
This post may contain affiliate links. Please read my disclosure policy.
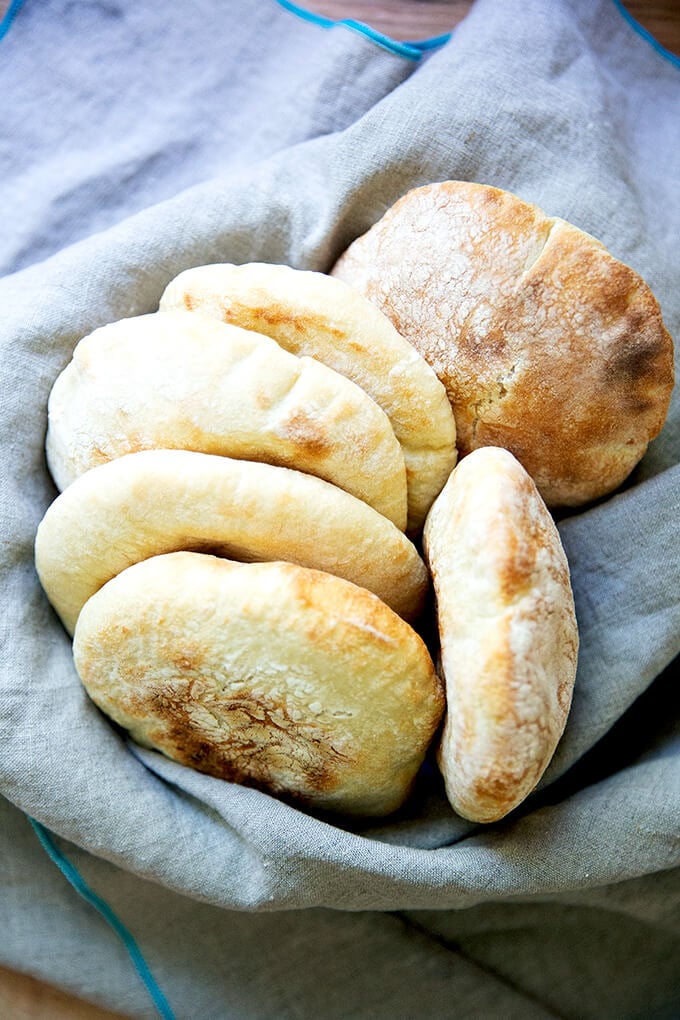
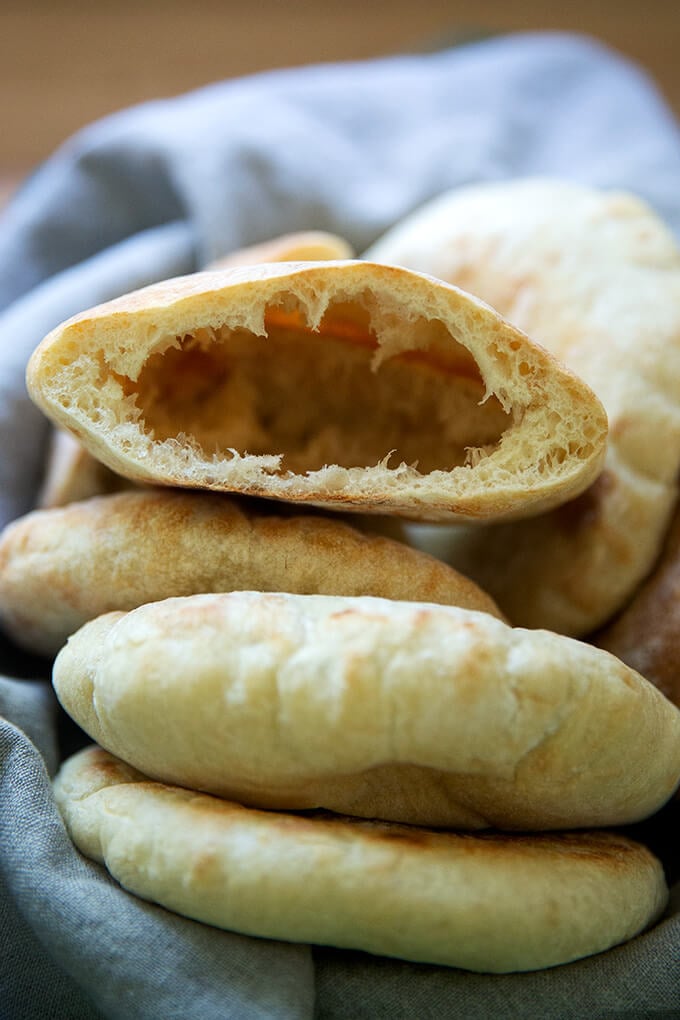
Making fresh pita at home couldn’t be easier, which was a shocking discovery. This easy recipe for homemade pita bread uses instant yeast and requires no kneading or complicated shaping. The pita rounds balloon into perfect pockets in 2 minutes in the oven. Hooray!

Store-bought pita leaves much to be desired. Upon surveying a few friends on the subject of pita, the word that came up repeatedly was “cardboard.”
This descriptor, I think, is mostly fair. Pita hasn’t caught up to naan and tortillas, which even at semi-mass produced levels* can taste quite good.
But how nice for us? We have another project to add to our bread-baking bucket lists.
But to call pita making a “project” is actually unfair. Making pita couldn’t be easier, which was shocking to discover. Before embarking on this journey a few weeks ago, I expected to learn a complicated folding or shaping technique, a trick to make the dough balloon into that beautiful, open pocket, perfect for stuffing with falafel or chicken souvlaki or grilled vegetables with tzatziki and hummus.
Making pita, I learned, requires neither kneading nor complicated shaping. It’s one of the easiest bread recipes you could make in fact, right up there with no-knead focaccia and homemade pizza dough. The recipe below is essentially a half recipe of my mother’s peasant bread recipe with the water reduced slightly to make the dough easier to ball up and roll out.
How to Make Pita: An Overview
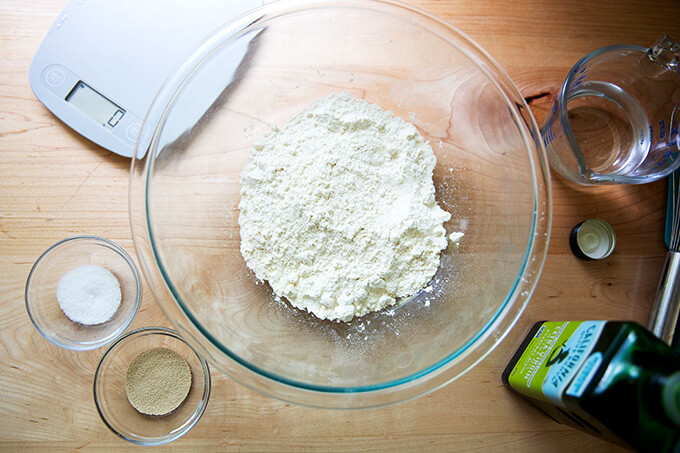
- Whisk together flour, salt, and instant yeast.
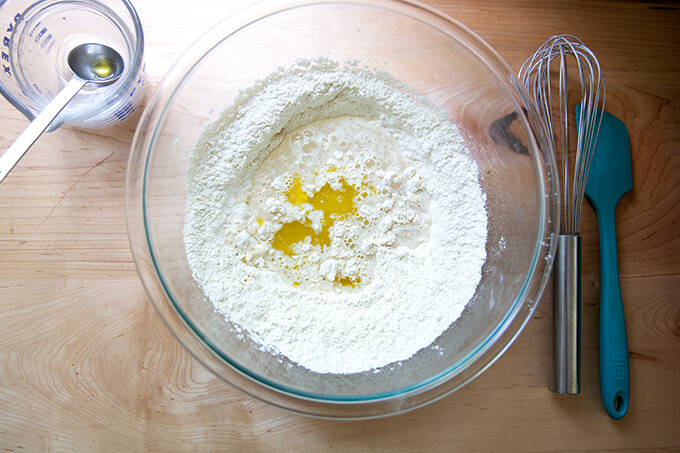
- Add lukewarm water and olive oil.
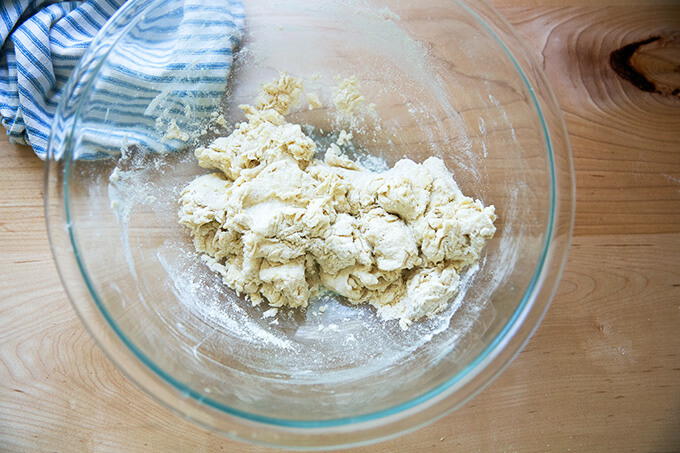
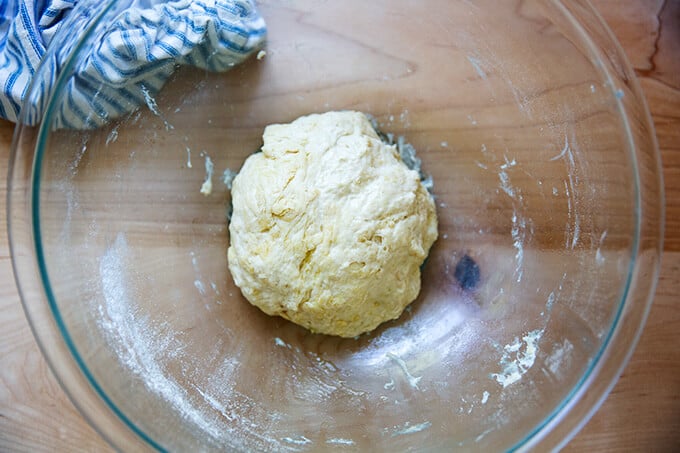
- Stir to combine with a spatula; then mix briefly with your hands, just until the dough comes together, about 30 seconds.
- Let rise 1.5 hours.
- Portion into balls and let rest 30 minutes.
- Roll each ball into a 6-inch round. Let rest again for 15 minutes; then bake for 2 minutes in a hot oven.
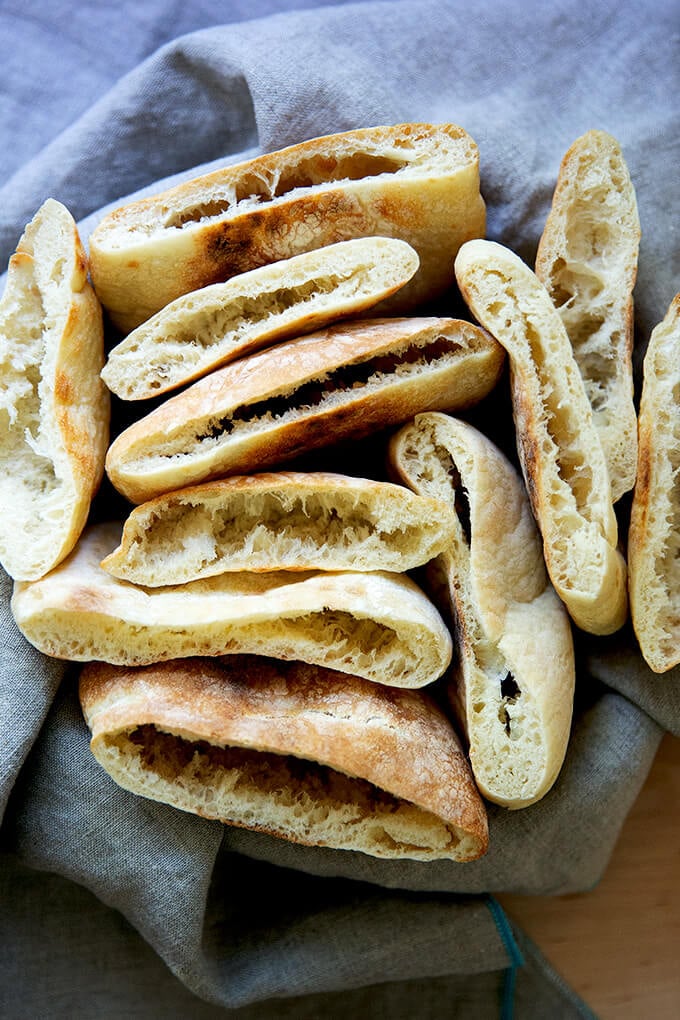
So what’s the secret to creating that beautiful, open pocket? Two things:
- Gentle handling of the dough during the rolling process — you don’t want to deflate all of the air bubbles created while the dough was rising. And letting the dough rest for another 15 minutes after you roll it — this allows the dough to recover a bit from the rolling and to puff slightly back up again before baking.
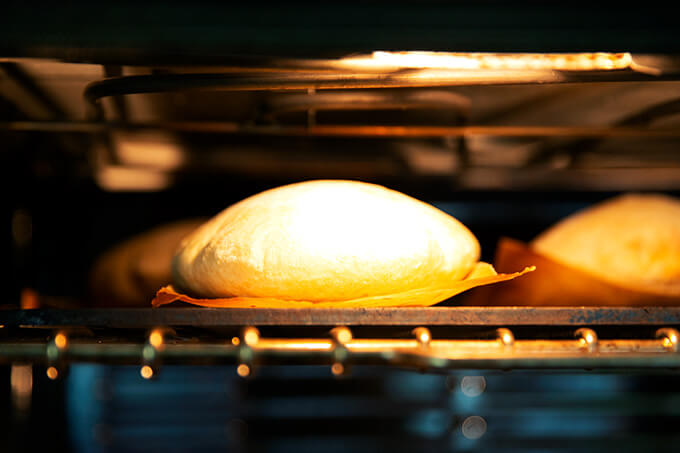
- A hot surface. As you may know, I am a huge fan of the Baking Steel for pizza, and I love it for pita for the same reason: it quickly transfers heat to the dough, making it instantly spring:
If you don’t have a Baking Steel or pizza stone, you have a few options. First, heat your oven to 475ºF. Then:
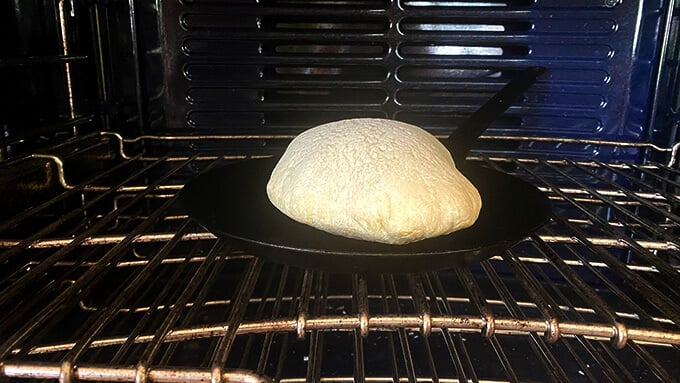
- Place a cast iron skillet in the oven, and let it heat for at least 5 minutes; then bake each round one at a time for 2-3 minutes total.
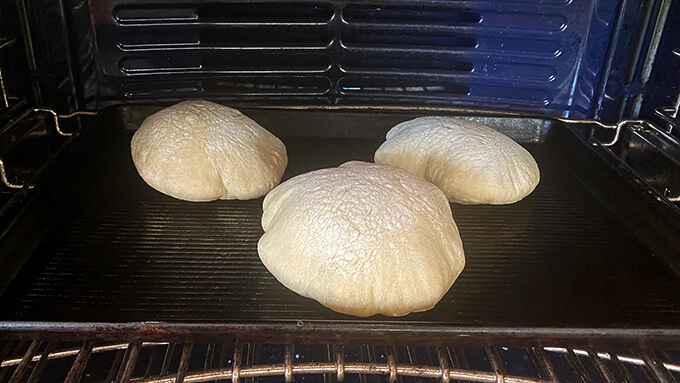
- Place a sheet pan in the oven, and let it heat for at least 5 minutes; then bake three rounds at a time for 2-3 minutes total.
Preheated skillet method:
Preheated sheet pan method:
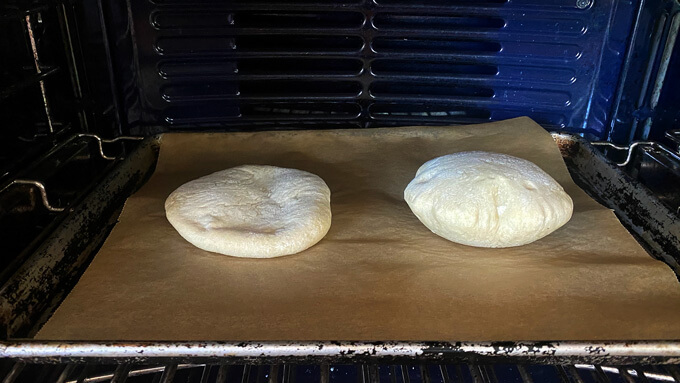
I did test a non-preheated sheet pan, and the result was uneven: one pita puffed, one did not:
Anticipating some questions…
Can I use whole wheat flour here?
Sure, but before you do, ask yourself what is your goal? If you truly care about nutritional value, whole wheat flour (commercial whole wheat flour at least) might not be the answer.
There is a fair amount of evidence that suggests commercial whole wheat flour is not in fact more nutritious than white flour, and you can read more about that here.
If you can get your hands on some freshly milled, stone-milled flour, that type of flour will offer nutritional value as well as flavor, aroma, and color. If you chose to add some whole wheat flour, I would use no more than 50% (1 cup or 128g). You may also need to adjust the water level if you use some whole wheat flour — reference the video and add more water slowly until the dough looks similar to the dough in the video.
How can I make these ahead of time?
The baked pita will stay fresh for about 3 days stored in an airtight container or bag. Reheat before serving. You can also freeze the pita for up to three months.
Finally, as with nearly all leavened breads, use the refrigerator as needed during the rising period. You can:
- …stick the bowl of just-mixed dough in the fridge and let it rise for as long as a day.
- …deflate the risen dough (after 1.5 hours or so), and stick it in the fridge for as long as a day.
- …stick the portioned balls in the fridge for several hours or for as long as a day.
* Regarding store-bought naan and tortillas: I love the Stonefire Naan brand, and Caramelo Flour Tortillas are exceptional.
Here’s the play-by-play: Gather your ingredients. As always: use a digital scale for best results; if you don’t own one, I can’t recommend investing in one enough — it will change your baking forever.
Whisk together flour, salt, and instant yeast. Add water and olive oil.
Mix with a spatula until you have a shaggy dough — mixture will feel dry.
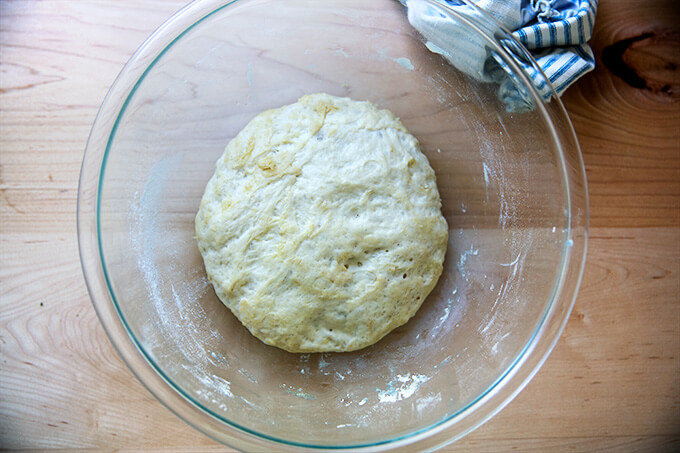
Use your hands to briefly knead the mass into a dough ball. Drizzle with olive oil. Turn to coat. Cover bowl with a cloth bowl cover, and let rise in a warm spot for 1.5 hours or until …
… slightly puffed.
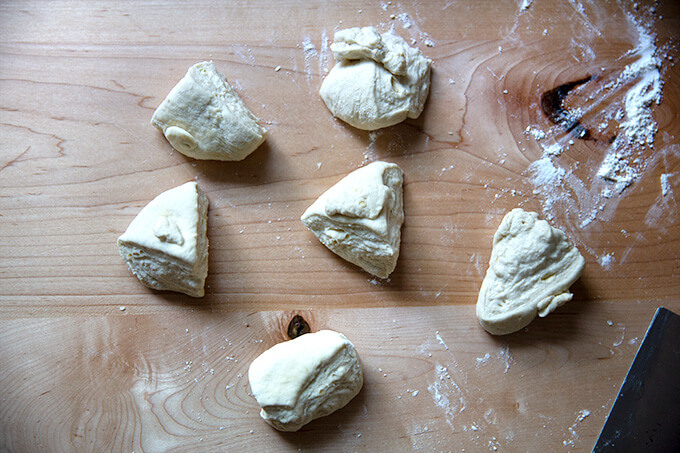
Turn out onto a lightly floured work surface, knead briefly, then use a bench scraper to divide the mass into 6 roughly equal portions. If you’re using a scale, each portion should weigh about 73 grams.
Shape each portion into a ball; then let rest for 30 minutes. This allows the gluten to relax, and as with these buttery soft pretzels, the brief rest will make them easier to roll out into rounds.

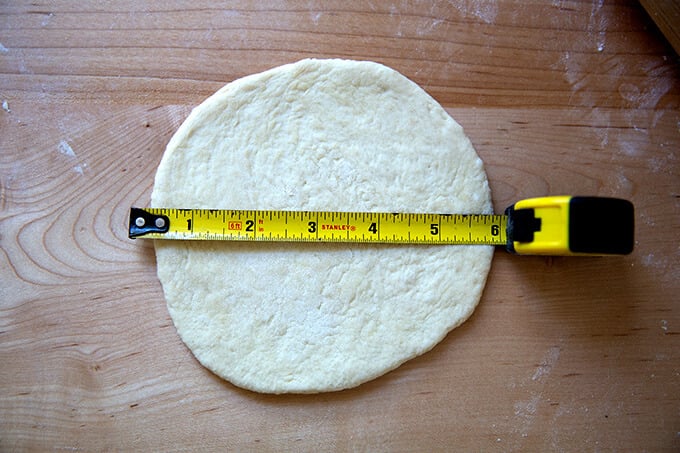
Flatten each ball with your hands; then working with one round at a time, roll into a 6-inch round.

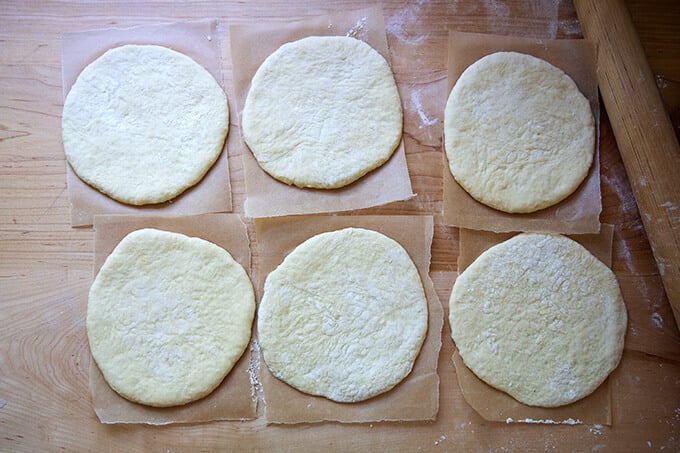
Transfer each round to a sheet of parchment paper. Let rest for another 15 minutes. Meanwhile, heat a Baking Steel or pizza stone to 550ºF. (Note: If using a stone, reference the manufacturer’s manual regarding heat tolerance.)
Bake three rounds at a time for 2-3 minutes, or until lightly golden.
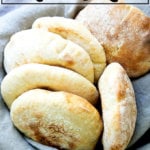
Transfer freshly baked pita to a towel-lined bowl. Wrap to cover until ready to eat.
How to Make Fresh Homemade Pita Bread
- Total Time: 3 hours 4 minutes
- Yield: 6
Description
Making fresh pita at home couldn’t be easier, which was a shocking discovery. This easy recipe for homemade pita bread uses instant yeast and requires no kneading or complicated shaping. The pita rounds balloon into perfect pockets in 2 minutes in the oven. Hooray!
Notes:
To create a warm place to rise: Preheat your oven for 1 minute; then shut it off.
Parchment paper sheets: If you buy the parchment paper that comes in sheets, such as the If You Care brand, you can fold the sheet lengthwise, then into thirds widthwise and cut along the creases to create 6 equal pieces.
If you don’t have instant yeast, you can use active-dry yeast. Simply sprinkle it over the lukewarm water, and let it stand for 15 minutes; then proceed with the recipe.
See other notes in the post for using your refrigerator during the rising process and for alternate methods of cooking if you don’t have a Baking Steel or pizza stone.
Ingredients
2 cups (256 g) all-purpose flour, plus more for sprinkling
1 teaspoon (5 g) kosher salt
1 teaspoon (4 g) instant yeast, see notes above
165 g (scant 3/4 cup) lukewarm water
1 tablespoon (14 g) olive oil, plus more for drizzling
Instructions
- Mix the dough: In a large bowl, whisk together the flour, salt, and instant yeast. Add the water and oil. Stir with a spatula until a shaggy dough forms — the mixture will appear dry and unevenly mixed. Use your hands to knead the dough briefly in the bowl just until the flour is absorbed and you have a sticky ball, about 30 seconds. Drizzle a little olive oil over top, turn the dough to coat, cover bowl with a tea towel, and transfer to a warm place (see notes above) to rise for 1.5 hours.
- Heat oven with a Baking Steel or stone inside at 550ºF. Cut a sheet of parchment paper into 6 small pieces about 6-inches square, see notes above.
- Portion the dough: Turn out the dough onto a lightly floured work surface. Knead briefly to form a ball. Use a bench scraper to divide the dough into 6 equal portions — each ball should roughly weigh 73 g. Using flour as needed to prevent sticking, ball up each portion, using the pinky edges of your fingers to create tension (see video for guidance). Let rest 30 minutes.
- Roll out each ball: Flatten one ball, and, using flour as needed, gently roll out with a rolling pin until you have a 6-inch round — the key is to not roll too aggressively in order to prevent the air pockets from being forced out. If a round is resisting, set it aside, begin rolling out another one, and return to the stubborn one at the end. Transfer each 6-inch round to a sheet of parchment paper. Let rest 15 minutes.
- Bake the pita: When oven has preheated, use a pizza peel to shimmy one round at a time, parchment paper and all, onto the preheated Baking Steel. I like to cook 3 at a time. Set timer for 2 minutes. If the pita is lightly golden, it’s done. Remove pita, transfer to a tea towel-lined bowl, and close the towel. Repeat with the remaining 3 rounds of pita.
- Store pita at room temperature in an airtight bag or container for 3 days or freeze for up to 3 months. Reheat before serving.
- Prep Time: 3 hours
- Cook Time: 4 minutes
- Category: Bread
- Method: Yeast
- Cuisine: Mediterranean
This post may contain affiliate links. Please read my disclosure policy.


405 Comments on “How to Make Fresh Homemade Pita Bread”
Tried these tonight on my pizza stone – my oven only goes to 500°, but 4 of the six puffed magnificently, two only slightly but still enough to fill. I made Lamb Kofta and all kinds of fresh veggies for the filling and a yogurt tahini sauce. I have tried pitas many times in the past, NEVER got this puffy result. Thanks so much for the recipe and all the video etc. to make us learn how it is done. On my list of “go to recipes” from now on! Thanks again.
So nice to read this, Sandra! Lamb kofta sounds lovely as does all the fresh veggies and yogurt-tahini sauce… yum! Thanks for writing and sharing 🙂
I think the best pita bread I’ve made so far. Puffing even in the oven without any fancy features. Thanks!
Great to hear Eva! Thanks for writing 🙂
They look so yummy. Do you bake them with the grill function?
Thanks for sharing!
Hi! I do not have a grill function in my oven… I just use the regular setting 🙂
Best pita recipe I’ve tried!!! Thank you so much!
Great to hear, Letitia! Thanks for writing 🙂