Easy Sourdough Sandwich Bread
This post may contain affiliate links. Please read my disclosure policy.
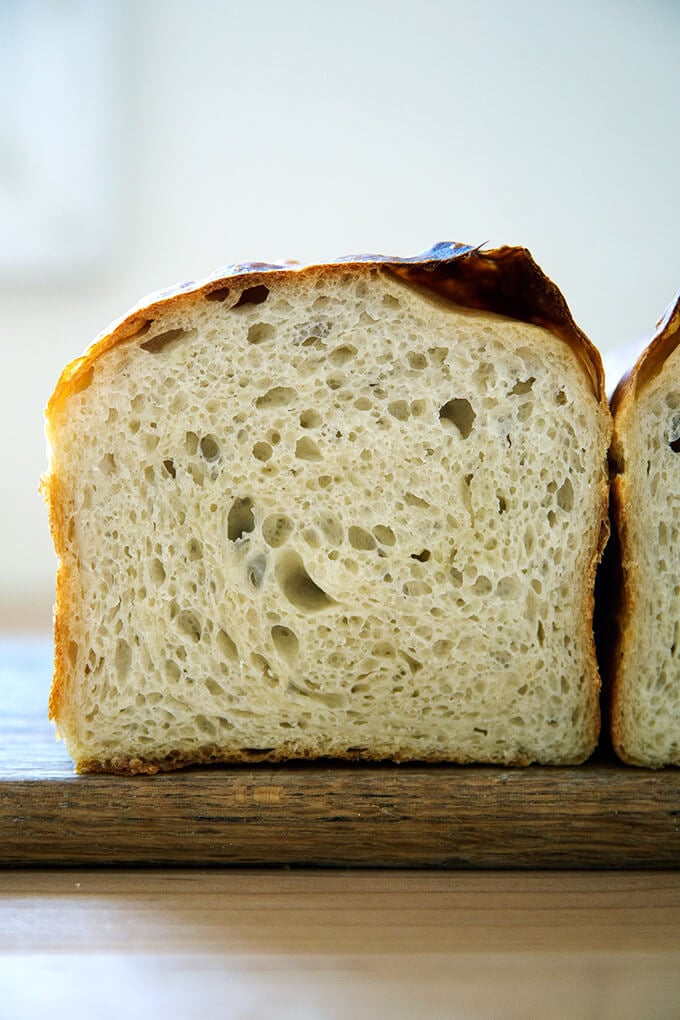
As I mentioned a few weeks, a number of requests about how to make my mother’s peasant bread with a sourdough starter encouraged me to dip my toe into the wonderful world of naturally leavened breads. You can read more about that experiment here, which led to this simple sourdough focaccia recipe, an adaptation of my favorite yeasted, refrigerator focaccia.
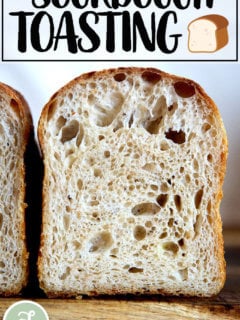
It also led to this sourdough toasting bread, which is essentially the same formula, just baked in a different vessel and without the slick of oil and sprinkling of sea salt on top. I’ve been making this bread even more often than the focaccia these days because I love the shape: it’s so nice for morning toast and for sandwiches.
PS: How to Build a Sourdough Strater from Scratch
PPS: How to Activate, Feed, and Maintain A Sourdough Starter
Simple Sourdough Toasting Bread: What You Need
- A sourdough starter. I recommend buying one (read why here). But if you’re up for it, you can make one from scratch in just about a week.
- Time. As with the focaccia, this bread rises first for about 6 to 18 hours (depending on the time of year and strength of your starter), then again for another 4 to 6.
- A large loaf pan. I’ve been using this 10 x 5-inch loaf pan. If you only have two smaller loaf pans, such as 8.5 x 4.5-inch pans, you’ll need to split the dough in half after the first rise.
That’s it! Ready? Here’s the play-by-play:
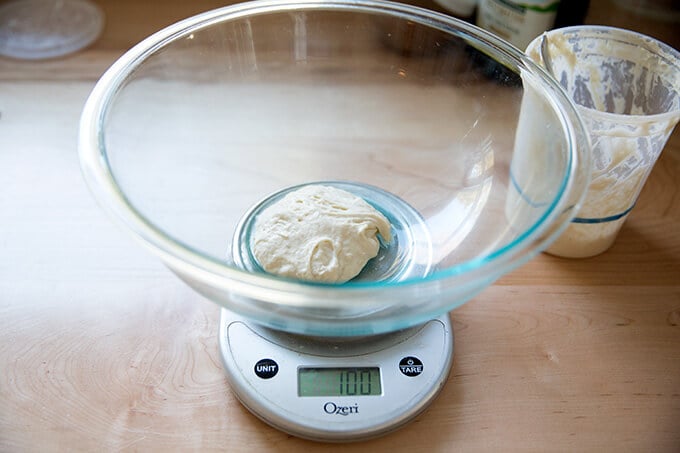
As always, when mixing sourdough doughs, it’s best to weigh everything with a digital scale. Start with 100 g starter. (If this looks familiar, it is: this is the same basic process for the sourdough focaccia.)
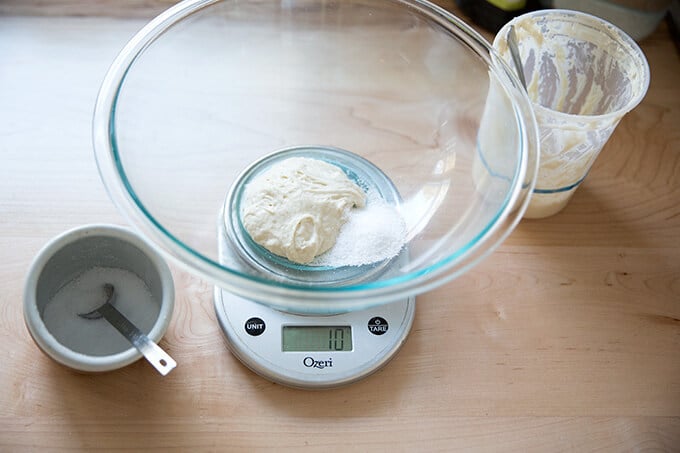
Add 10 g kosher (or other) salt.
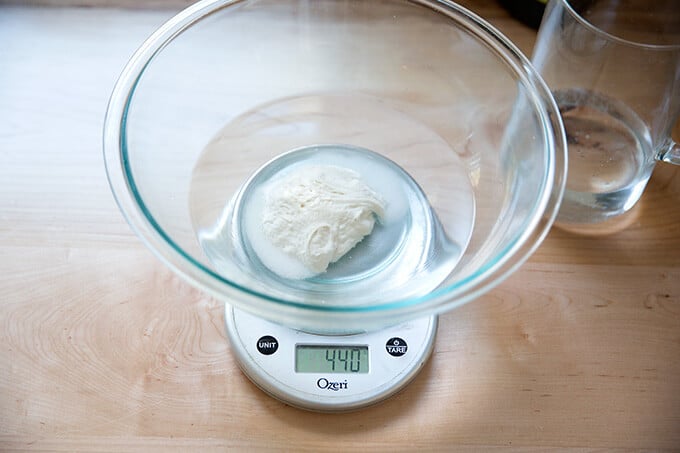
Add 430 g water. (Or less, see recipe for notes.)
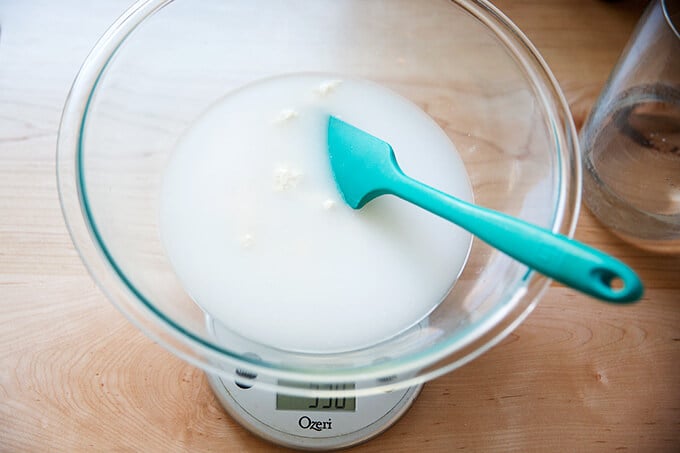
Stir to combine.
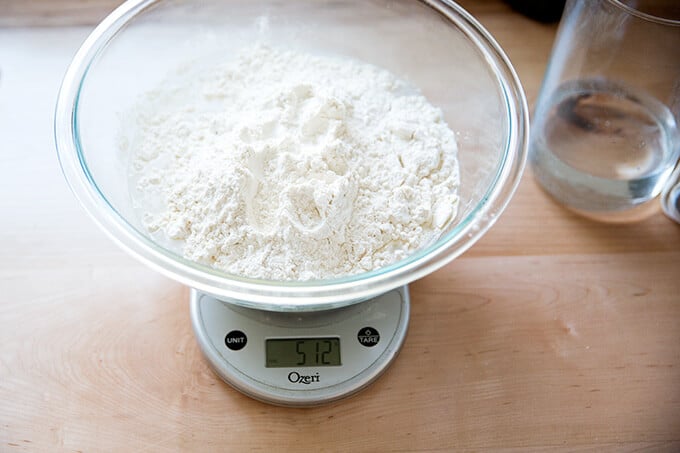
Add 512 g bread flour.
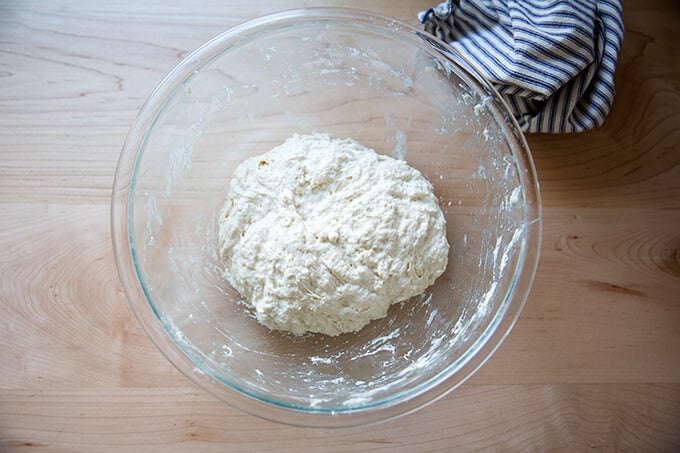
Stir to form a sticky dough ball.
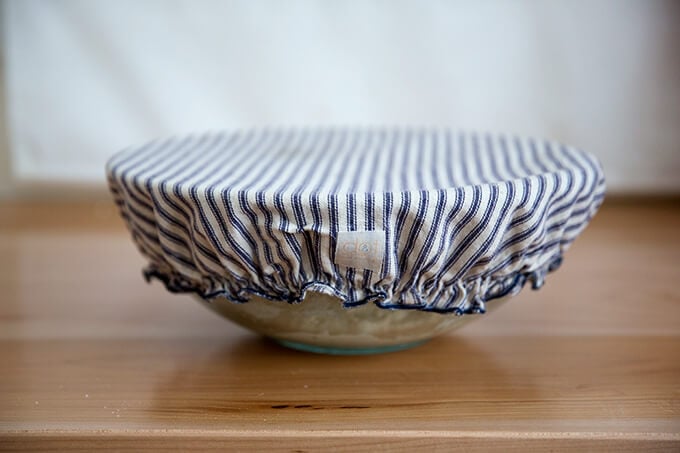
Cover with a towel or bowl cover, and let rest for 30 minutes. Then, perform a series of stretches and folds. See video for guidance. Repeat this 3 more times for a total of 4 sets of stretches and folds during the first two hours. Then, let rise for 6 to 18 hours* (see recipe notes) at room temperature:
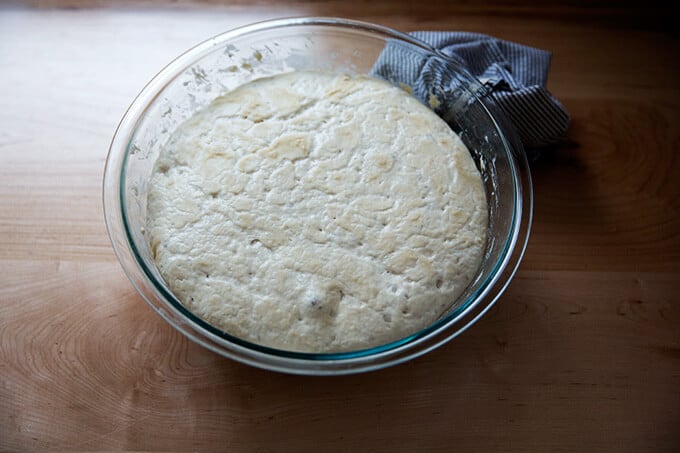
After 6 – 18 hours, it will look something like this:
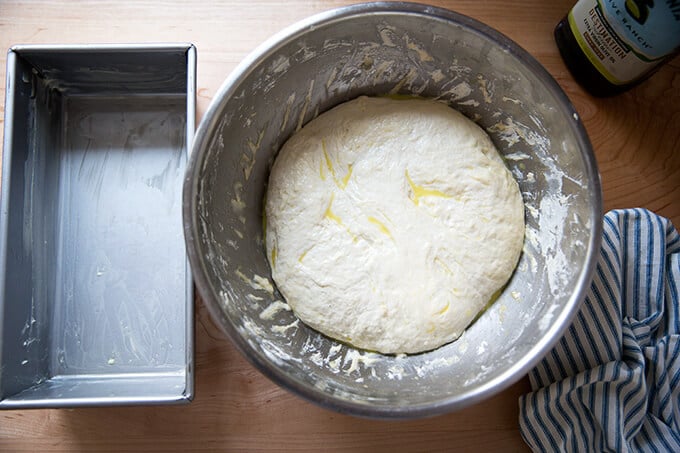
Drizzle the surface of the dough with a little bit of olive oil; then fold the dough inwards from the sides to deflate.
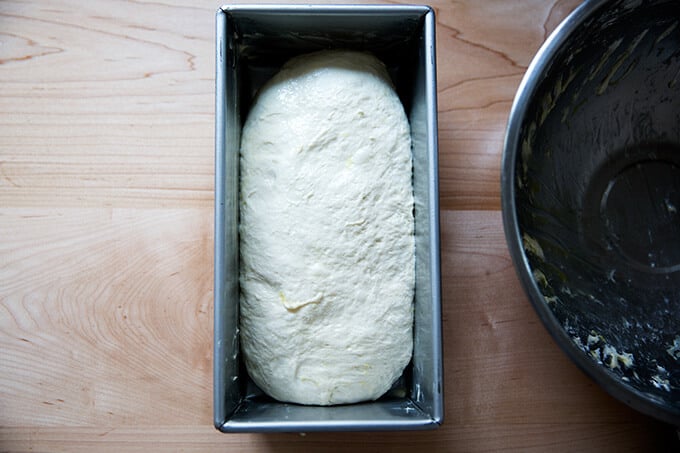
Transfer dough to loaf pan.
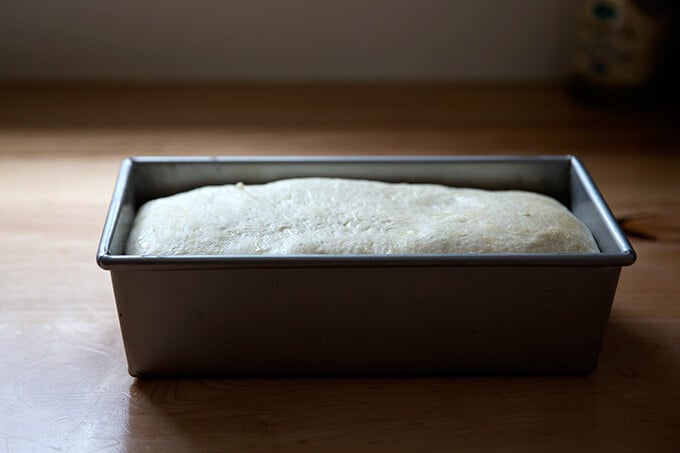
Let rise till dough just begins to crown the rim of the pan, about 6 hours.
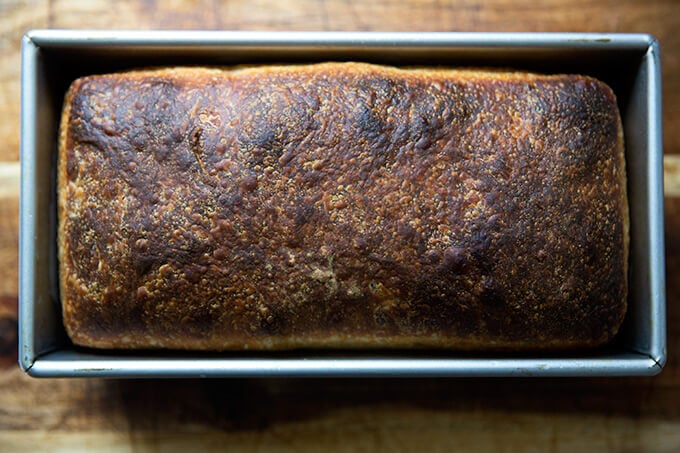
Bake for about 45 minutes.
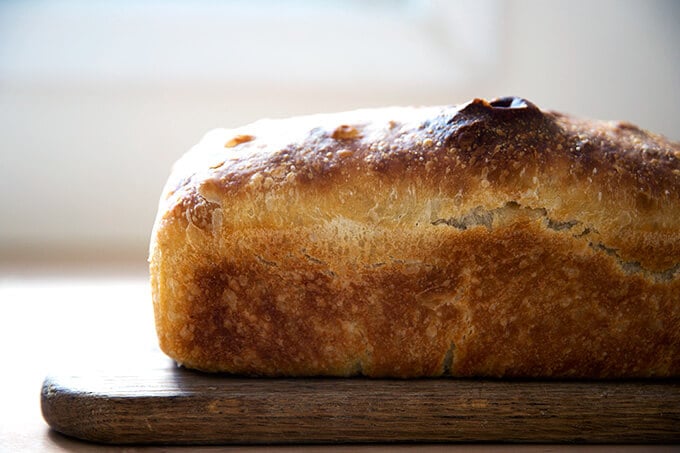
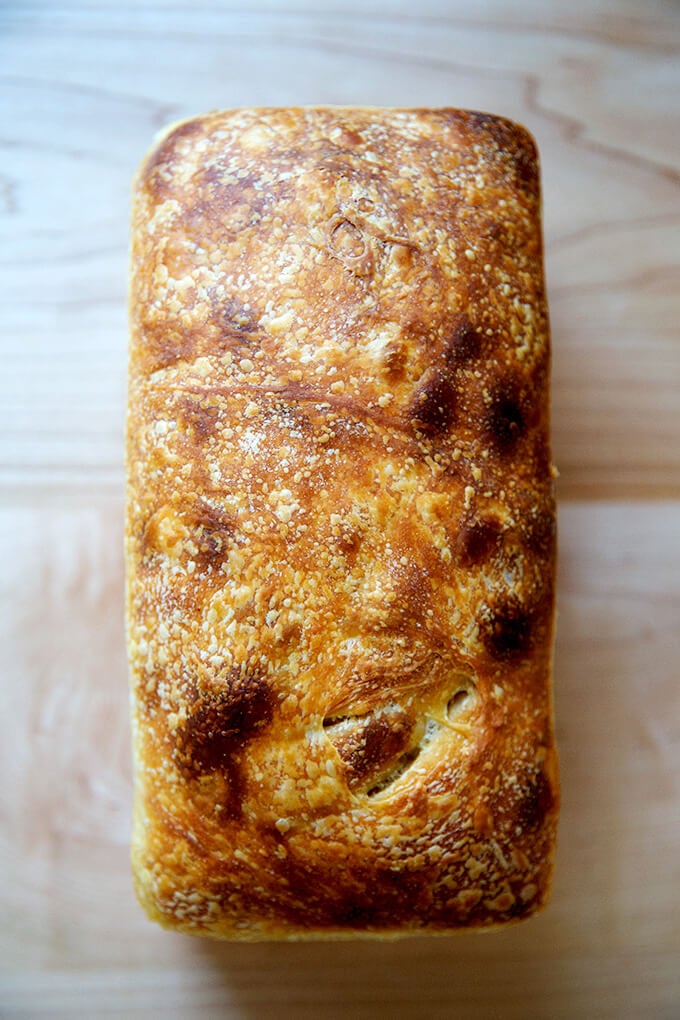
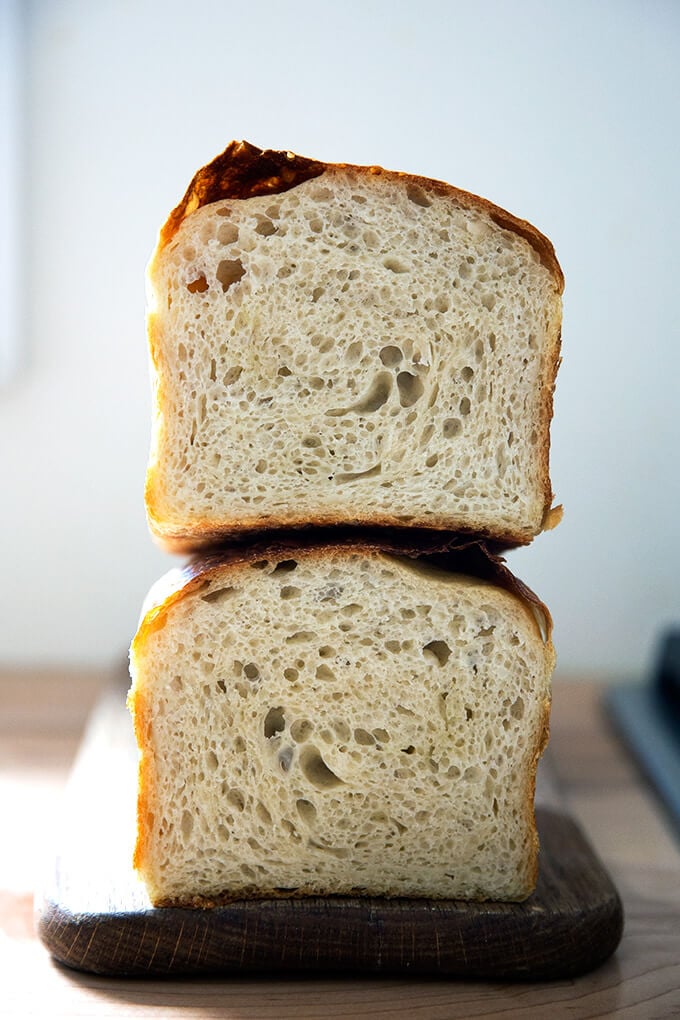
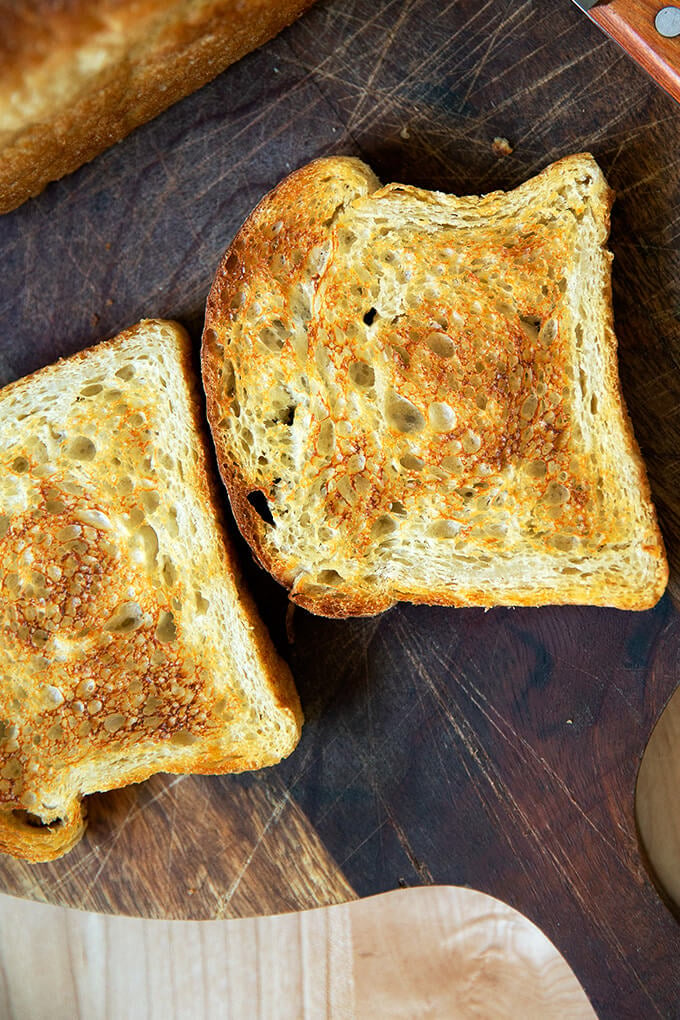
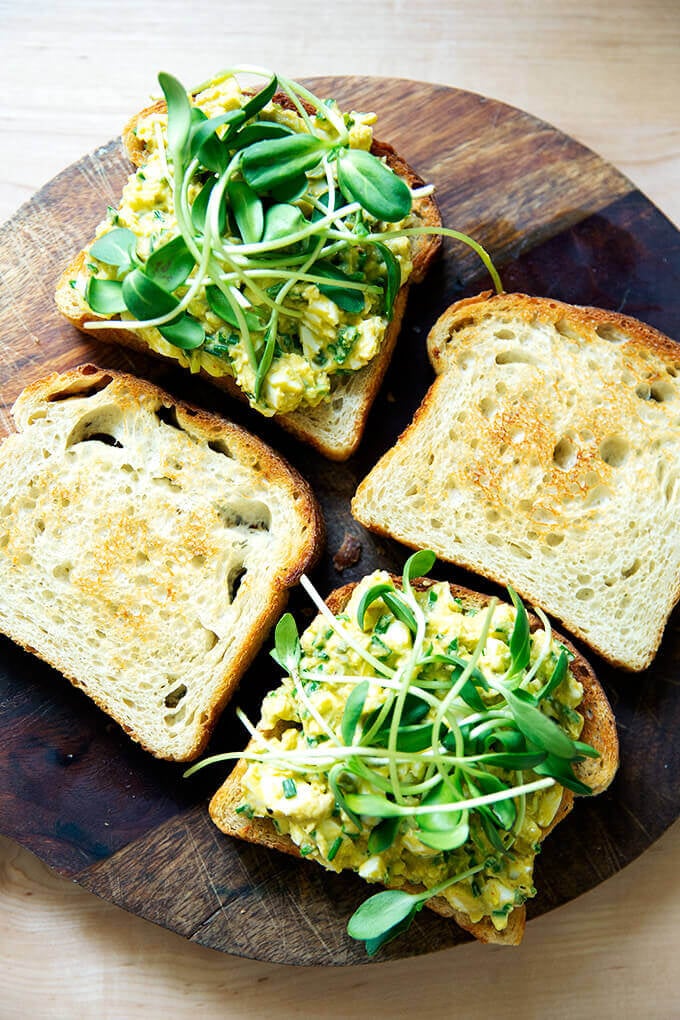
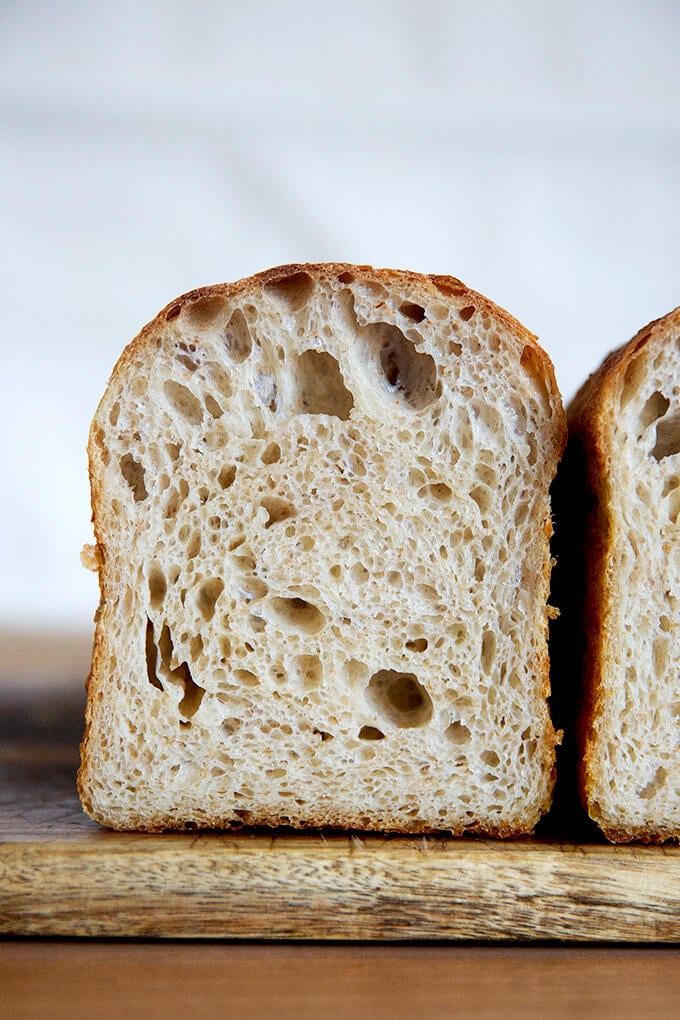
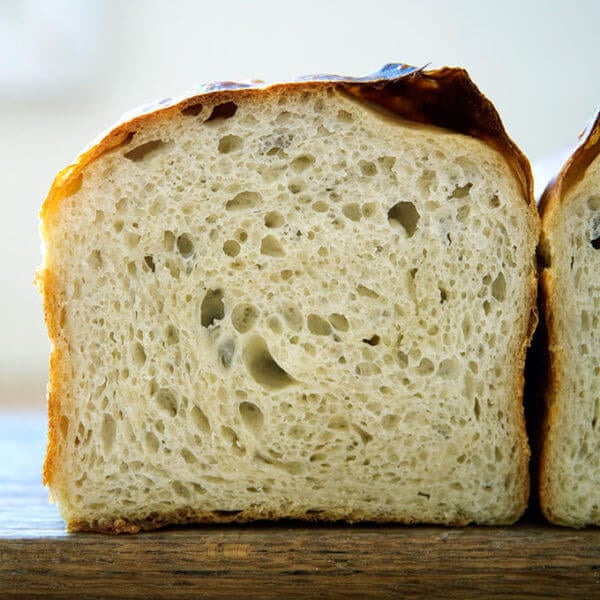
I baked this loaf in a tall-sided pullman loaf. Love the shape!
Easy Sourdough Sandwich Bread
- Total Time: 24 hours 40 minutes
- Yield: 1 loaf
Description
** UPDATE: VIDEO GUIDANCE IS HERE **
The makeup of this dough is the same as this sourdough focaccia. Here, the dough is baked in a loaf pan, and there is no sea salt on top.
This recipe yields one large loaf. You’ll need a 10 x 5-inch loaf pan, such as this one. If you only have two smaller loaf pans, such as 8.5 x 4.5-inch pans, you should probably split the dough in half after the first rise.
Plan ahead: This dough rises first for 6 to 18 hours (or less if it is super hot out or if you live in a humid area) or until the dough doubles in volume; then again for about 4 to 6 hour or until the dough crowns the rim of the baking vessel.
Troubleshooting: If you have issues with your dough being too sticky, please read this post: Why is my sourdough so sticky? The 4 common mistakes.
If you’re just getting started with sourdough, check out this post first. You’ll find tips there on procuring a starter as well as how to feed it and maintain it. If you’re up for making your starter from scratch, you can do so in just about 1 week.
Water: Chlorine in water can adversely affect sourdough. Leaving water at room temperature for 24 hours will allow most of the chlorine to escape. When I am in the habit of making sourdough bread, I fill a large pitcher with water and leave it out at room temperature. I use this for my sourdough breads and starter. Truth be told, I’ve used water straight from the tap and have not noticed a difference.
Water quantity: Also, depending on where you live and the time of year, you may need to cut the water back. If you live in a humid environment, for instance, I would suggest starting with 400 g or 420 g water. If you are not using bread flour, you also may need to cut the water back a bit. So much success with sourdough relies on getting the water quantity right.
Starter: I use a 100% hydration starter, meaning it is equal parts by weight flour and water. If you need guidance on how to maintain a starter, see this post.
Ingredients
- 100 g (about 1/2 cup) active starter, see notes above
- 10 g (about 2.5 teaspoons) kosher salt
- 430 g water, (or less, see notes above) room temperature
- 512 g (4 cups) bread flour, such as King Arthur Flour
- a few tablespoons extra-virgin olive oil
- room temperature butter, for greasing
Instructions
- Mix the dough: Place the starter, salt, and water in a large bowl. Stir with a spatula to combine — it doesn’t have to be uniformly mixed. Add the flour. Mix again until the flour is completely incorporated. If you have a straight-sided vessel, transfer the dough to it — it really helps monitor the rise and allows you to see the true growth in volume of the dough.
- Perform one (or more) “folds”: 30 minutes after you mix the dough, reach into the bowl and pull the dough up and into the center. Turn the bowl quarter turns and continue this pulling 8 to 10 times. See video for guidance. If time permits, repeat this “folding” step every 30 minutes for the first two hours. (Note: even if you perform just 1 fold, your dough will be in good shape.)
- Drizzle with a splash of olive oil and rub to coat. Cover bowl with a tea towel or bowl cover and set aside to rise at room temperature (70ºF/21ºC) for 4 to 18 hours — if it is super hot out or if you live in a humid environment, it may only take 4-6 hours. When the dough has nearly doubled in volume (or UPDATE: increased in volume by 50%, which is when I now end the bulk fermentation), it is ready. (Note: Do not use an oven with the light on for the bulk fermentation — it will be too warm. It is best to rely on visual cues (increasing in volume by 50% or doubling if you’ve had success with doubling) as opposed to time to determine when the bulk fermentation is done. A straight-sided vessel makes monitoring the bulk fermentation especially easy.)
- When the dough has nearly doubled, grease a 10 x 5-inch loaf pan with butter (or nonstick spray). Drizzle dough with a few tablespoons of olive oil. Rub your hands with a little bit of oil to coat. Use your hand to release the dough from the sides of the vessel, being careful not to completely deflate the dough. Video guidance here. Turn dough out onto a work surface. Quickly, shape the dough into a rectangle — I fold the dough envelope-style first; then I use a bench scraper to shape the dough into a rough rectangle. Transfer dough, seam-side down to prepared loaf pan and gently stretch into an oblong shape. (At this point, you can transfer the pan to the fridge if it makes sense with your schedule: rub the dough with oil and cover with a cloth bowl cover or plastic wrap. Transfer to the fridge will the next day. Then proceed with the recipe.)
- Leave alone for 5 to 6 hours or until dough begins reaching the rim of the pan — this may take less time when it is very warm out. Do be patient with this second rise: to get good height, the dough should be near the rim of the pan before you transfer it to the oven.
- Heat oven to 425ºF. Transfer pan to the oven and bake for about 20 minutes. Reduce heat to 375ºF. Bake for 20 to 25 minutes more or until golden all around. If you have an instant read thermometer, it should register 206-210ºF or so before removing. Remove pan from oven and turn bread out onto a cooling rack. Cool at least 30 minutes before slicing.
- Prep Time: 24 hours
- Cook Time: 40 minutes
- Category: Bread
- Method: Sourdough/Natural Leavening
- Cuisine: American
This post may contain affiliate links. Please read my disclosure policy.


898 Comments on “Easy Sourdough Sandwich Bread”
This made an excellent sandwich loaf. I used an 8 x 5″ loaf pan because thats what I had. It was taller, but totally delicious. Light, tender, moist, and yummy, with a perfect crust. I’ll I would recommend this recipe to others and make it again.
Great to hear, Kathleen 🙂 🙂 🙂 Thanks for writing.
This bread turned out amazing! The instructions made the process very easy to understand. I quadrupled it for my family. All four loaves were gone in two days. Thank you so much!
Great to hear, Melody! Thanks for writing 🙂
This is my favorite so far, it made the most beautiful loaf!!! Id say it’s the best bread I’ve ever tasted. It was soft and chewy, just wonderful. And easy.
Great to hear, Annie! Thanks so much for writing 🙂
I’ve used this recipe twice now and both times have turned out perfect. I think I use a little less flour and water than what is said but as a first time sour dough baker, it was super easy to follow!
Great to hear, Alyssa! Thanks so much for writing 🙂 🙂 🙂
I have been making this recipe every week for months now! It is seriously the best recipe I have used. The bread is soft, fluffy and soo delicious. I am enjoying sharing starter with my friends so they can make this recipe too!
I have smaller/ regular sized bread pans so I always split into two loaves with the recipe. Now I have started doubling the recipe and making three loaves and it works perfectly!
I am so obsessed with this bread and just wanted to say thank you!!
Great to hear Gail! Thanks so much for writing and sharing all of this 🙂 🙂 🙂
I made this and mine turned out doughy and appeared under baked but baking it longer didn’t help. I noticed that my dough was way looser than yours after the first proof. I only folded it once during the first proof instead of ever my 30 minutes. Does that make a big difference? Where I live isn’t too humid right nos(it will get miserably bad but not right now) and I had the dough rise in my sunroom which was about 75-80 degrees. Idk where I went wrong. Maybe more flour?
Hi!
I’m guessing your dough over fermented during the bulk fermentation. Questions for you before I can advise:
Are you new to sourdough? Have you successfully used your starter to make a loaf of sourdough bread you are happy with?
Are you using a scale to measure?
What type of flour are you using?
Are you using a straight-sided vessel for the bulk fermentation?
Hi Alexandra. Thank you for responding! I’m new to sourdough baking but I made two loves so far in a Dutch oven that turned out well. I don’t use a scale and I know that makes a big difference so I’ll get around to buying one eventually but probably not soon. I use einkorn flour which I also used with the first two loaves I made that turned out well. I don’t use a straight side vessel for bulk fermentation since I don’t have one, I use a large bowl. I only fed my starter once before making this recipe. Would it help to let it sit out for longer and feed it twice beforehand?
OK, got it.
Yes, making sure your starter is up to strength before using it is a good idea. If you have the time I would suggest feeding it twice.
I think if you want to make sourdough a routine/practice that investing in a scale is the first step. It’s the only way to ensure you are measuring accurately. Moreover, if your dough is looser, I’d suggest using less water, but if you’re not using a scale to measure, the next time you make this, you might not actually use less water because measuring by cups is so inaccurate. This one costs $10.
A straight-sided vessel will help you monitor the bulk fermentation. If you’re using a bowl, it’s very hard to know how much the dough has actually grown. You can buy cheap air-tight food storage vessels at the grocery store — they don’t have to be large (2 quart size is ideal).
Finally, einkorn flour is trickier to work with. It absorbs water more slowly, so while the dough may look fine upon mixing, it might get wetter as the dough rises and as the flour hydrates. This is fine, but if you may have better luck using bread flour or a mix of einkorn and bread flour.
I’ve made a this twice now for my first 2 ever sourdoughs. Second one came out so well I’m super happy. Thanks
Great to hear, Nick! Thanks for writing 🙂
I’m new to baking and working with sourdough but this recipe gave me a lot of confidence! The only issue I had was getting the internal temperature up to 206-210 degrees. I used an instant read thermometer and only got to 196 degrees. I live at 7000 ft elevation. Do I need to adjust my oven temperature?
Great to hear Tom! I just did a little bit of googling and it does seem that at high altitude a lower internal temperature is fine. Here is the site where they discuss this: https://ask2.extension.org/kb/faq.php?id=404313
Love the website and YouTube video! Super easy to follow! Quick question, after step 4 if you leave bread in refrigerator for 24 or so hours can you skip to step 6 when ready to bake? Or do you need to wait for step 5? Thanks!
Thank you, Alex 🙂
If your dough hasn’t reached the rim of the pan, you will want to give it time at room temperature before baking it. Wait for the visual cue — when the dough begins reaching the rim of the pan — before putting it in the oven.
Outstanding! After weeks of trial and error, I got a starter to kick off I found this recipe and followed it to a tee! I make some awesome sourdough breads !! Thanks for your helpful tips!!
Great to hear, John! Thanks so much for writing 🙂 🙂 🙂
Hi Ali! For step 3 can I just let the dough sit overnight? Thanks!
You can! Is your kitchen on the cool side? The risk is that the dough may overferment, but I often do do the bulk fermentation overnight because it’s such a good use of time. If you are at all worried about over fermentation, stick your dough, well covered, in the fridge.
Ok. Thanks for responding! My kitchen is usually on the cool side. I made this recipe yesterday and let it rise in the loaf pans overnight in the fridge. I baked them this morning and they turned out great! Best sourdough bread I’ve ever made!
Great to hear, Katie! Thanks for reporting back. So glad it was a success 🙂 🙂 🙂
Great recipe, easy and clear. Bread is delicious!
Great to hear, Kim! Thanks for writing 🙂
My go to recipe. Turns out great every time. Thank you!
Great to hear, Muriel! Thanks for writing 🙂 🙂 🙂
I made this and was so skeptical because I could tell immediately that it was way too much water (and I used less than recipe said). My dough stayed so wet it was like a high hydration dough that I couldn’t shape after bulk ferment. I baked it and it did turn out wonderful though the top is not pretty because of not being able to shape. Great taste and with the high hydration it was fluffy. I will modify the water next time more. So heads up, start with ALOT less water, maybe like 300. I’ve made quite a few sandwich bread recipes and if I can get the water right on this it might be my new favorite.
Hello! I made this recipe and it turned out lovely! Fantastic bread and super soft. I was actually wondering if you could straight up double it? And would you use x2 of every ingredient, meaning you would need 200g of starter? Thank you so much!
Great to hear, Jane! And yes, straight up double it and use 200 grams of starter.
I’ve had very good success with your sourdough focaccia bread (after a false start in which I over fermented during BF. I’ve taken it to several church functions and there is never any left. That by way of background.
Lately I’ve been trying unsuccessfully to make a Pullman loaf of pain de mie. Most recipes I’ve found use butter and milk. I don’t have a stand mixer, so I’ve been kneading by hand. I just cannot seem to get a decent ferment or r proof.
I’m using 8x4x4 Pullman pans. If I divide your focaccia recipe dough in half to place in my pans and use the lid will I get a tighter crumb than I do with the focaccia in a 9×13 pan?
Thank you for all your help in the past and hopefully this time as well.
Richard Bacon
Styx, Texas
Hi Richard! I think you might need to reduce the water if you’re looking to get a tighter crumb. If you reduce the water and do four sets of stretches and folds — it’s totally fine to not use a stand mixer — I think you’ll be in good shape. You may be able to fit the entire amount of dough in your pullman pan but I might suggest baking it uncovered the first time around in case it’s too much dough for your pan — uncovered will give you some wiggle room 🙂
Thank you for the recipe Alexandra! I was wondering whether you think a fridge rest could work AFTER the rise in the pan, with it then being baked right after being taken out of the fridge. Wondering how I can manage to bake first thing in the morning.
Hi Katya! You can try it. I’d make sure the dough rises till it nearly is at the top of the pan but not quite there. Then stick the pan in a large ziplock or be sure to cover tightly with plastic wrap. Then transfer to the fridge. Good luck!
This sourdough sandwich loaf is wonderful and easy to make. The crust is perfect, with just a little crunch. It’s so good that I can eat it plain. This is the best recipe I’ve made so far. Will be making it regularly. Thank you!
Do you think I could bake this in a cast iron loaf pan with lid on?
What size is the pan? And why with the lid on? Just curious!
It is a 4 quart pan measuring 11x 5 inches. I make sour dough round bread in Dutch oven containers with the lid on. So I just assumed with the loaf bread the lid should be on. I will try it with the lid off.
Got it! Yeah, that makes sense… the lid helps create that thicker, crustier crust, but baking with the lid off will create more of a sandwich bread crust. Your pan is slightly larger than the one I use here, so your loaf might turn out a little shorter. Good luck!
I notice a lot of recipes add honey to their sandwich loaves. What amount would you suggest?
Hi! Maybe 1 tablespoon?
I think I know the answer but not sure – everything was going perfect – I used a scale and a friend that had already made it gave me some of her starter to use. It rose way too much in the pans but I cooked it anyways. It looks great but it tastes gummy (?). When I tear apart the bread I can see moisture in it. I had cut down on the water like my friend said. This is my first time making sourdough bread.
Hi! It sounds as though it proofed for too long in the pans. I’d suggest getting it into the oven sooner — when the dough approaches the top rim of the pan.
How long did it bulk ferment for? And roughly how long did it proof in the pans for?
I’ve made this recipe countless times as is and love it! But just got diagnosed with celiac— have you had anyone make a gluten free version of this successfully?? Would love any insight! Thanks!
I have not made gluten-free sourdough bread, but you can make this gluten-free bread in a loaf pan… works great and people love it: Gluten-Free Peasant Bread Recipe
This recipe turned out great! I used 2 smaller loaf pans. I now have the larger loaf pan and would love to try a cold proofed sourdough sandwich loaf. Do you have a recipe? I realize I would have to implement a steaming method.
Hi! You can simply place the pan with the dough in it in an extra large ziptop bag and place it in the fridge right after the bulk fermentation. I don’t use steam to bake it. Let it rise at room temp till the dough approaches the rim of the pan before baking.
Hi. Can this be made with 100% wholemeal? Thanks
It will be very dense if you do. Of course you can do it; just manage your expectations about the texture.