No-Knead Oatmeal Toasting Bread
This post may contain affiliate links. Please read my disclosure policy.
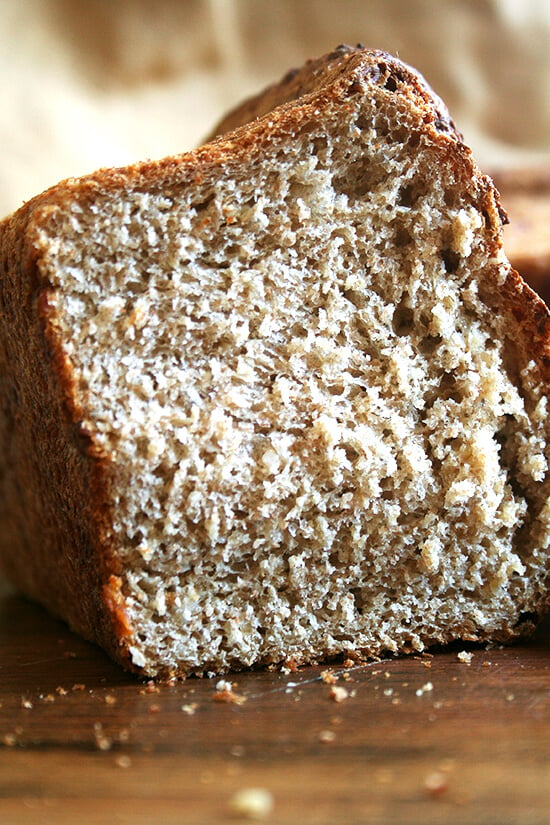
Before heading to the beach last week for a little vacation with the family, I spent some time in the kitchen preparing a few items to pack along: granola, granola bars (which, unfortunately, were inedible) and this no-knead oatmeal toasting bread, a tried-and-true family favorite.
The goal was meal supplementation — to avoid eating every meal out — and in retrospect, I wish I’d prepared more, namely biscotti, which were sorely missed, and something chocolaty to satisfy our post-dinner sweet tooths — midweek we caved and stocked up on chocolate-almond Hershey bars from the local convenience store … never have they tasted so good.
But this bread was a savior. We ate it every morning toasted and slathered with peanut butter and nearly every afternoon, at times with lettuce, tomato and bacon wedged in between, at others with nutella and peanut butter, and at others with a thick layer of melted cheese and sliced tomato.
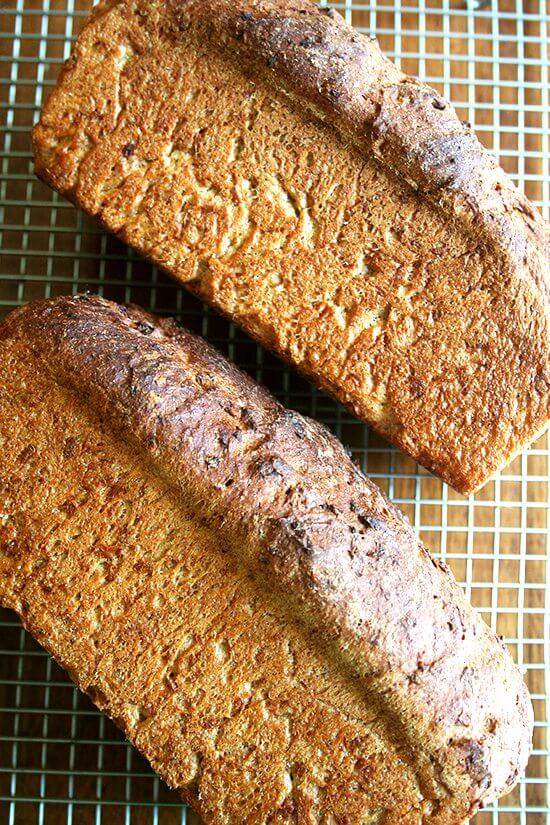
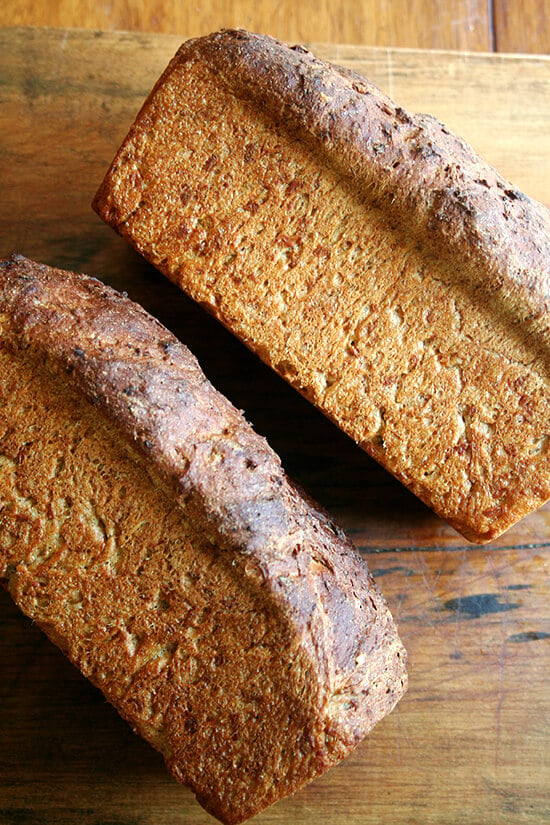
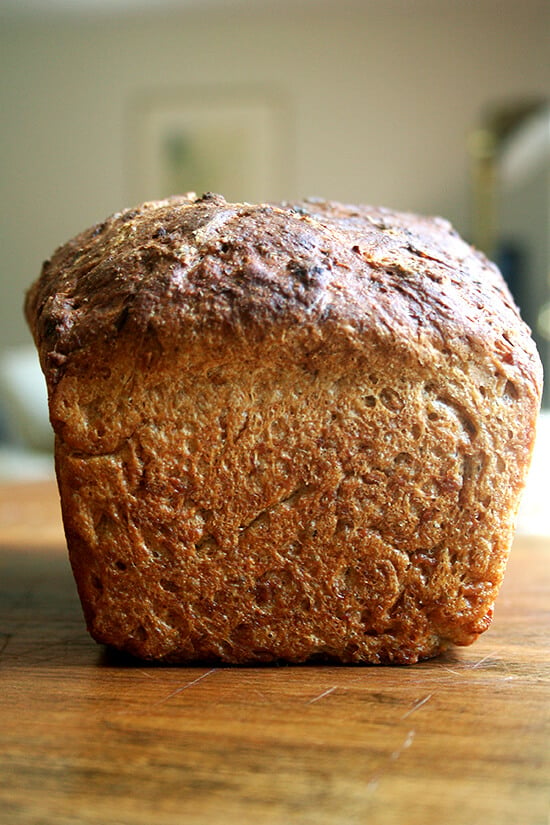
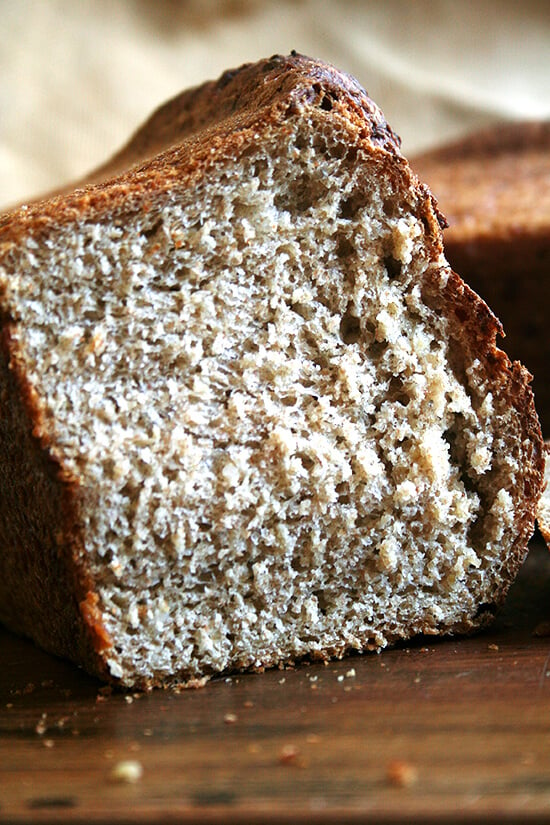
It is a cinch to prepare — true to the title, no kneading is involved — and the bread, chewy in texture and slightly sweet, is just straight-up delicious, a treat to have on hand on vacation or not.
My only goal tomorrow is to restock my freezer with another two loaves, and thanks to the 100ºF forecast, I’m almost certain to achieve it. Perhaps insufferable heat isn’t all that bad? Just trying to stay positive. Hope you’re all staying cool.
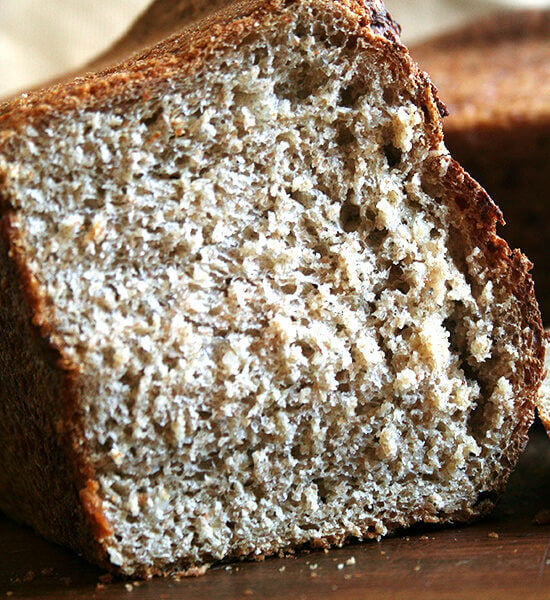
No-Knead Oatmeal Bread
- Total Time: 3 hours 20 minutes
- Yield: 2 loaves
Description
Adapted from Kathleen’s Bake Shop Cookbook
Ingredients
- 3/4 cup (160 g) brown sugar
- 1 tablespoon kosher salt
- 1 3/4 (175 g) cups old-fashioned oats
- 3 cups (681 g) boiling water
- 2 tablespoons (28 g) butter
- 2.25 teaspoons active dry or instant yeast
- 1/4 cup (57 g) warm water
- 3 cups (384 g) all-purpose flour
- 3 cups (384 g) whole wheat flour
Instructions
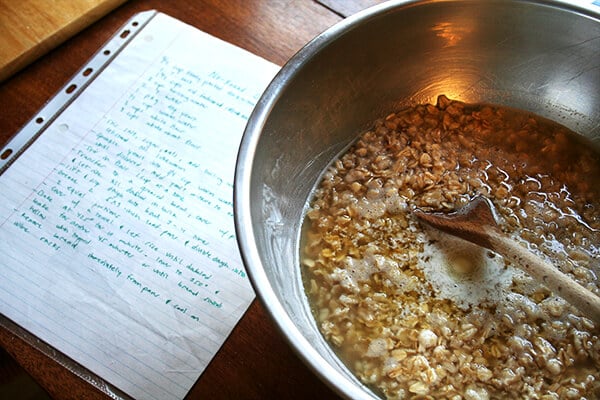
- Place brown sugar, salt and oats in a large mixing bowl. Add boiling water. Add butter. Let stand till lukewarm. Note: This is the only place where you could mess up the recipe. The mixture must cool to a lukewarm temperature so that it doesn’t kill the yeast.
- In a small bowl, sprinkle yeast over the 1/4 cup warm water. Let stand for about 5 minutes. Stir. Add this yeast mixture to the oat mixture and stir. (Note: If using instant yeast, simply whisk it into the two flours in a large bowl. Do still be sure to wait until the water-oatmeal-brown sugar mixture has cooled before adding the flours/yeast. Add the 1/4 cup water to the bowl of water-oatmeal-brown sugar.)
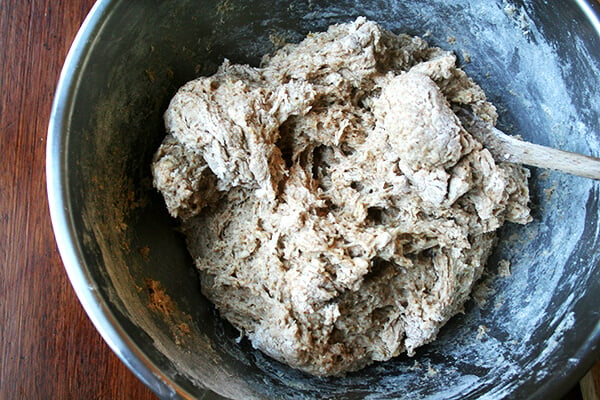
- Add the flours a little bit at a time. My old recipe says to add it one cup at a time, but I’m never that patient. Add it as slowly as you can tolerate, stirring to combine after each addition.
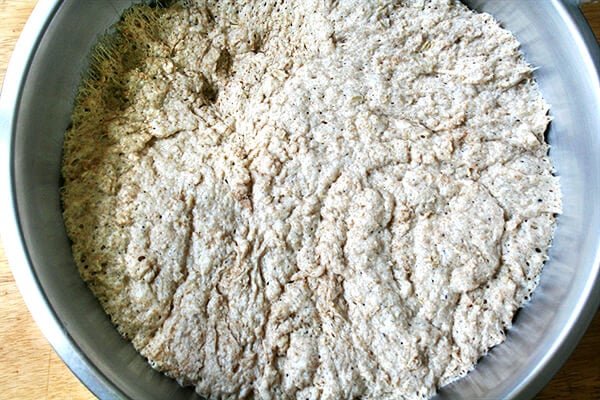
- Transfer dough to a lightly greased bowl and cover with a damp tea towel or plastic wrap. Let rise in a warm spot until doubled in bulk, about 2 hours. This is what I always do for my “warm spot”: preheat the oven to its hottest setting for 1 minute. TURN OFF THE OVEN. (Note: Only preheat the oven for 1 minute total — in other words, don’t wait for your oven to heat up to 500ºF and to sit at that temperature for 1 minute. You just want to create a slightly warm spot for your bread to rise.) Place covered bowl in the oven to rise until doubled.
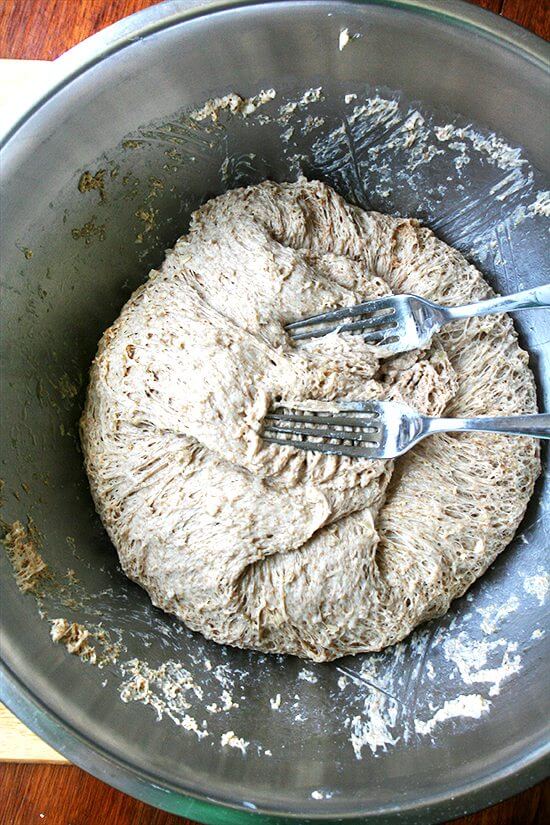
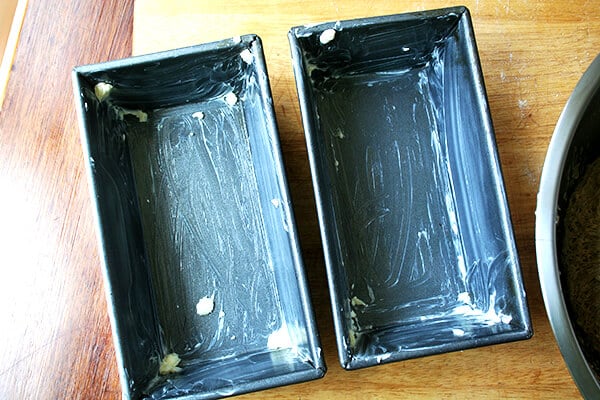
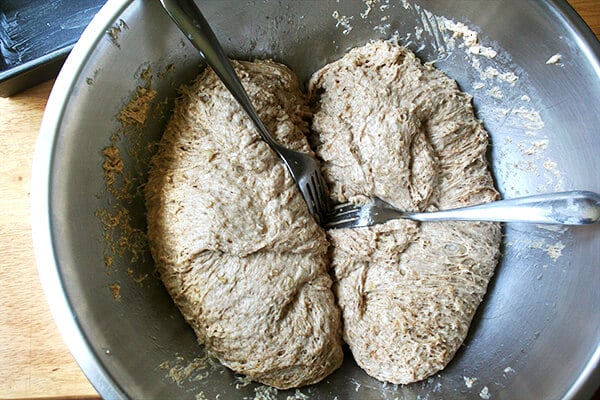
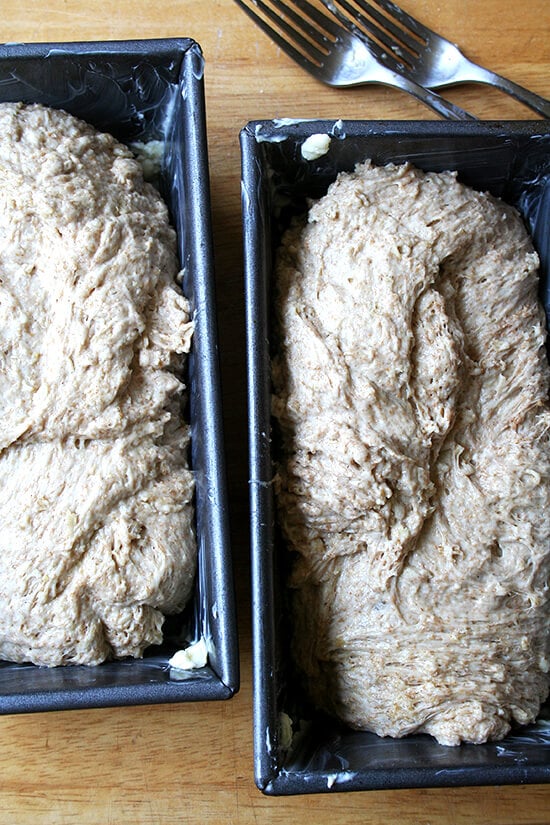
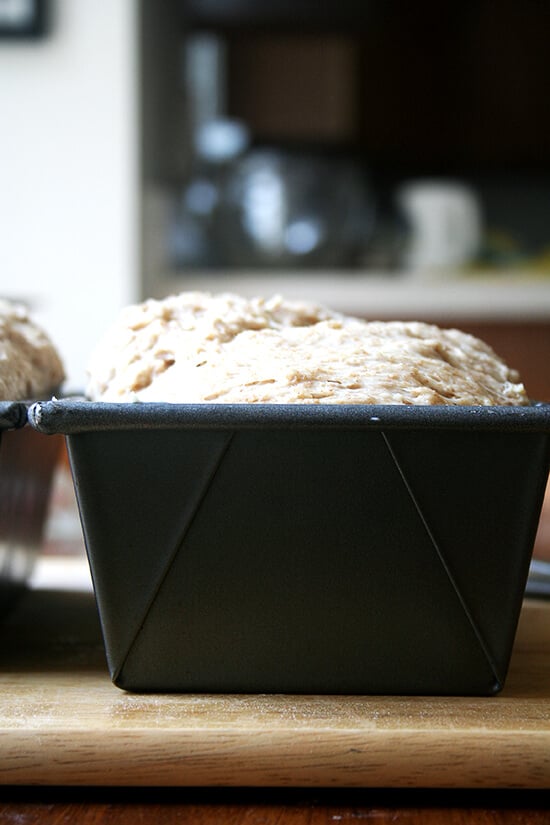
- Grease two standard sized loaf pans generously with butter. When dough has risen, punch it down. I use two forks to do this. I stab the dough in the center first, then pull the dough from the sides of the bowl towards the center up onto itself. Then I take my two forks and, working from the center out, I divide it into two equal portions. Place each portion into your prepared loaf pans. Let rise until dough creeps above the rim of the loaf pan.
- Preheat the oven to 425ºF. Bake loaves for 10 min. Reduce heat to 350ºF. Bake for another 40 to 45 more minutes or until the bottom of the loaf sounds hollow when tapped — you have to (obviously) remove the loaf from the pan to test this. Turn loaves out into wire racks immediately to cool.
- Prep Time: 20 minutes
- Cook Time: 50 minutes
We had a wonderful time on vacation. We stopped in Williamsburg on the way to Virginia Beach (obviously to give Ella and Graham a little history lesson); we stayed in awesome cabins; we bought as-fresh-as-fresh-can-be fish (rockfish and sea bass) every night from Dockside, which we grilled whole and devoured; and we spent hour upon hour at the beach.
This post may contain affiliate links. Please read my disclosure policy.




213 Comments on “No-Knead Oatmeal Toasting Bread”
this bread looks delicious! can’t wait to try out the recipe.
Sounds really nice. I love adding oats to breads and crumbles. I wonder if I can just halve the recipe though…..since I’d like to make one at a time…..or to freeze half the dough for a later time. I’ve frozen half the dough from cinnamon rolls before, so I think I’ll try it with this too.
We also try to take some snacks along when we go out on trips…so much nicer than to have to eat only outside food the entire time
Shalini — I will make a note of this in the recipe, too, but you can definitely freeze the unbaked loaves after the initial rise. Often, after the initial rise, I punch down the dough, divide it in half, place each half in a greased loaf pan, and wrap one pan with plastic wrap and stick it in the freezer. I bake off one loaf, and then when I’m ready to bake off the frozen loaf, I take it out in the morning and let it sit on the counter until it has risen to just above the rim. It bakes off beautifully!
I felt like you were talking directly to me. Enticing me to try my hand at bread making! FYI, I made your blueberry crisp and farro salad last night for a dinner party. Both were a hit, not a crumb left! Thank you for your wonderful recipes.
.
Vicki, you must try it! I promise promise promise it is so easy. And I am so happy to hear that the crisp was a success. I love that one, too. Wish I could have been at your dinner party… how I miss San Clemente!
Amazing bread! Great texture, too. I made it this morning and watched Wimbledon with hot slices in hand and a delicious smell permeating the house. My house guests loved it!
What a stellar recipe for an easy and scrumptious oatmeal bread! Can’t wait to try this recipe!
This bread is so good! I made it yesterday, and let it rise outside (well covered) and it only took an hour to double since it was so hot. Used two parts spelt flour to one part white (all-purpose) flour and was really happy with how it came out. Thanks so much for posting this–it’s a keeper.
Lucy — I am so happy to hear this. Love the idea of using spelt flour. I’ve been wanting to experiment with different types of flours in this recipe. Thanks for the inspiration.
I am thrilled to have a recipe for a different no-knead bread from the well known one. I’m a huge fan of peanut butter on toast and know this will be the perfect bread of it. Thanks!
Can’t wait to try this one! I’ve found a bagel recipe that i love and is nice and reliable, but loafs have been a bit more evasive for me… This one looks so nice and hearty, with a beautiful crust – thanks for sharing!
your kiddies are the cutest little people ever. wow, munchkins! And your trip to the beach sounds perfect, just what beach vacation should be like. I’m looking forward to trying this bread. I love the fact it is no knead, although I’m lazy and always just knead dough in my standing mixer. Hope things have cooled down since you posted.
Made this today, and LOVE it. Your tips and photos are very helpful. I love the warm, nutty taste of this bread! Thank you!
Mary — So happy to hear this. I love it, too. It’s hard not to eat half a loaf when it’s warm. Thanks for writing in.
I made this on Monday and it is oh-so yummy! Perfect moist, slightly nutty and sweet bread! I will certainly be making this again. Awesome!
I don’t have any wheat flour in the house only white will the recipe turn out the same?
Donna — white flour will work just fine. The whole wheat flour makes it healthier and heartier, but you can’t hurt this recipe by using solely white flour. Good luck with it!
Hi, this recepy looks very nice.
I have one question though.
could you precize what a volume of your standard cup is?
🙂 I usually measure each gram of ingridients when it comes to bread baking 🙂
Dmitriy
Sorry you can ignore the previous comment!
I saw in another of your recepies that 4 cups make 14 oz.
which turns out to be 414 ml in volume.
this would be enough info to go turn on the owen !
Hi Dmitriy,
4 cups of flour would actually weigh closer to 17 or 18 oz. Hope that helps!
I don’t have enough kosher salt on hand. What would the amount be for regular table salt? Tablespoon for tablespoon seems a little salty …
Marisa — I would use about half the amount of kosher salt if you are using table salt, so I would do 1.5 or 2 teaspoons of table salt.
Love love love it!!! I have never made bread and this was super easy. My husband came home and said the house smelled amazing. I am so glad u posted this recipe. I am definitely making this again and again.
Monica — So happy to hear this! I know, isn’t there something about the smell of freshly baked bread? Nothing beats it. So glad you liked it and that your first bread-making experience was a success. You’re a natural!
Have to say again how much I love this bread. This week’s batch was made with Bob’s Red Mill muesli and some chopped pecans (because I forgot to buy oatmeal!), and it’s so good. Even untoasted. Even two days after baking! Such an adaptable recipe. Thanks again for this. 🙂
Lucy, this makes me so happy! Thanks so much for reporting back! I need to be more creative like you. I love the idea of adding muesli.
I have tried making bread so many times and i have never had a loaf turn out…. i cant seem t nail down the rising?? i saw your recipe and decided to give it a try. i did everything exactly as you said…but my loaf was still very dense… not sure if you have any suggestions?? it smelled amazing though!!
Melissa — hi! Bummer that you’re having some trouble with the rising. I have a few thoughts. Often when I make bread, whether the recipe says to do so or not, I make sure the yeast is alive by sprinkling it over warm water with a little sugar, and then I let it sit for about 15 minutes or until it gets bubbly and foamy. So, for this recipe, which called for sprinkling the yeast over a quarter cup of water, I would boil some water (my mom taught me never to use hot tap water, and I still listen), and then place 1 tablespoon of boiling water in a bowl with 3 tablesoons of cold water (the 1:4 ratio of hot to cold water gives a near perfect warm temperature for the yeast). Then I would dissolve a half teaspon of sugar into the water and then sprinkle the yeast over the water and let it sit till it’s foamy. If it’s foamy, you’re good to go. Something else to keep in mind is to make sure the flours are at room temperature (some people store them in the freezer). In this recipe, too, it’s really important to make sure that the boiling water mixture cools all the way down (the heat can kill the yeast.) Finally, I would note, that sometimes for whatever reason, doughs takes longer than you might expect to rise. For this recipe, if you’ve got the time, let it rise for four or five hours, or until it really has risen to the top of the bowl before you punch it down. And then, at the second rise, same thing — don’t stick it in the oven till the dough has crept above the top of the pan. The second rise might take as long as 45 minutes. One final final note, is that dough definitely rises best in warm environments, so if you can wrap the bowl in plastic wrap or cover it with a tea towel and stick it in a warm spot, you’ll likely see it rise faster.
I was wondering if this recipe would turn into rolls well? My husband is a minimalist and refuses to own a loaf pan so I do my best to make due with the accouterments I already have.
Have you ever made this with all whole wheat flour, no bread flour? It looks great, but I am trying to find a recipe with 100% whole wheat so it will be healthier for my family.
Robin — Hi, I have never made this with 100% whole wheat flour. I think you could certainly give it a try with 100% whole wheat flour, but the finished loaf might be rather dense in texture. Next time I make it, I’ll increase the percentage of whole wheat flour to 3/4 and see how it turns out. I’ll report back!
This looks delicious,
just wondering if it could be made gluten free?? using gluten free flours? anyone tried it 🙂
Shella — I am not the best to ask about this sort of substitution. I have used gluten-free flours with quickbreads/muffins/etc, but never with yeasted breads. If I learn anything, I will get back to you.
Alexandra,
Love your site and so many of your recipes have become family favorites, especially when we can cook with in season fruits and veggies.
I’ve tried this bread twice now and both times have had the same problem. All goes well through first rise but then things stall with the second rise. I have two ovens so the second time I put the loaves in the second oven to rise both times (following the short heating that you suggested). I thought maybe the ceiling fan affected the rise on my first attempt. Still no luck. After 1hr. 10min things seemed to have stalled. I baked the bread. It smelled wonderful and tasted pretty good but was far too dense. Any suggestions?
Shelly
Shelly — hi, so sorry to hear that this recipe is causing problems! So, I am definitely a little stumped here. An hour and 10 minutes definitely is on the long side for the second rise. Is the dough really just not rising at all during the second rise? I hate to put a time limit on rises, because air temperature can certainly affect the rising time, but if after an hour and 10 min you still don’t see any action, then something is probably wrong. One question, during the first rise, do you allow the dough to double in size before you punch it down with the forks? I’m sure you do, but that’s the only thing I can think of that might cause things to go awry during the second rise — if the dough doesn’t get a really good rise the first time around, things will be slower the second time. I wish I had more suggestions for you.
Would steel cut oats be okay to use? I just got some from my CSA this week and looking for a way to use them. Thought this recipe would be great to try over the weekend. I LOVE your blog!
Allyson, I don’t know for sure, but I think they will be ok. I wish I could give you a more definitive answer. I suspect that it will work just fine because the bread cooks for a fairly long time, and I have had success using steel cut oats in muffins, which bake in a fraction of the time: https://alexandracooks.com/2010/12/16/oatmeal-muffins/ I mention this in this muffin post, but one of my favorite muffins is the millet muffin from Metropolitan Bakery in Philadelphia — the millet adds the nicest crunch. I’m getting off track a little bit, but I really do think that the steel cut oats will be fine, and the difference might not even be detectable. Report back if you make any discoveries! And I am SO sorry for this late response… I’m just realizing it is the end of the weekend now 🙁 Hope you had a chance to fit in some baking.
This is quite similar to an oatmeal bread recipe that we love! It calls for kneading and all purpose flour though (I’ve substituted up to half with whole wheat and it was fine). I’ll have to give this recipe a try! Thank you for sharing.
Danielle — I hope you do. It’s one of my favorites!
Glad you went to Williamsburg…my town…one of the prettiest towns in America…IMO!…for the kids…Raleigh Tavern bakery’s gingerbread cookies! Best…Merle
Merle — thank you for the tip on Raleigh Tavern Bakery. We will definitely stop by there next visit. I LOVED Williamsburg. It absolutely is one of the prettiest places I’ve visited.
How long do you let the second rise sit. I let it sit for 2 hours and it never got above the edge of the pan. Didn’t rise any after it was baked. What did I do wrong?? Thanks. Pam
Pam — So sorry to hear this. Usually it takes no longer than 45 minutes to make the second rise. Couple of questions: how long did you let it rise the first time around? And had it doubled in bulk? I find that the longer I let it rise the first time around, the less time it takes for it to make its second rise. That said, two hours should have been more than enough time. Was your house particularly cold? It’s so frustrating when things don’t turn out.
Alexandra,
I let it rise in the oven using your warming method for 2 hours for the first rise. It probably had not doubled now that I think about it, but was close. I’m thinking about doing it like your peasant bread and let sit overnight. What do you think? Even my bread that didn’t rise made great toast!!
Thanks tor the help!! Pam
Oh Pam, I’m glad to hear the bread made great toast, and I am still perplexed about the second rising troubles. It kills me when recipes don’t turn out well for my readers. Well, I hope the peasant bread turns out well for you. Happy baking!
Sorry Alenandra. That was another recipe I was looking at that leaves it out all night to rise. I still think I’ll try it with this recipe. But first I’ll make the peasant bread tomorrow. Ttyl. Pam
This is the second tie I have used your recipe. Thanks so much!
7hensalaying — So happy to hear this! I love this one, too. Happy holidays!
This looks like such a great recipe, I am going to have to try it soon!
I was just wondering, is it extremely important to use the wheat flour?
I don’t have any on hand at the moment, and I was hoping that using all white flour would work. what do you reccomend?
Cate — definitely go for all white flour if that’s all you’ve got…it probably will be tastier! If you wanted to sub all wheat flour for the white…then I might be worried. Good luck with it!
Can I use instant yeast, and would I have to use more water.
Definitely! No need to add more water.