
Holly’s Challah Recipe
This post may contain affiliate links. Please read my disclosure policy.
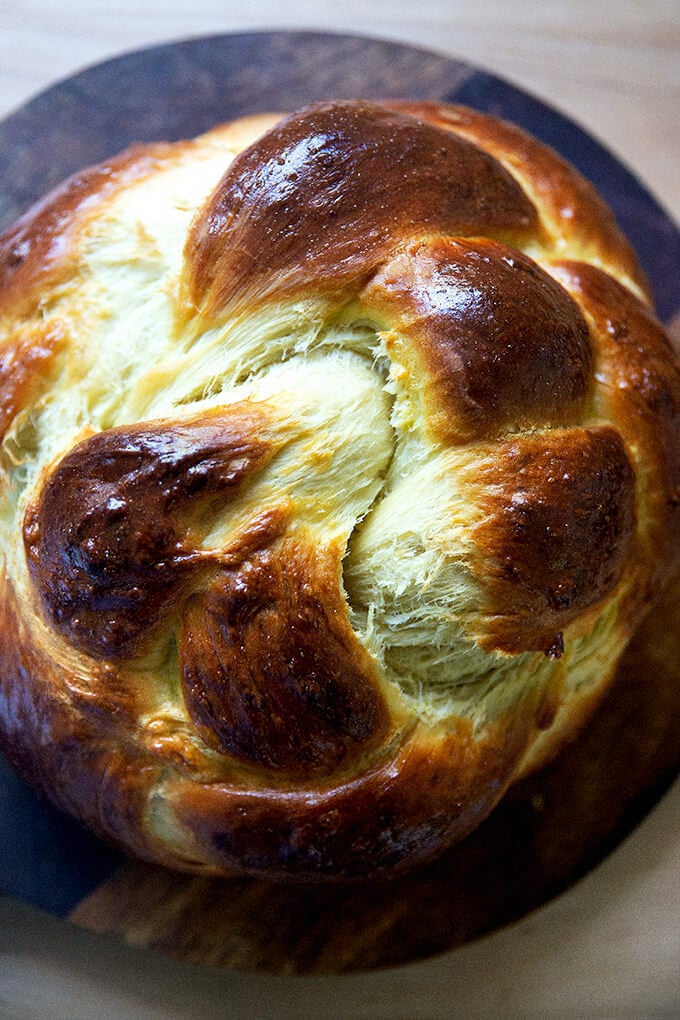
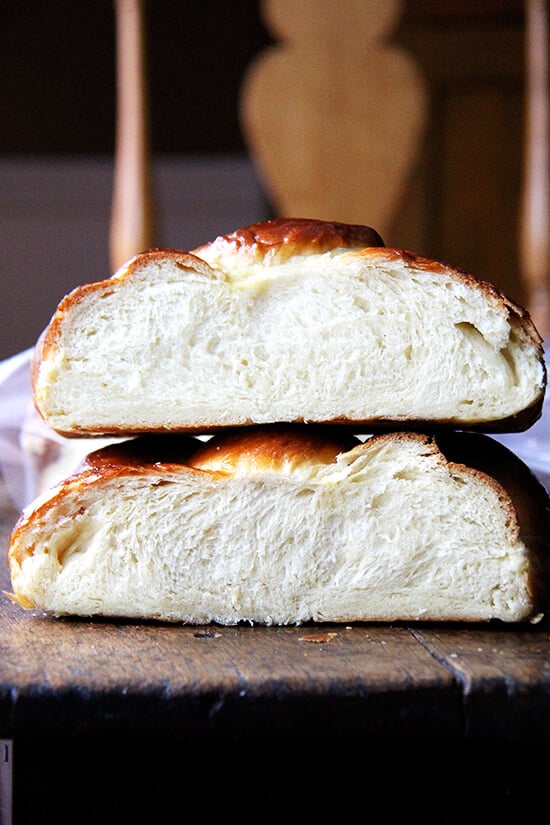
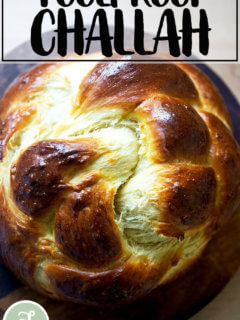
This challah is perfection: golden-crusted with a light, airy crumb. My friend, Holly, learned this recipe from the wife of a rabbi, and one day she taught me how to make it. I am forever grateful because it’s so delicious, so easy, and every time I make it, my children think I’m a hero. Also: It makes the BEST French toast.
When my friend Holly, one of the most reliable cooks I know, told me she had a great challah recipe, one she learned from a wife of a rabbi, and offered to show me how to make it, I nearly leapt into her arms.
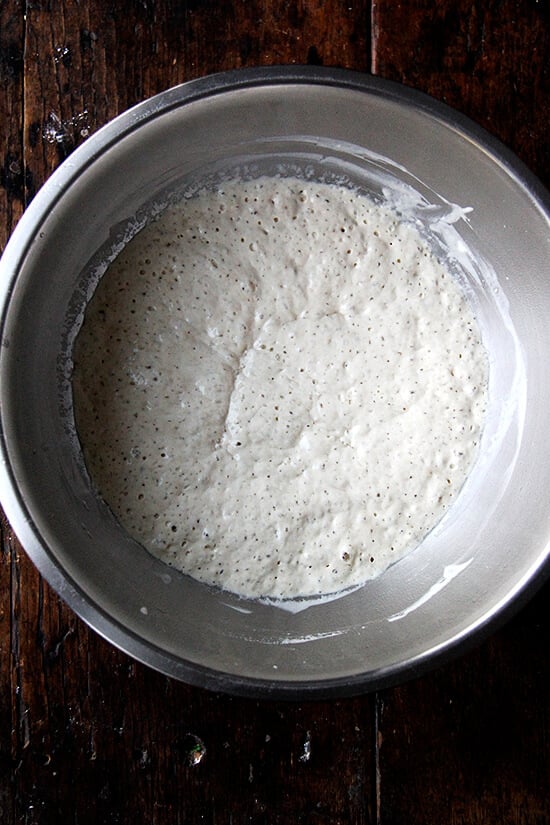
Shortly thereafter on a Friday morning, after dropping the kids off at school, I joined Holly at her house for coffee and a challah lesson. When I arrived, Holly had already made the sponges — 1 cup water, 1 cup flour, 1 packet yeast — which looked alive and ready for action. This is her Friday ritual: make the sponge before dropping her kids off at school; finish the process when she returns.
What I loved about Holly’s challah recipe and process is that it is so simple, so unfussy, so unlike the challah I had been making.
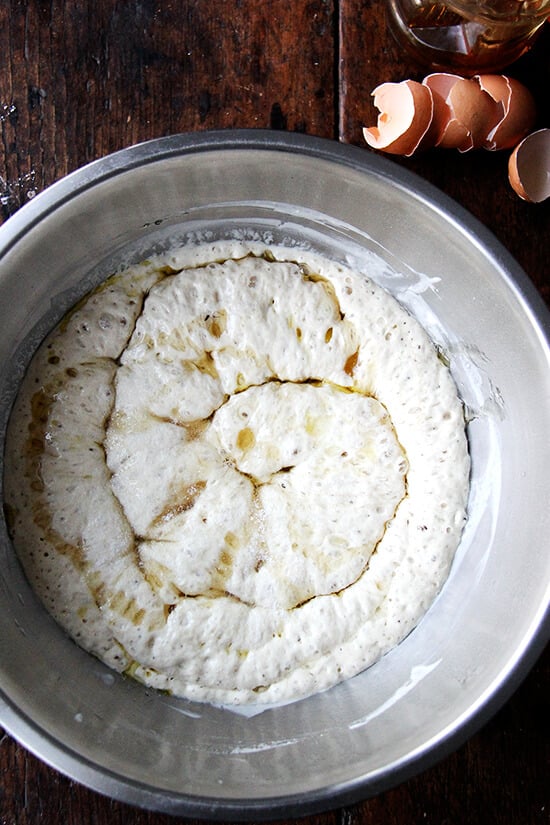
Into each bowl we cracked two eggs, then added the honey, salt, oil and finally the remaining flour. After a brief kneading by hand, the dough was ready to rise. At this point I left, bowl of dough in hand, and completed the process on my own, guidance provided by Holly via text.
The dough rose beautifully and baked into a perfectly golden, light and airy, tangle of braids. Nearly every week since, I have made Holly’s challah, a treat aside any soup (lots of this one and this one these days), a treasure for weekend brunch.
Incidentally, while I was in VT for Thanksgiving, my aunt mentioned she had made a breakthrough with her koulourakia (a twisted Greek cookie): after burning the bottom of several batches, she layered one cookie sheet on top of another, which provided enough insulation to prevent the bottoms from burning. Genius! The conversation immediately made me think of my challah-making trials, a burnt underside almost always a constant.
And so, the day after Thanksgiving, I made a loaf of Holly’s challah for my family, baked the bread on two layers of sheetpans, and for the first time, the bottom of my challah cooked evenly without the slightest sign of overbrowning — a miracle! The Greeks raved! The abstemious indulged! What can I say, Holly’s challah makes me wanna holla holla!
PS: Overnight Refrigerator Focaccia = The Best Focaccia

This is what the sponge — 1 cup water, 1 cup flour, 1 packet yeast — looks like after about an hour:
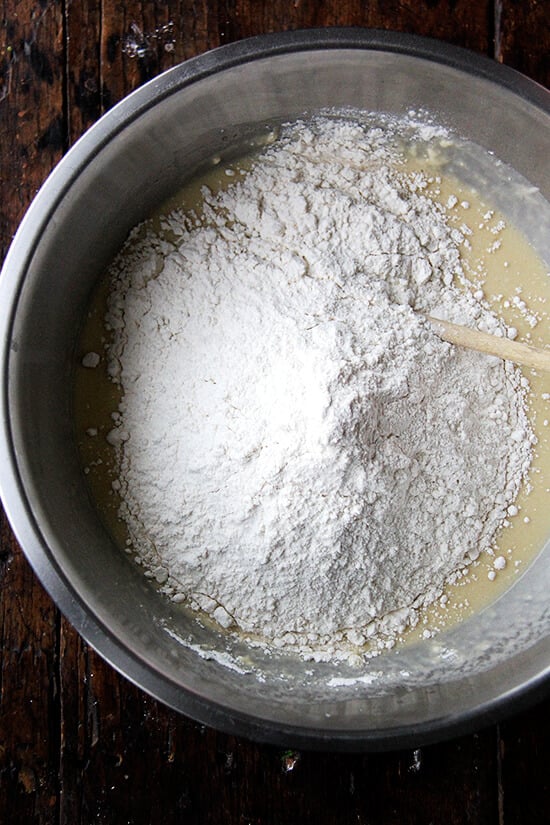
Then, you add the eggs, honey, salt and oil right into the bowl:
Work in the flour:
Mix until sticky:
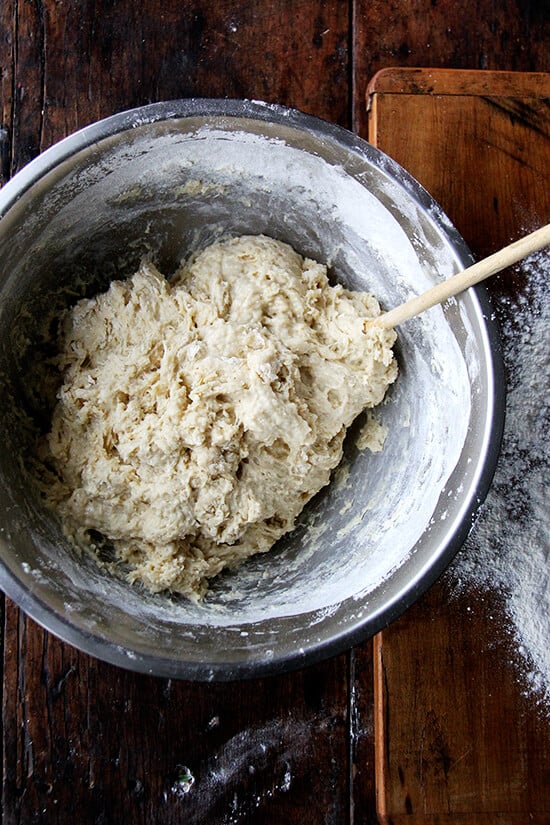
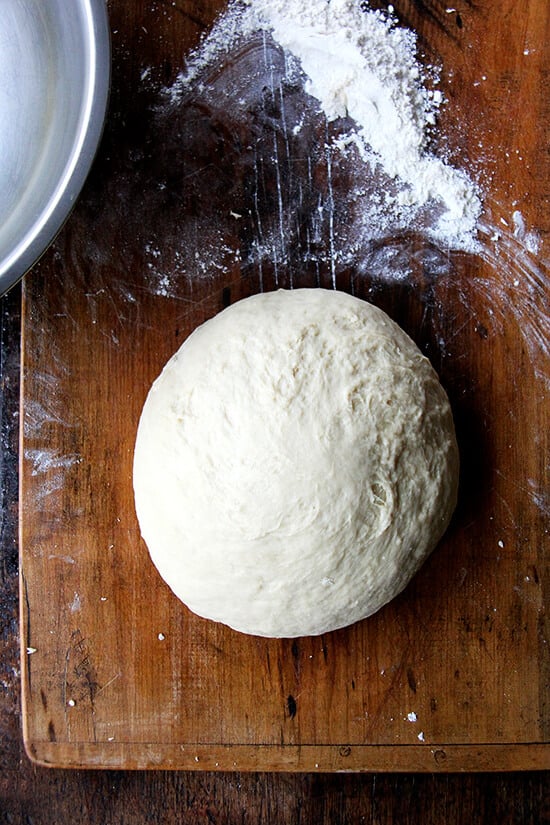
Knead briefly until smooth:
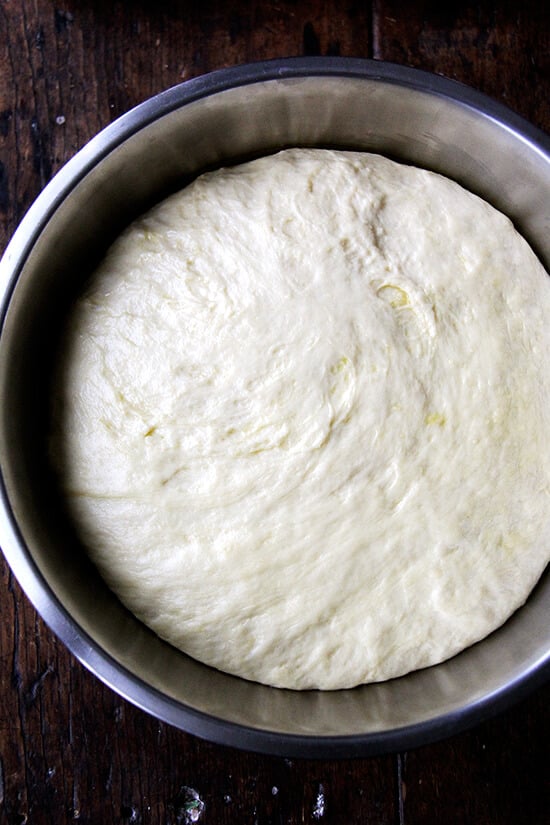
Transfer to an oiled bowl to rise:
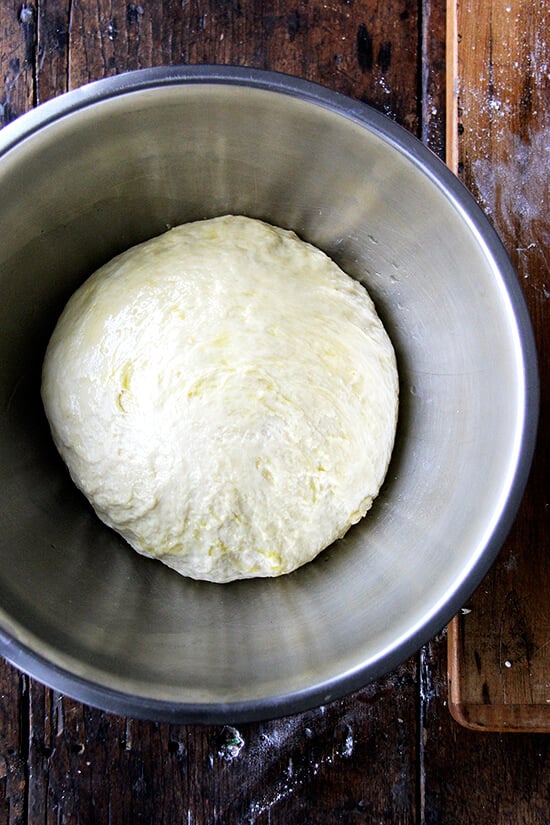
Then wait an hour or two:
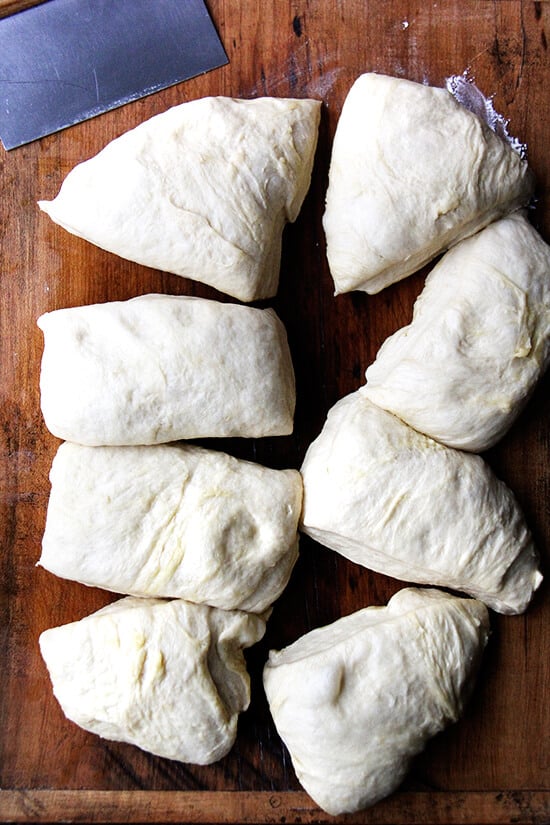
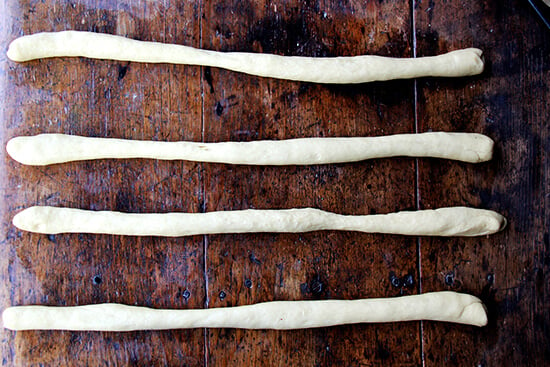
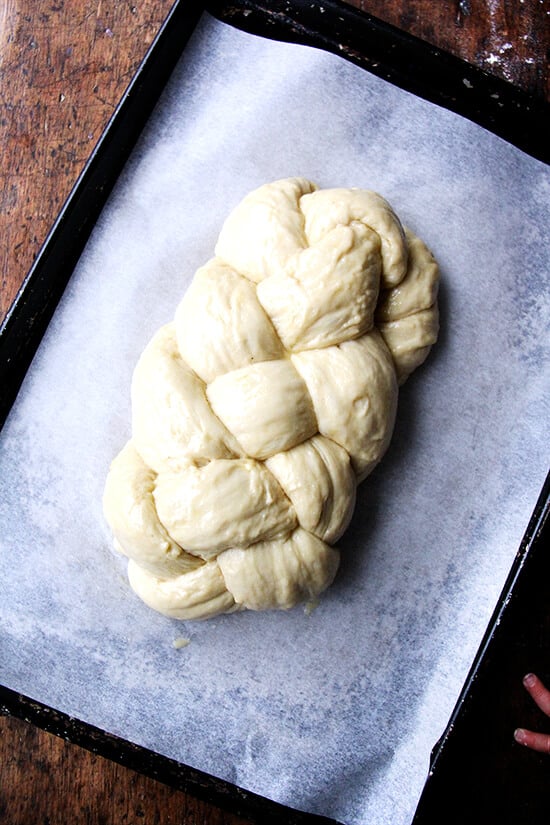
I made a double batch this time, so I divided the dough into 8 portions:
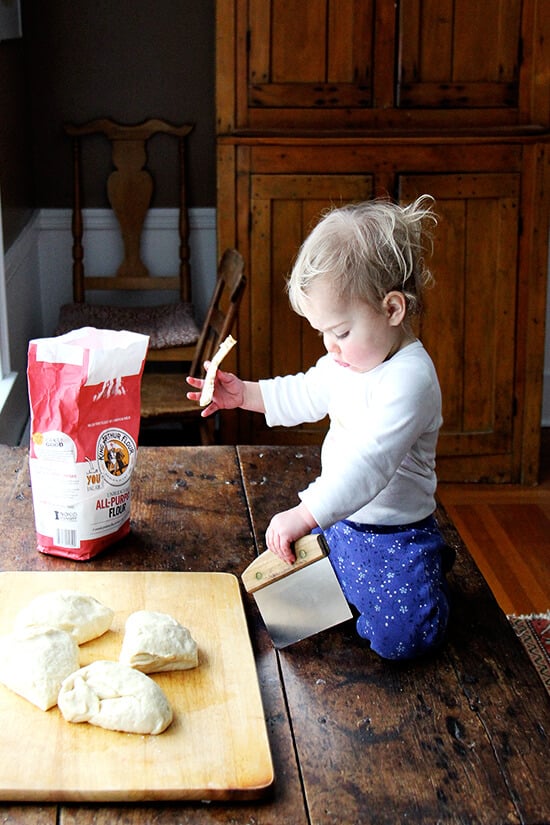
But with a single batch, divide the dough into three or four portions. Be sure to have a helper by your side:
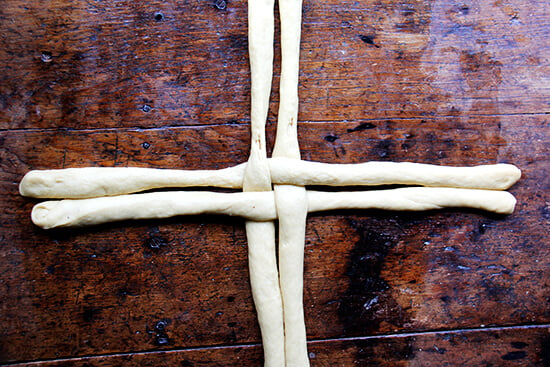
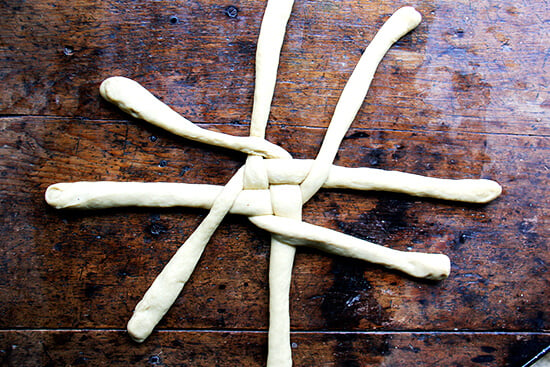
Time to shape! Here’s a quick video on how to shape a round loaf of challah.
And the basic steps:
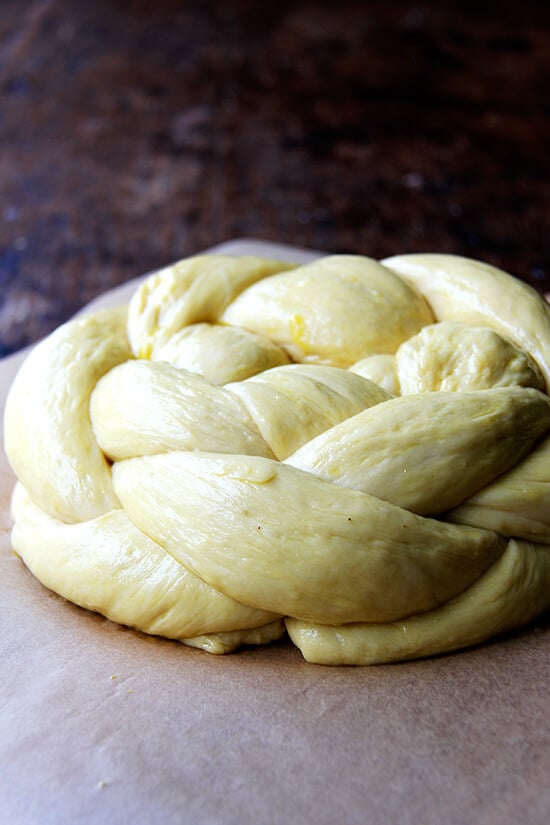
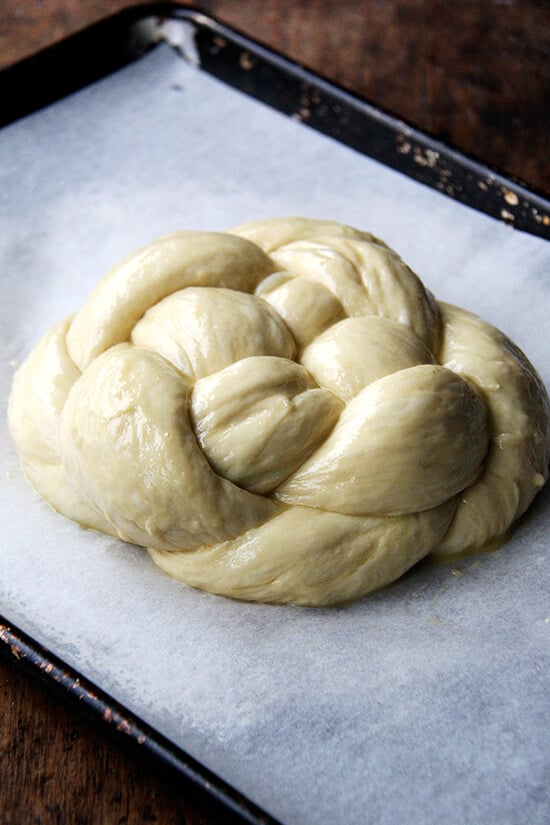
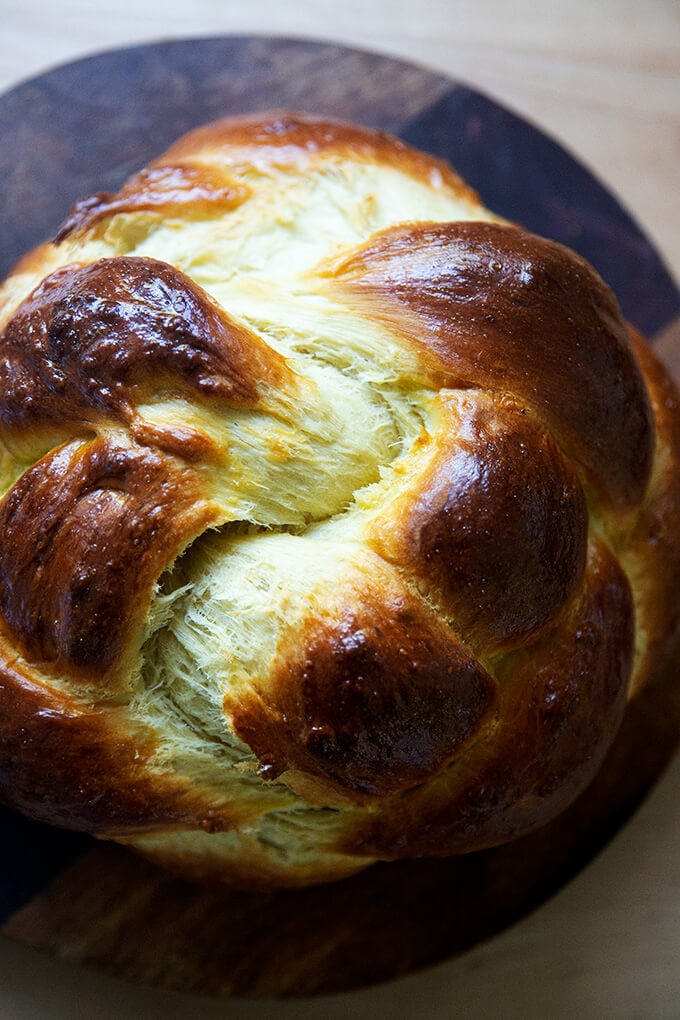
Holly’s is much prettier:


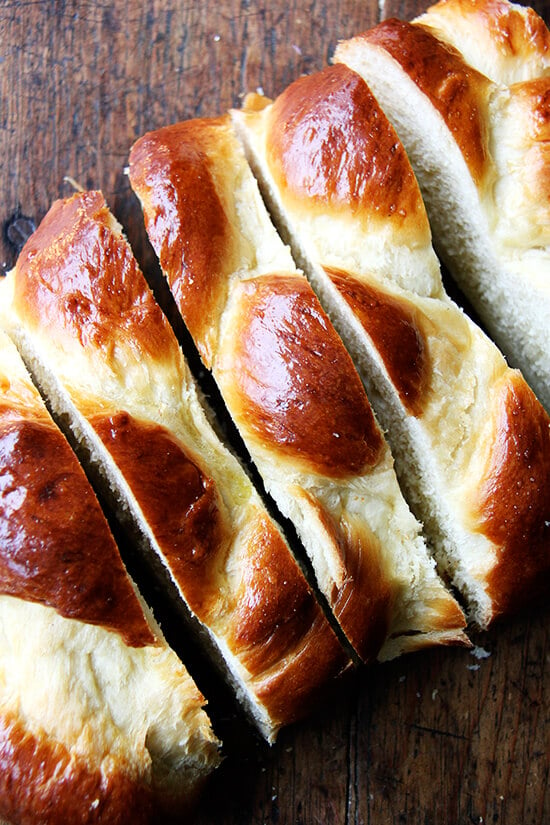
I actually prefer the shape of the more traditional 3 or 4 braid challah for purposes of toast and French toast, but the circular shape is so pretty.
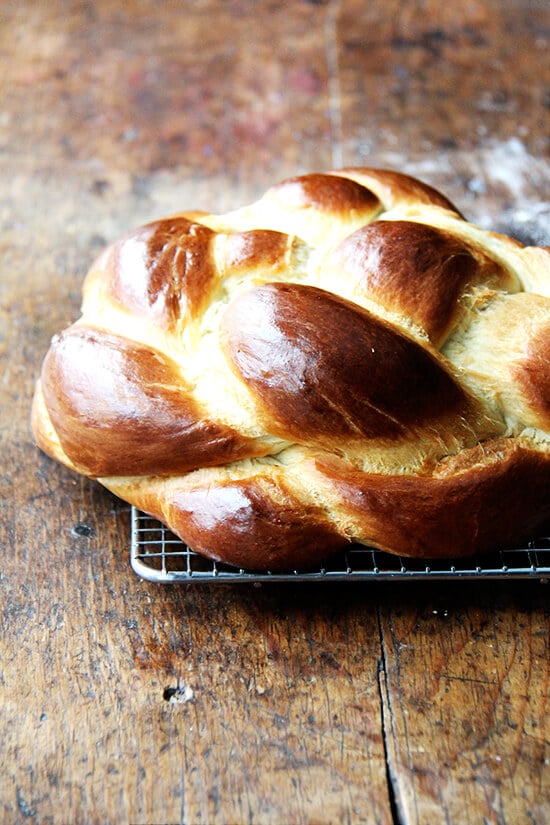
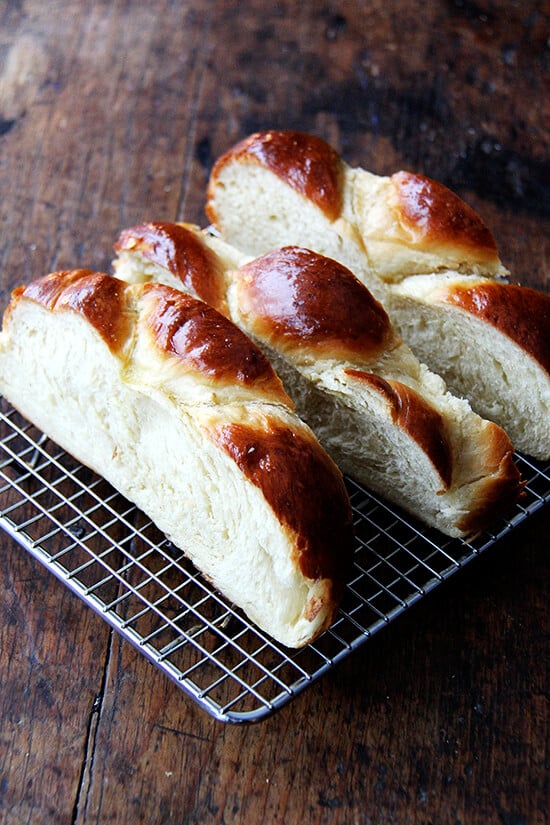
Baking the challah on two sheet pans prevents a burnt bottom:
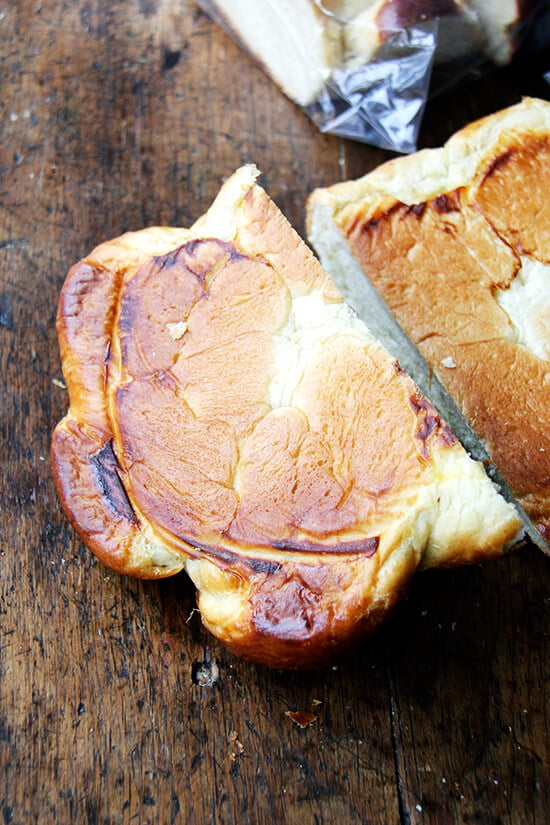
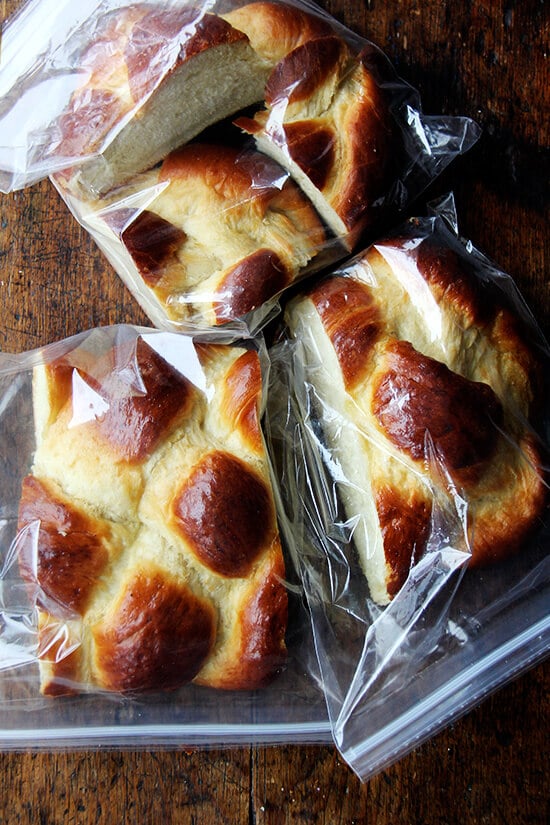
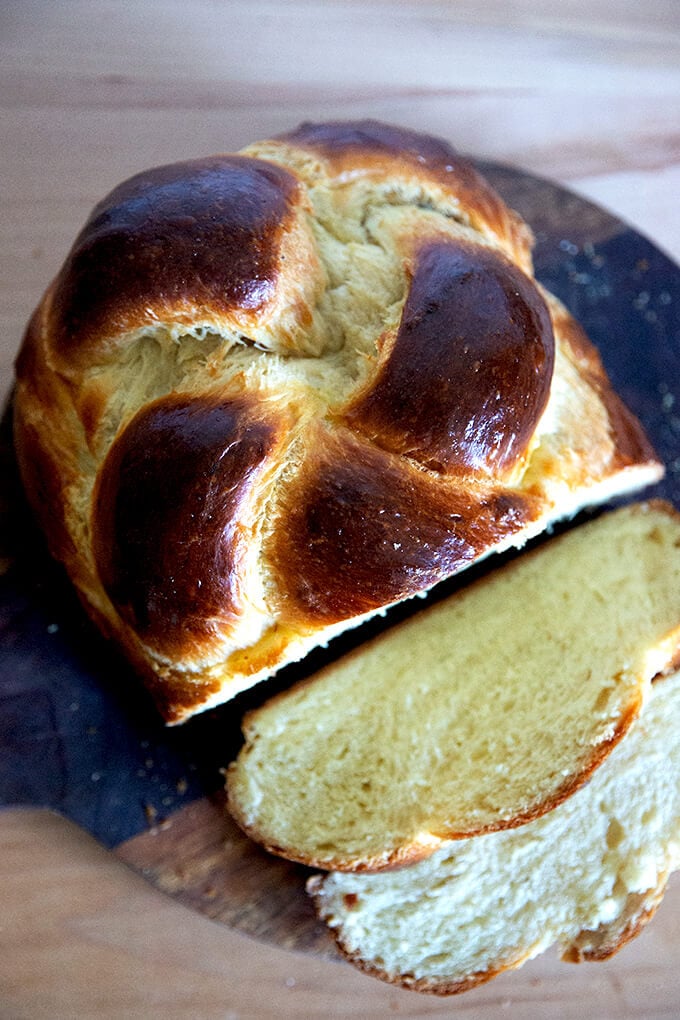
This is day-old challah:
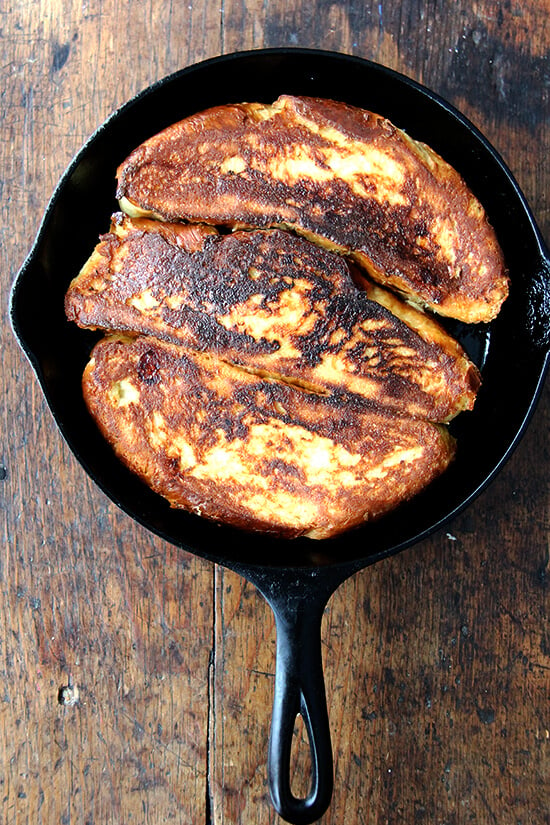
The benefit of making a double batch?
French toast of course.
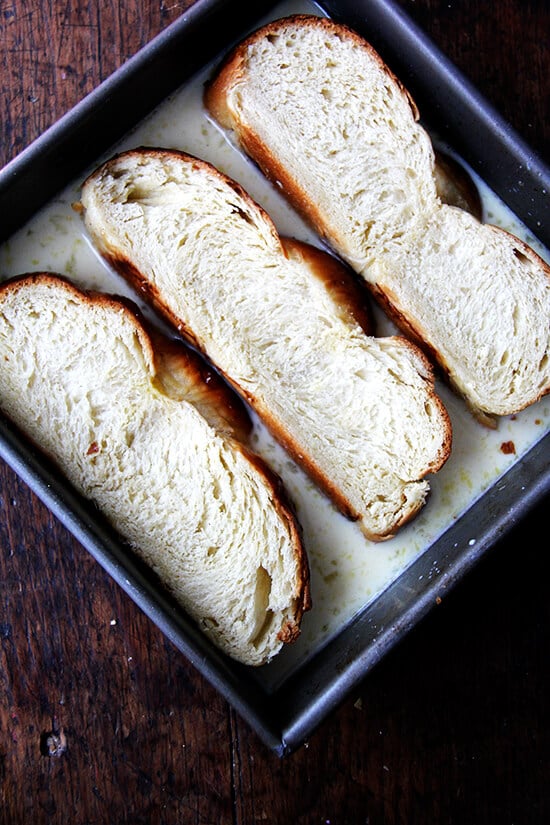
I like to dry out slices overnight:
And I love the Tartine recipe, which calls for lots of lemon zest and no cinnamon, but traditional pan-fried recipes work just fine, too. I bet the overnight method would be delicious with challah, too.

Holly’s Challah Bread Recipe
- Total Time: 3 hours 30 minutes
- Yield: 1 loaf
Description
I learned this recipe from my friend, Holly, who calls it Jennifer’s Challah.
The recipe doubles well. Bread keeps well in a ziplock bag on the counter for several days, and it freezes well, too.
A few notes:
- You can use at least one cup of whole wheat flour or white whole wheat flour. (Holly always does.)
- To create lukewarm water: use ¼ cup boiling water and ¾ cup cold water, which will give you perfect lukewarm water.
- To create a warm place for your bread to rise: Heat your oven for 1 minute, then shut it off. It doesn’t matter what temperature you set it to when you heat it; the key is to only allow it to heat for 1 minute. This brief blast of heat will create a cozy, draft-free spot for your bread to rise.
- A double egg wash creates a beautifully golden and shiny finish to the challah.
- Baking on two sheet pans prevents the bottom of the challah from burning.
- As for shaping, there are lots of resources on youtube. I included one video below for making the entire challah, and a quick gif at the very start of the post, which shows how to shape the round challah.
Ingredients
- 4 to 5 cups (510 g to 620 g) all-purpose or bread flour
- 1 package or 2¼ teaspoons (8 g) instant yeast
- 1 cup (236 g) lukewarm water (made by mixing 1/4 cup boiling water and ¾ cup cold water)
- 1 tablespoon (10 g) kosher salt
- ¼ cup (84 g) honey
- ½ cup (112 g) safflower oil or other neutral oil (canola, grapeseed, etc.)
- 2 eggs
Egg wash:
- 1 egg beaten with 1 teaspoon water
- poppy seeds, optional
Instructions
- Make the sponge: Whisk one cup (128 g) of the flour with the yeast and stir in the lukewarm water until the sponge is smooth. Cover with plastic wrap or a dish towel and let rise about 45 minutes or until puffy and bubbly.
- Directly into the bowl, add the salt, honey, oil and eggs. Stir with a spatula or spoon until well mixed, then add the remaining three cups (384 g) of flour. Stir with a spoon until dough forms a sticky mass. Add a bit more flour, and use your hands to knead briefly in the bowl; then turn dough onto lightly floured work surface and knead for a minute or two, until the dough becomes smooth. Transfer to a lightly oiled bowl, cover it with dish towel or plastic wrap and let it rise in a warm spot until doubled in bulk, one to two hours or longer depending on the temperature of your kitchen. (Note: you can make the dough to this point, punch it down, and stash it in the refrigerator overnight).
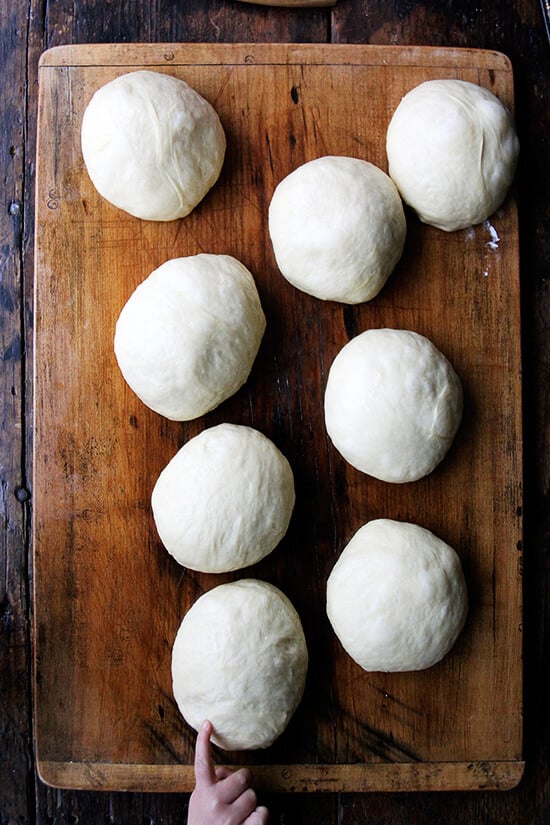
- Punch down and divide into three or four parts, depending on what shape you want to make. Roll each portion into a ball. Let rest 10-15 minutes. Roll each ball into long ropes (at least 12 inches in length for the 4-braided challah) and braid into desired shape (see notes above or check youtube). Brush with egg wash.
- Preheat the oven to 350ºF. Let the loaf rise on a greased or parchment-lined baking sheet, about 30 minutes. Place another baking sheet underneath it — this will help insulate the bottom and keep it from burning.
- Brush one more time with egg wash and sprinkle with poppy seeds if you like. Bake for 45 to 50 minutes, checking after 40 minutes. Cool completely before slicing.
- Prep Time: 20 minutes
- Cook Time: 45 minutes
- Category: Bread
- Method: Yeast-Risen
- Cuisine: Jewish
This post may contain affiliate links. Please read my disclosure policy.


317 Comments on “Holly’s Challah Recipe”
Hi – have made many different challah recipes and am still searching for “the one” … it’s never as fluffy as I would like lol! 2 Questions: First, do you really only knead the dough for a “minute of two”?? Curious as to how the gluten forms etc.
And last – would like to make the dough, punch down and refrigerate to bake the morning of Rosh Hashana – do I let dough come back to room temp before making ropes/forming loaf?
Thank you!!
PS – Your apple tart will be one of my Rosh Hashana desserts this year – YUMMMMMM!!
Hi Madeline! Yes, honestly, I would say a minute at the most of kneading. No need to bring the dough to room temperature before forming the ropes. When you refrigerate, be sure the dough is in a sealed container (with room to grow) so that it doesn’t form a crust on the top layer (and so that it doesn’t bust out of the container). Yay for the apple tart!! Shana Tovah!
Beautiful! Your braiding instructions are really helpful. I have this same recipe from a Blessing of Bread by Maggie Glazer. One step it suggests: after the first rise roll the dough out to a thickness of 1/8th inch and then roll that into a long rope, which can be divided into your final braiding pieces. Thanks for the Rosh Hashanah recipes.
Interesting! Love this idea! I will try that next time around. Thanks so much for writing 🙂
Hi Ali, first I want to say what a fan i am of bread toast crumb and your excellent sourdough advice (and more – I’m always on your site now!) buoyed me through the long pandemic. Thank you!
I don’t usually refrigerate my challah dough, so I thought I would try this recipe tonight to bake in the morning for Rosh Hashanah dinner and I have one question and one comment. The question is, challah recipes are always for two loaves (I don’t actually know why, but we are supposed to have two loaves for our table) but if I’m understanding correctly, this is designed for one large loaf, do I have that correct?
And just a comment that I’m not sure made it in article that the round shape is specifically for Rosh Hashanah – for never-ending blessings throughout the sweet new year.
I’m reading at five stars because I’m sure it will be terrific. Shana Tova!
Jillian
Hi Jilian! So sorry for the delay here… I am likely too late. I hope the challah turned out well, and Shana Tova to you! Thank you for the note about the round challah. I did not know that, and I will add a note to the post.
Regarding the two loaves vs. one: yes, this recipe is designed for one loaf, but it could easily be doubled to make two large loaves, or you could definitely make two smaller loaves.
Thank you for your kind words. Means a lot 🙂 🙂 🙂
Ali!! I have so much confidence in your bread recipes now that sometimes I jump with nearly foolish substitutions and STILL they blow me away. This challah is amazing. I only had 1 cup of AP flour so I used that for the sponge and then used whole grain sprouted spelt flour for the other 80%. It was very sticky so I kneaded in quite a bit more spelt flour to get it to a workable dough. Then my family decided spontaneously to go for a hike right after I braided the dough so I shelved the prepped loaf in the fridge for 3 hours, oiled and covered with plastic wrap. Wasn’t sure how long to let it come to room temp but was in a hurry (and it had puffed beautifully already) so just let it sit on the counter till the oven preheated. 350 convection for 42 minutes and it was STUNNING. Soft and nutty and structured. I’m so shocked. Easily the best rise I’ve ever had on a spelt loaf. I think the fact that I made the dough a bit stiffer and then chilled it might have helped it hold together for an upward rise? Curious what your expertise thinks. But I’m so thrilled. Your sourdough with 90% spelt is my fave for flavor but struggles to rise nearly as well. This is definitely my new showstopper. Thank you for the amazing recipe!!
Wow, amazing! So great to read all of this, Cait. I wonder if the sponge had something to do with the rise? As opposed to the sourdough spelt loaves which rely on the starter? Makes me wonder if a yeast-sourdough spelt loaf might be a good option? I find even a tiny amount of yeast, like 1/4 teaspoon or less still makes for a good rise if you give it enough time. I also definitely think that your cold proof had something to do with your great results. I love a cold proof. For reasons I don’t totally understand, it really often is a game changer.
Thank you for this kind insight. I love the idea of adding a tiny bit of yeast to my next spelt sourdough (once I rescue my languishing starter). And yes – cold proofs seem to be some kind of magic. Will report back on the sourdough page if I have success. 🙂
Sounds good, Cait 🙂 🙂 🙂 Keep me posted!
I made this recipe twice last weekend. The first time, I used ap flour, vegetable oil, and put it in the fridge for the first rise overnight in the fridge. The second time, I used bread flour, olive oil, and made it all at once with both rises at room temp. I split the dough into 6 balls, using 4 to make a four strand loaf and the other two to make mini challah loaves, and baked them with the doubled cookie sheets. The four strand loaf took exactly 35 minutes to bake, and the mini loaves took 24 minutes. Both recipes were amazing taste and texture wise (with glossy sheen), but the bread flour version was perfect – soft and fluffy (the ap version was slightly denser), and the olive oil lent a nice flavor. I will note that my boyfriend thought the overnight rise version had a stronger yeasty flavor that was unusual for challah so he strongly preferred the same-day rise version. I’ve never made challah that was so good before (they usually turn out a little dry) – thank you for my new go-to recipe!
So nice to read all of this, Caitlin! Thanks so much for taking the time first to take such detailed notes and second to report them back here. So helpful for others! It’s so interesting to read about the texture differences between the ap and bread flour versions as well as the taste differences due to the fridge versus same-day rise. So appreciate your thoughts!
This bread wins in fun & ease of preparation, deliciousness and presentation.
Instant yeast – personal culinary discovery of the year. Ali’s focaccia, is rising in the fridge.
After five superb recipes from Alexandra’s Kitchen this autumn, I ordered the book yesterday.
Stephen, thank you 🙂 🙂 🙂 It’s so nice to read all of this. Instant yeast is a total game-changer… so glad you agree. Thank you for writing and thank you so much for ordering my book 💕💕💕
I love all your lessons , so clear !
Thank you !
I decided to try challah today , so far so good, just waiting to put in oven.
Wish I could figure a way to send pic. I think you be proud !
Great instructions !
Great to hear, Jodie! Thanks so much for writing 🙂
This challah was soo amazing, I made the loaf to make french toast. Made a huge batch for my partner and myself, and all our neighbors/friends (we live in an apartment building). We used the whole loaf and everyone and their children loved it!! Thank you a ton for this easy recipe. The only part I found slightly challenging was the braiding but once I got going it was easy.
Great to hear, Grace! Thanks so much for writing. Braiding definitely is a practice… I still stumble when I haven’t made a loaf in a while.
I found this recipe while in a pinch after using another recipe that failed to rise. It came out excellent! First rise took me about an hour and a half. I probably could have even let it go a little bit longer. Instead of doing the round loaf, I did a 4 braid with each strand 18 inches to make a long loaf. It looked awesome.
As for baking, it took a little less than the time given, but that is probably because of the loaf being spread out and thinner than the large round loaf. Some parts of the braids started to split here and there while baking, but I am going to attribute that to the short second rise time.
I only have one question:
For the round loaf that you specify in your recipe, how much should I expect it to rise after it has been braided and rested on the baking tray for 30 minutes?
All in all, beautifully done.
P.S. for other bakers, according to my research, the reason for the short kneading times is due to the fact that this recipe utilizes autolysis. Give it a google search. A lot of websites will say that autolysis uses only water and flour, but as long as you are using instant yeast, it can be part of the autolyse process. I believe many commercial kitches include instant yeast with the flour and water.
Just wanted to make a quick edit to my comment. When I accredit the braids splitting to a short rise time, my kitchen was chaos all day and I lost track of time on the second rise. I think I only let it rise for 20 minutes. I would have liked to go for about 40-45 minutes.
Great to read all of this, Daniel! Thanks so much for writing and taking the time to share all of your notes. The braided, rested loaf might not look all that differnt. It should feel lighter to the touch. When you press it with your finger, the indent should spring back slowly. I think letting it rest for 45 minutes before baking would be just fine.
OMG! This was awesome!! I have never made, or eaten, Challah bread. I’m so glad this was the recipe I chose to make. Your YouTube video was a huge help to be sure I was doing the right things.
Great to hear, Joyce 🙂 🙂 🙂 Thanks for writing.
Great recipe with step by step photos and YouTube to follow on the rounded braid! I have placed your recipe site and photo of my challah bread to my Pinterest! Love love your recipe!!!
Great to hear, Winnie! Thanks for writing 🙂
Have you ever made this challah bread at high altitude? Do you know if the adjustments would be the same as in most baked goods? 25% more flour usually? I am at 6000ft.
I have not personally, but what others tell when baking my breads at altitude is that high hydration doughs work best (because it is so dry) and adding an additional rise also helps. So, my suggestion would be to mix the dough, then let it rise, punch it down and let it rise again. Or, mix the dough, and stick it in the fridge (in an airtight vessel) for 24 hours (or less or more) before proceeding.
Very good recipe thank you!
Great to hear, Roxanne!
My bread is still in the oven but it was fairly easy to make. But mine turned into a swirl instead of a braid lol still looks cool though
I look forward to making this. I appreciate your braiding instructions!
Please share your grandmother’s koulourakia recipe. We’ve tried to replicate my grandmother’s recipe to mixed results.
I will try to share it!
Thank you for yet another great recipe. I’ve been making a variation of your peasant bread for years! It’s my morning toast bread; I make it once or twice per week. Now I’ve tried your Challah recipe and it’s beautiful. Wish I could send a photo. So easy and relaxing to make. I did the overnight version – awesome!
I will be making your cream cheese cutout cookies soon, with my enthusiastic 6y.o. grandson.
So nice to read all of this, Cynthia 🙂 Thanks so much for writing. Enjoy the baking with your grandson… too sweet. We are making the cream cheese cutouts next weekend — it’s my kids’ favorite holiday activity. Happy holidays!
Hi I’m a beginner semi-homemade baker and love your overnight focaccia bread. I used this recipe as a base for my Babka muffins (12 muffins). Then followed your chocolate babka recipe when I filled with store bought pimentos, pesto and cherry preserves. They turned out pretty great!
Yum! And great to hear. Sounds delicious!
I found this recipe about 2 years ago. Now I’m tasked (happily) with bringing the challah to family doings. This is easy and gives consistent results. Chefs kiss, Ali!
Awww I love this 🙂 🙂 🙂 Thanks so much for writing and sharing this.
Easily adjustable and customizable. 10/10 challah.
Great to hear, Laurie!
Thank you for this recipe! The sponge rise was so fun! It was the first time we used bread flour and we all noticed a distinctly different flavor. Wondering if it was the flour or the rise – it seemed especially yeasty. Will try again with my normal AP flour and see if the flavor remains. It was so soft and squishy. We loved the texture! If we can get the flavor better, we will definitely use this technique again!
What kind of bread flour were you using? And what kind of yeast?
Great recipe just a few questions: my dough didn’t really rise in the fridge overnight but still turned out well and it took about 50mins to cook and the top seemed to be getting burnt after 40mins so I didn’t want to leave in oven for too long?
Hi! It’s possible your fridge is on the colder side or colder than mine at least, which caused your dough to slow down more in the fridge, but glad to hear it didn’t affect the outcome. Do you know if your oven runs hot? Have you had browning issues with other recipes? Regardless, next time you can lower the temp by 25ºF from the start.
This challah recipe is incredible. I’ve been making it every week and bringing over to my daughter’s house. The challah is always the star of the show. I do have one question. If I need to make it the day before and bake it the next morning, at what point do I refrigerate the dough?
Great to hear! After the first rise, punch it down and ball it up (roughly); then cover with an airtight lid (ideally) or very well with plastic wrap to ensure the dough doesn’t dry out, then transfer to the fridge.
Hi Ali, I’ve been making this recipe for years with great results and recently begun baking challah for our temple. I’ve had problems with the dough being too wet and I realized the liquid measures vary enormously when you compare the weights of what one calls a half cup with what another calks a half cup, etc. Do you have weights for the oil and honey in this recipe? I’m trying to figure it out myself but I figured I’d ask. I think it’s around 90 g oil and 80 g honey? Thank you for sharing this and all your wonderful recipes.
So nice to read all of this, Jasmine! And thanks for bringing this to my attention — I never bake with volume measures anymore. I’ve added the weight measurements to the recipe: 84 g honey and 112 g oil.
Regarding your stickiness issues, I’d consider holding back some of the water if you’re finding the dough unmanageable. Start by holding back 25 grams and see if that helps.
Are you using bread flour or all purpose flour?
Thank you so much, Ali! I’ve been using AP.
Hi, I’m so excited to make this bread, but I don’t want to heat or bake with honey. Can I substitute sugar (or something else) for the honey? How much sugar would you say would be right for this recipe? Thank you!
Bonjour Alexandra,
I have just recently discovered your blog.
I really have to thank you for this recipe and all the others that have turned out so well.
At some point I had to had some flour because I started with the minimum quantity advised, and braiding was a bit difficult.
BUT at the end of the cooking time when I opened the oven OH JOY! it was just amazing and delicious.
Your blog is beautiful with the photos, the recipes are very well explained, it is really a pleasure.
My teen daughter really love “the only green sauce you need”, and your pita bread !
I can’t wait to receive your book.
Warm regards
Catherine
So nice to read all of this, Catherine 🙂 I’m so glad the challah turned out well despite the sticky dough… high-hydration doughs definitely take some practice getting used to, but they are so worth it in the end 🙂 And they’re forgiving: as you noted, add flour as needed. Thanks for writing!